
Key Takeaways
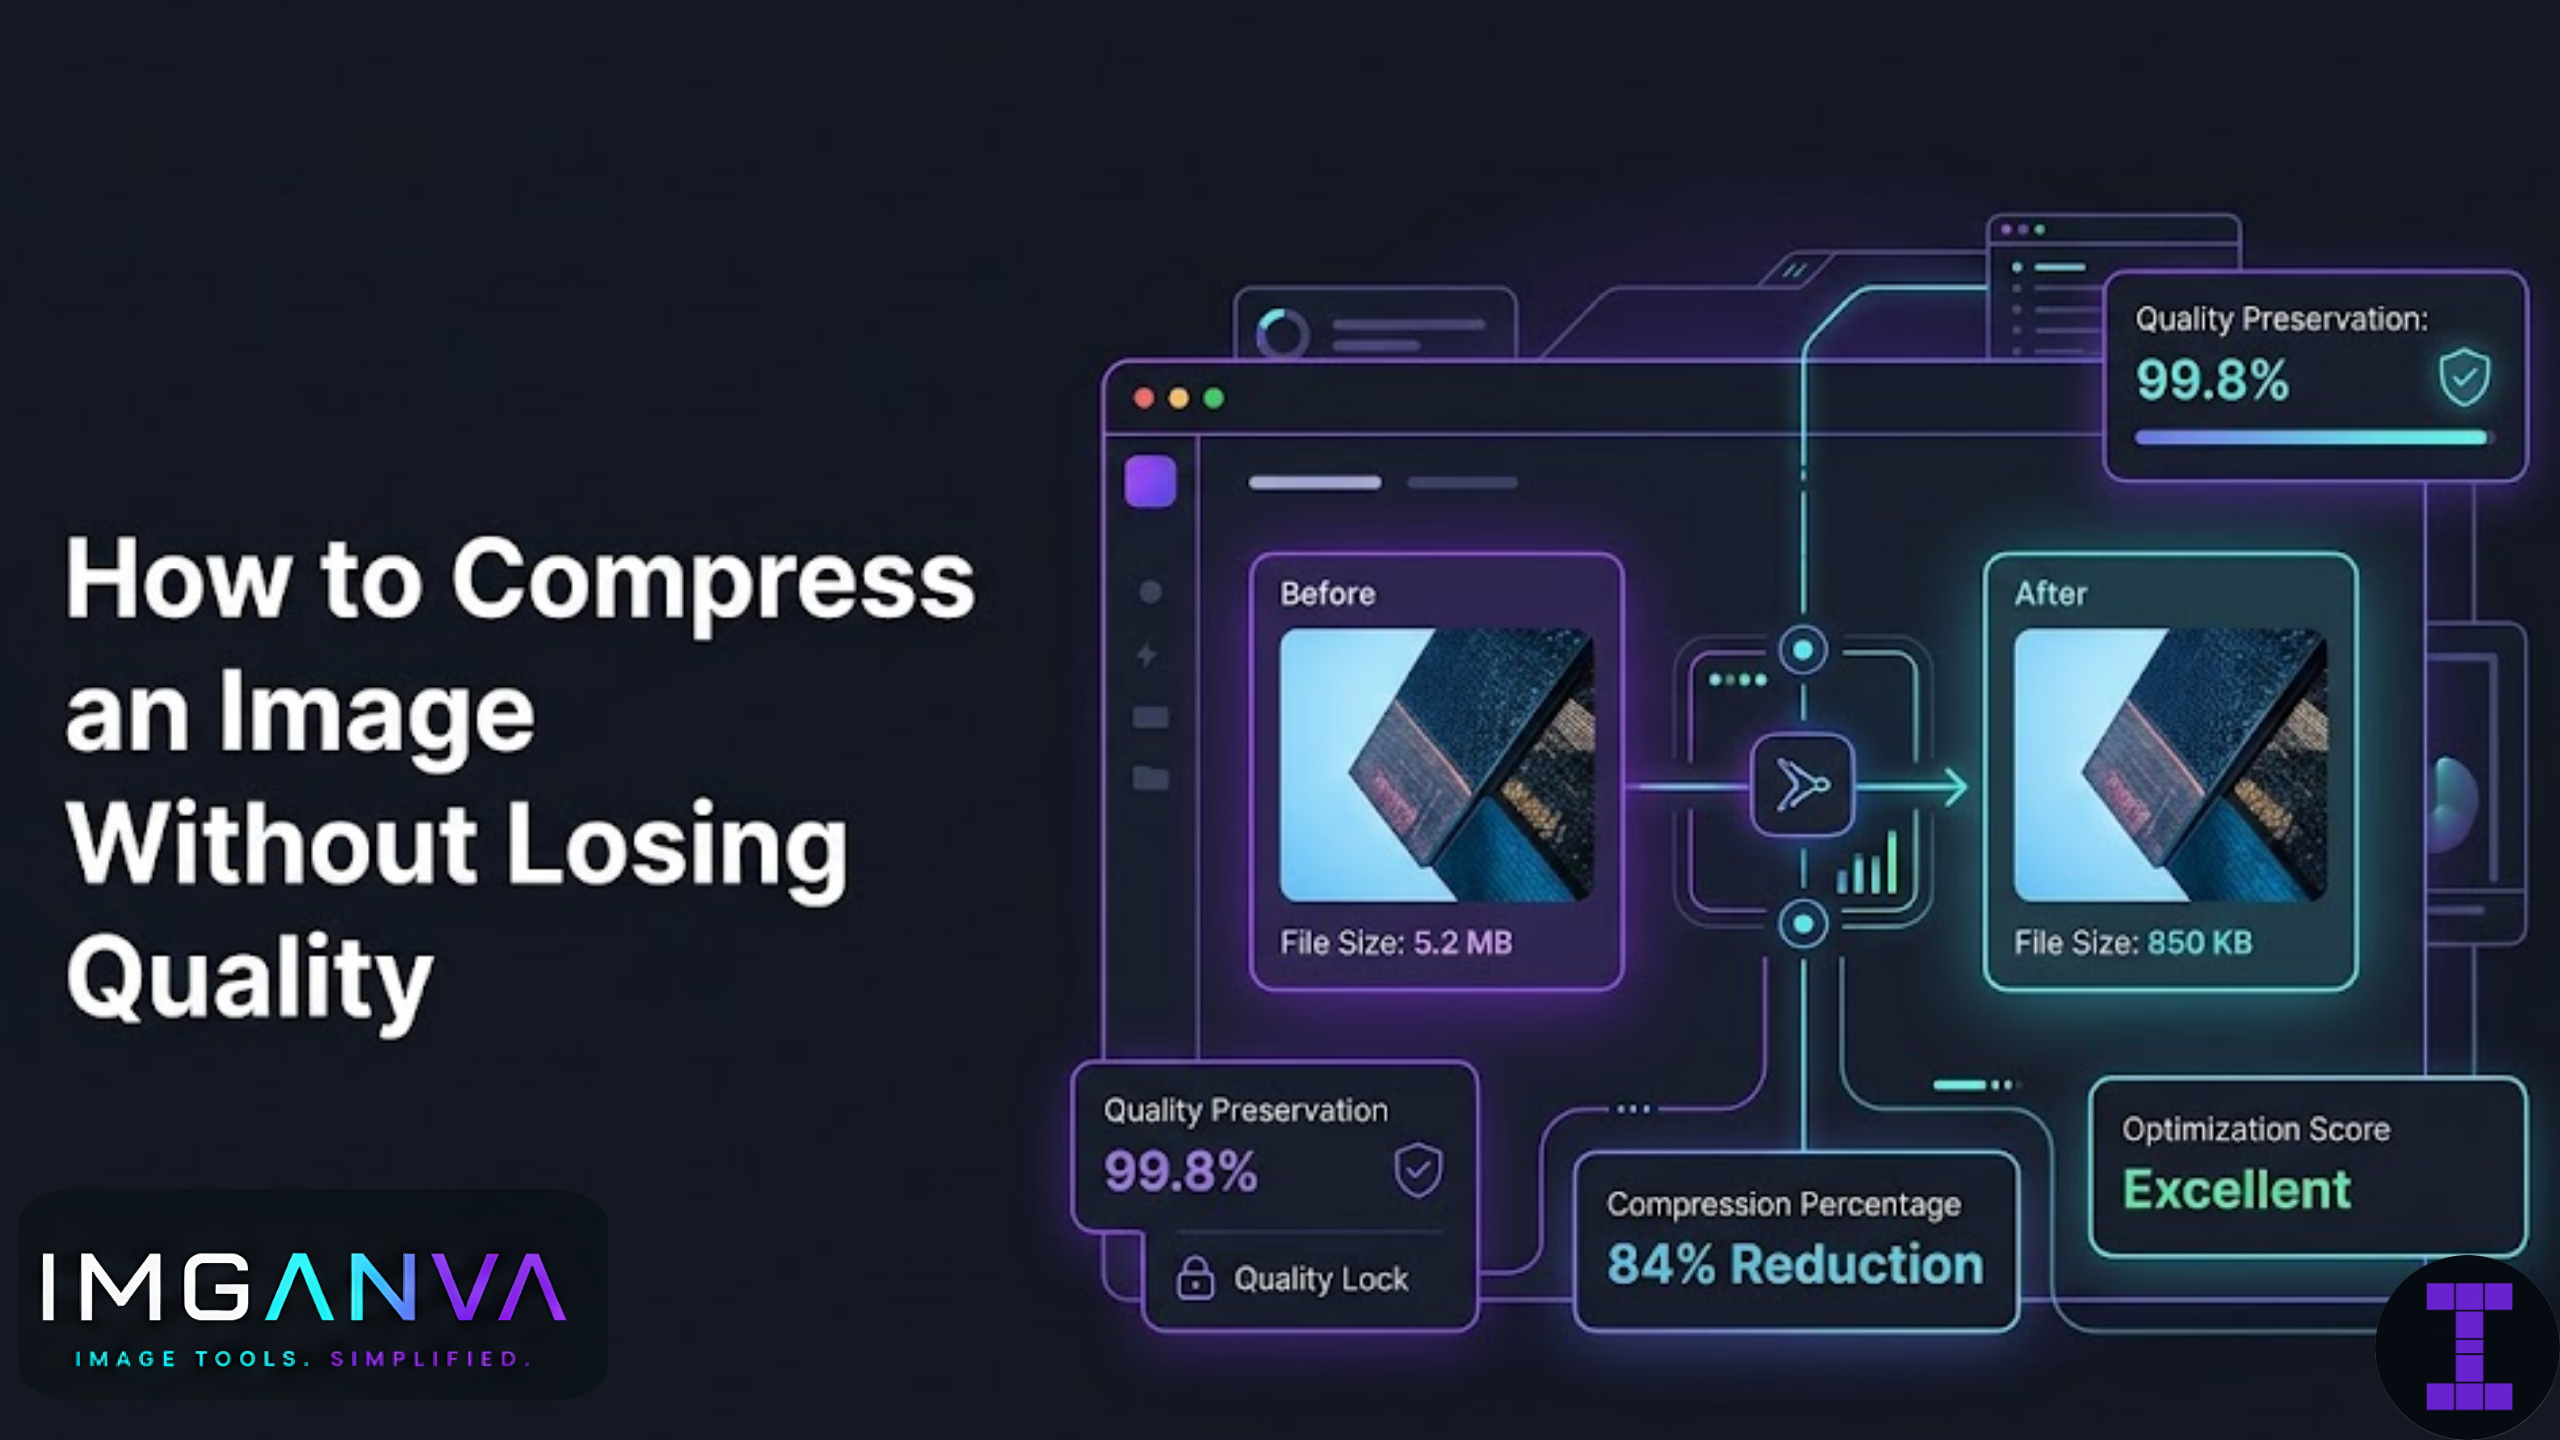
- Lossless compression keeps every pixel intact, but file size reductions are limited.
- Lossy compression removes data, but done right, the difference is invisible to the eye.
- Format choice matters as much as compression settings. WEBP and AVIF outperform JPG and PNG in most scenarios.
- For photos, quality settings between 75–85% usually produce excellent results at much smaller file sizes.
- Compressing before uploading to web, forms, or applications is almost always worth doing.
What Does “Losing Quality” Actually Mean?
Quality loss in images means visible degradation: blurriness, color banding, pixelation, or compression artifacts (those blocky patches you sometimes see in JPGs). The goal of smart compression is to reduce file size while keeping those problems invisible or unnoticeable.
There are two types of compression:
| Type | How It Works | Quality Impact | File Size Reduction |
|---|---|---|---|
| Lossless | Removes redundant data without touching pixel values | None | Moderate (10–30%) |
| Lossy | Discards data the eye is unlikely to notice | Minimal at high quality settings | High (50–80%) |
Most people actually want high-quality lossy compression: images that look unchanged, but are significantly smaller. That is completely achievable with the right settings and format.
Lossless Compression: When It Makes Sense
Lossless compression is the right choice when the original pixel data must be preserved exactly. Common use cases include:
- Graphics, illustrations, logos, or text-heavy images
- Screenshots where text needs to stay sharp
- Source files you plan to edit later
- Medical, legal, or technical images where accuracy matters
PNG is the most common lossless format for web use. You can reduce a PNG’s file size by 20–40% using lossless compression without touching any pixel values. The image looks identical because it is identical. WEBP also supports lossless mode and usually produces smaller files than PNG losslessly.
The limitation is real: lossless compression can only squeeze so much. A 2MB PNG might drop to 1.3MB, not 300KB. If you need aggressive size reduction and the image is a photograph, lossless is not the right tool.
Lossy Compression Done Right
For photos, lossy compression at the right quality level produces results that are visually indistinguishable from the original while cutting file size dramatically. The key is finding the quality threshold below which the image starts looking degraded.
A general starting guide:
| Quality Setting | Typical Use | File Size vs Original | Visible Difference |
|---|---|---|---|
| 90–95% | High-quality archival or print prep | 30–50% smaller | Almost none |
| 75–85% | Web, email, portfolio, social media | 60–75% smaller | Very hard to notice |
| 60–74% | Thumbnails, previews, low-priority images | 75–85% smaller | Slight loss on close inspection |
| Below 60% | Not recommended for most uses | Very high reduction | Often visible |
For most web images, 80% quality hits the practical sweet spot. The file size drops significantly, and you would need to zoom in and compare side by side to spot any difference.
Format Choice Is Half the Battle
The format you save in has as much impact on file size as the compression level. Using WEBP instead of JPG at the same visual quality typically cuts file size by 25–35%. AVIF goes even further but has slightly less browser support as of 2026.
| Format | Best For | Supports Lossless? | Supports Transparency? | Relative File Size |
|---|---|---|---|---|
| JPG | Photos, no transparency needed | No | No | Baseline |
| PNG | Graphics, transparency, text images | Yes | Yes | Larger than JPG for photos |
| WEBP | Web images, both photos and graphics | Yes | Yes | 25–35% smaller than JPG |
| AVIF | High-efficiency web images | Yes | Yes | Up to 50% smaller than JPG |
If you are compressing images for a website or web app, converting to WEBP as part of the process is a significant win even before adjusting quality settings. You can use Imganva’s image converter to switch formats before compressing.
How to Compress an Image Without Losing Quality: Step by Step
- Start with the highest quality source file you have. Compressing an already-compressed image degrades quality faster. Always compress from the original.
- Decide on the right format. Photograph? Use WEBP or JPG. Illustration or graphic with text? Use PNG or lossless WEBP.
- Choose a quality level. For most photos going online, 80–85% is a solid starting point.
- Upload and compress. Use Imganva’s free image compressor to compress your JPG, PNG, or WEBP file online without needing any software.
- Review the output. Download and check the result. If quality looks good, you are done. If not, try a slightly higher quality setting.
- Resize before compressing if the image is oversized. A 4000px wide image being displayed at 800px is carrying unnecessary data. Resizing first and compressing second gives better results.
Resize Before You Compress
One often-skipped step is resizing. If your image is much larger than it needs to be for its intended use, you are compressing more data than necessary. Resizing to the actual display dimensions first makes compression more effective and the output smaller.
For example, a photo shot on a modern phone might be 4032 x 3024px. If it’s going on a blog post that displays at 1200px wide, you can safely resize it to 1200px before compressing. The file size drops significantly from the resize alone, and compression works better on the smaller file.
Use Imganva’s image resizer to bring your image to the right dimensions before running compression.
Common Mistakes That Cause Quality Loss
- Compressing the same image multiple times. Each lossy compression pass degrades the image further. Compress once from the original source.
- Using too-low quality settings to chase a small file size. Hitting a file size target like 50KB on a detailed photo at low quality will produce visible artifacts. It is better to resize first.
- Saving JPGs as PNG to “preserve quality.” If the image is already a JPG, saving as PNG just increases file size without recovering lost data.
- Uploading compressed images to platforms that re-compress. Instagram, WhatsApp, and many platforms re-compress uploaded images. Over-compressing beforehand compounds this.
- Ignoring format entirely. Keeping a photograph as PNG because it “looks higher quality” usually just means a 3x larger file with no real benefit.
When Lossless Compression Is Not Enough
There are situations where lossless compression genuinely cannot meet your file size requirement. If you need to submit a photo for a government form with a 100KB or 200KB limit, lossless PNG compression usually will not get you there. In those cases, switching to JPG or WEBP with a high quality setting is the right move, not forcing lossless compression on an incompatible image type.
For specific file size targets like 50KB or 100KB, Imganva has dedicated pages: compress to 50KB and compress to 100KB. These handle the sizing automatically so you do not have to guess at quality settings.
For a deeper look at how different compression methods work across formats and scenarios, the complete image compression guide covers the full picture.
Frequently Asked Questions
Can you really compress an image without any quality loss?
Yes, if you use lossless compression. Formats like PNG and lossless WEBP compress image data without removing any pixels. The file size reduction is moderate though, typically 10 to 30 percent. For larger reductions, high-quality lossy compression at 80 to 85 percent quality is nearly indistinguishable from the original to the human eye.
What is the best format for compressing photos without quality loss?
WEBP is the best choice for most photos. It supports both lossy and lossless compression, produces smaller files than JPG at similar quality, and works in all modern browsers. For images requiring transparency, lossless WEBP is a strong option over PNG.
Does compressing a PNG reduce quality?
PNG compression is inherently lossless, so no pixel data is lost. However, if you convert a PNG to JPG or WEBP for smaller file sizes, some quality loss can occur depending on the quality level you choose. At high quality settings, it is usually unnoticeable.
Is there a quality setting that works for most images?
A quality setting of 80 to 85 percent works well for the vast majority of web images. It produces files that are 60 to 75 percent smaller than the original with no visible degradation on typical screens.
Why does my image look blurry after compression?
This usually happens when the quality setting is too low, or when the image was already low resolution before compression. Try compressing at a higher quality level, or resize to the correct display dimensions first rather than using a very low quality setting to hit a file size target.
Does resizing help with compression?
Yes, significantly. Resizing an image to its actual display size before compressing reduces the amount of data that needs to be compressed. This often gives you better results than just lowering the quality setting on an oversized image.
Can I compress a JPG without losing more quality?
You can, but with limits. Every time you save a JPG with lossy compression, some data is lost. If you compress from the original source file at a high quality setting, the output will look fine. Avoid repeatedly compressing the same JPG as quality degrades with each pass.
What happens when platforms like Instagram recompress my images?
Most social media platforms apply their own compression when you upload. If your image is already heavily compressed, this second pass will degrade it further. It is better to upload a reasonably high-quality image and let the platform compress it once rather than uploading a pre-compressed version.
Is WEBP better than JPG for compression?
In most cases, yes. WEBP produces files that are roughly 25 to 35 percent smaller than JPG at the same visual quality. It also supports transparency, which JPG does not. The main reason to stay with JPG is compatibility with older software or specific upload requirements.
How do I compress an image to a specific file size like 100KB?
Start by resizing the image to its required dimensions, then compress at 80 to 85 percent quality and check the output size. If it is still too large, try reducing quality slightly or resizing further. Imganva’s dedicated compression pages for 50KB and 100KB targets handle this automatically.
Summary
Compressing an image without losing quality comes down to picking the right format and using sensible quality settings. Lossless compression works when every pixel matters. For photos going to websites, forms, or email, high-quality lossy compression at 75 to 85 percent is almost always visually identical to the original, just at a fraction of the file size. The bigger wins come from combining good compression with resizing to actual display dimensions and switching to efficient formats like WEBP. Start from the original file, compress once, and verify the output before publishing.