
You take a photo, or maybe just a screenshot, and the file turns out to be 8MB when it feels like it should be a fraction of that. Then an upload form rejects it, or an email bounces back. This happens more often than people expect, and the reasons are usually pretty specific.
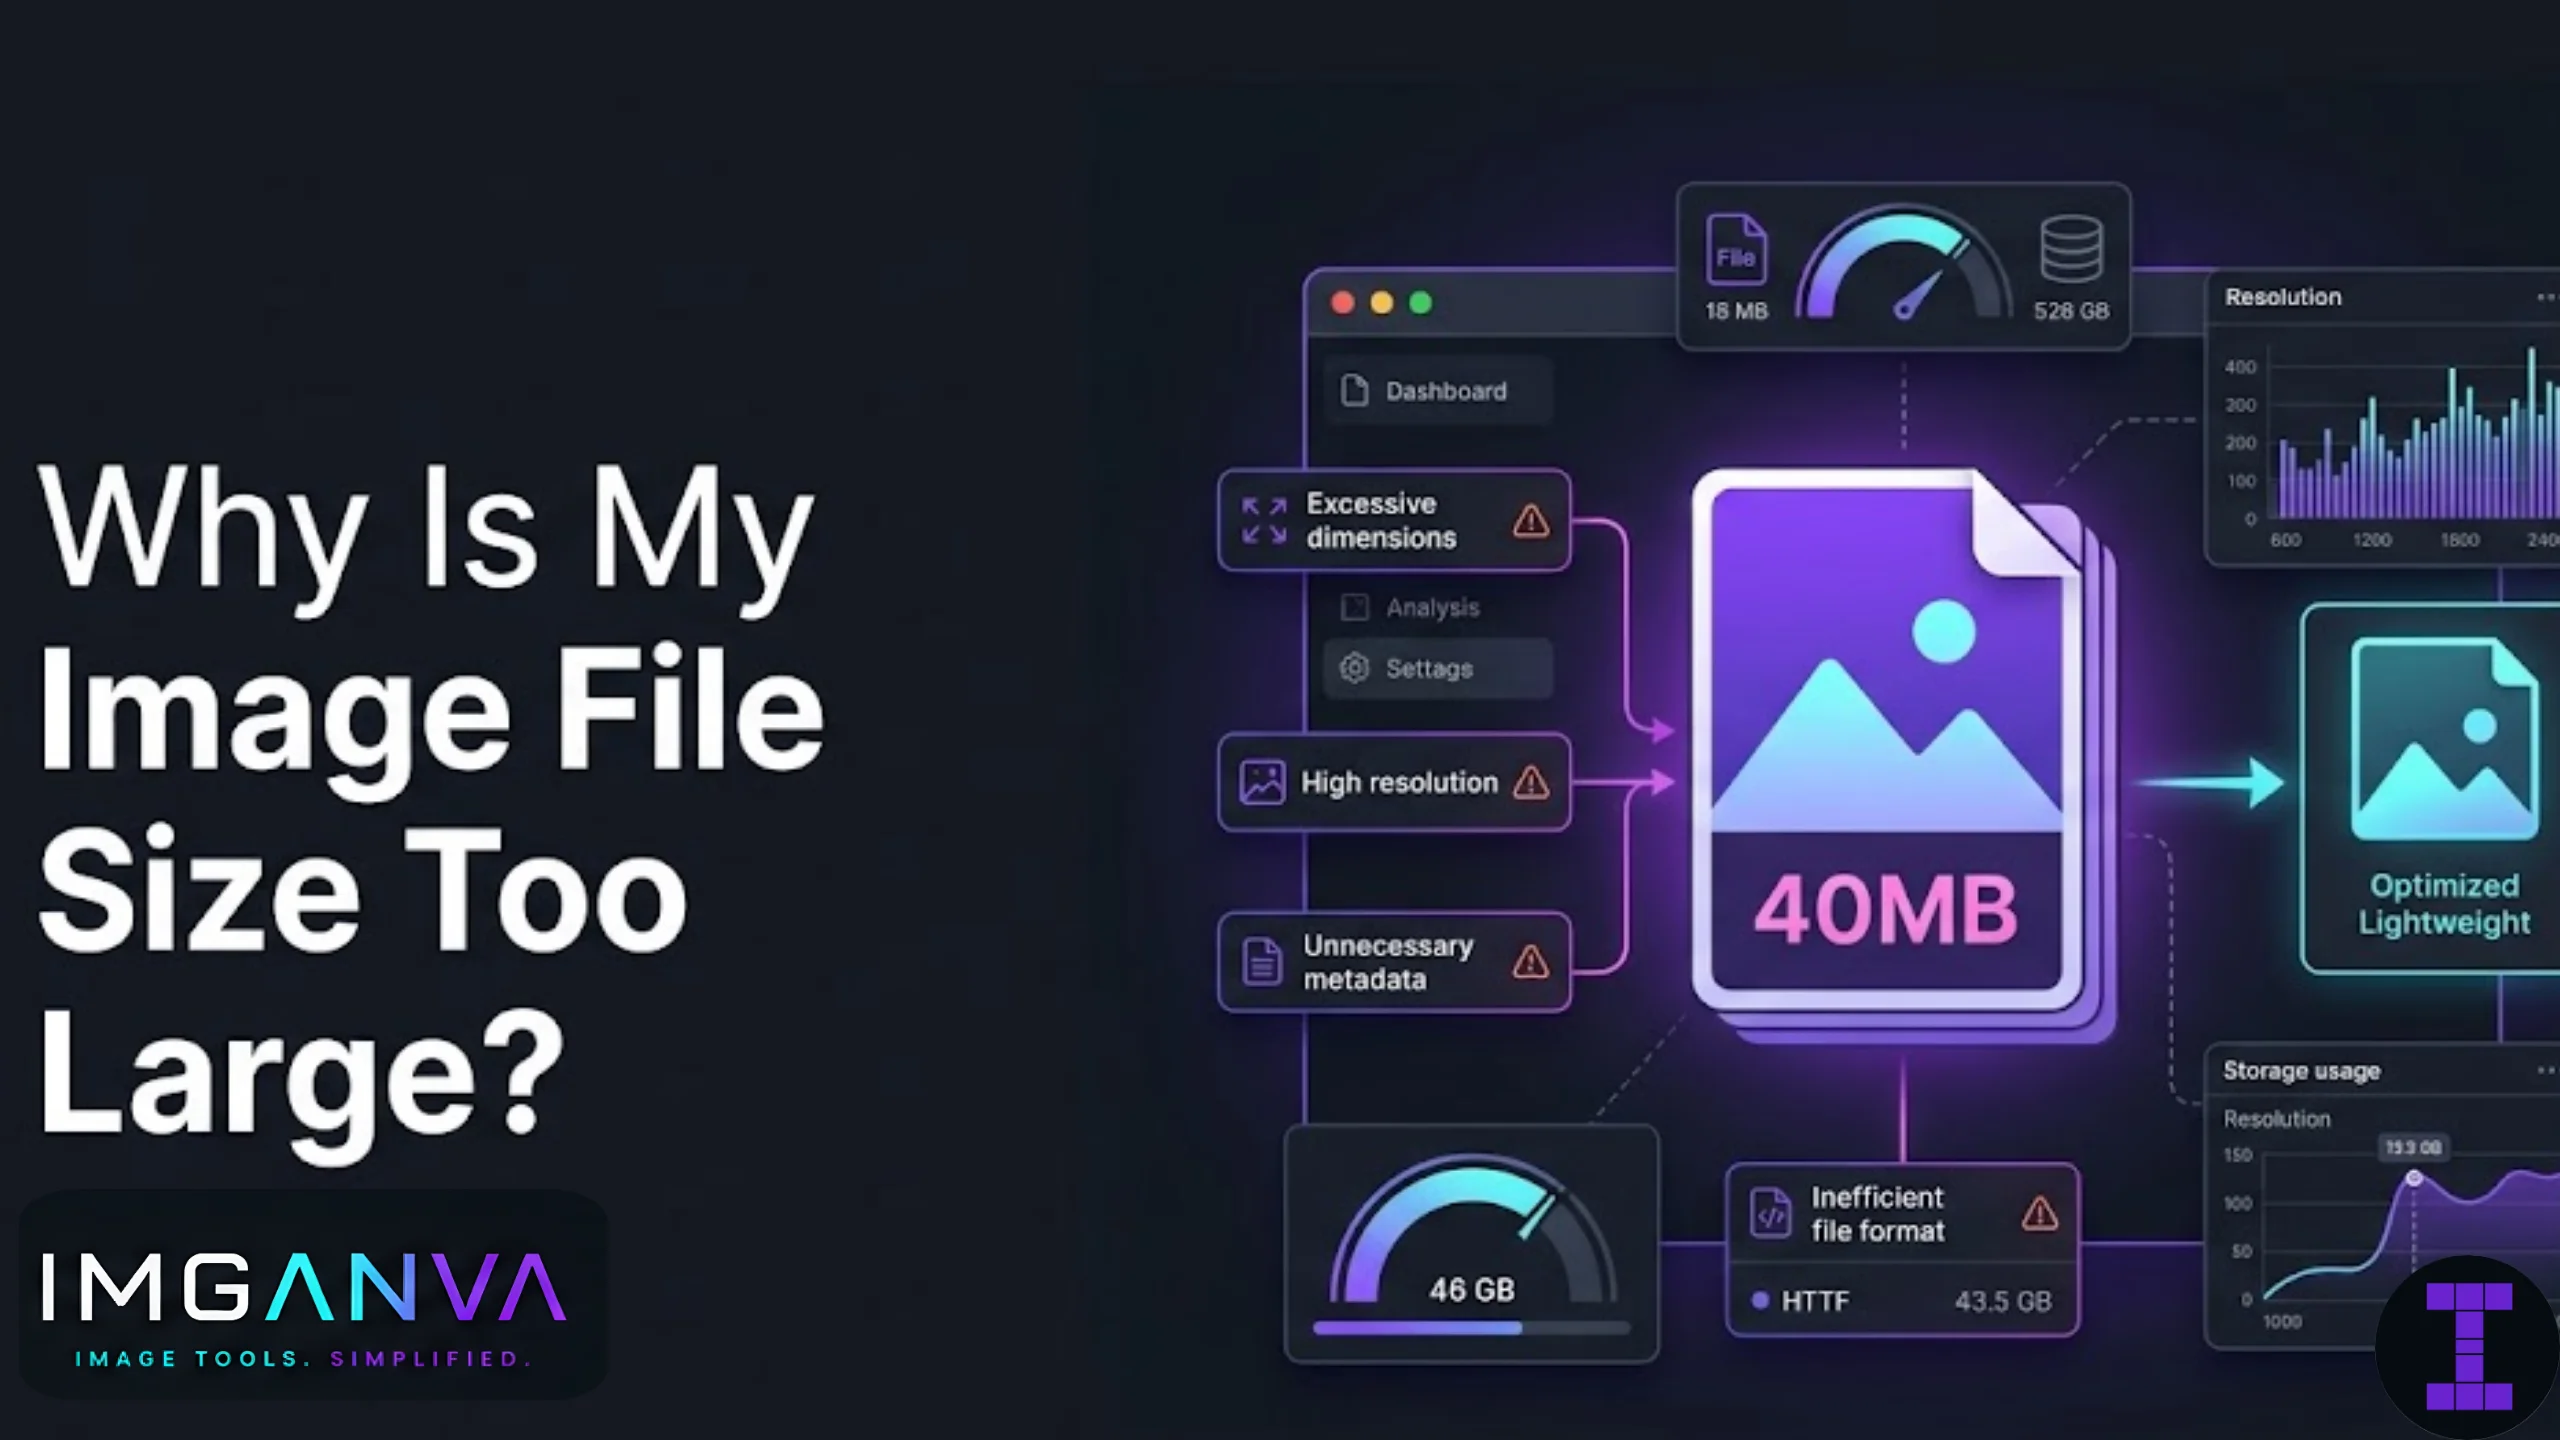
An image file becomes too large mainly because of high resolution, uncompressed or lightly compressed formats like PNG or raw camera output, high quality settings, excess metadata, or color depth that’s higher than the image actually needs. Most of the time, it’s a combination of two or three of these, not just one.
Key Takeaways
- Resolution and file size are directly linked, doubling image dimensions roughly quadruples the pixel count
- PNG files are larger than JPG for photos because PNG compression is lossless
- Camera phones now shoot in 12MP to 108MP, producing files far bigger than most uploads need
- Hidden EXIF metadata (location, camera settings, timestamps) adds unnecessary weight
- Screenshots are often larger than expected because they’re saved as PNG by default
- Compressing with the right tool can cut file size by 60-90% with barely visible quality loss
The Main Reasons Your Image File Is Too Large
1. The resolution is higher than you need
Modern phone cameras capture images at resolutions built for large prints or heavy cropping, not for uploading to a website form. A 12MP photo has around 4000 x 3000 pixels. If a job portal only needs a 200 x 230 pixel photo, you’re carrying roughly 250 times more pixel data than necessary.
Resolution and file size don’t scale in a straight line either. Cut both width and height in half, and you’re down to a quarter of the original pixel count. That’s why resizing before compressing often has more impact than compression alone.
2. You’re using an uncompressed or lossless format
PNG is a lossless format, meaning it preserves every pixel exactly. That’s great for screenshots, logos, and graphics with sharp edges and flat colors. It’s a poor choice for photographs, because photos have gradual color transitions that lossless compression can’t shrink efficiently. A photo saved as PNG can be 3-5 times larger than the same photo saved as JPG at good quality.
RAW files from DSLRs and mirrorless cameras are even heavier, often 20-50MB per shot, because they store unprocessed sensor data.
3. Quality settings are set too high
JPG and WEBP let you choose a quality level, usually from 0 to 100. Many devices default to maximum quality, which barely improves visible clarity but adds significant file weight. Going from 100% to around 80% quality is usually invisible to the eye but can cut file size by 40% or more.
4. Hidden metadata is bundled into the file
Every photo from a phone or camera carries EXIF data: GPS coordinates, camera model, exposure settings, timestamp, sometimes even a thumbnail preview. This is usually a small percentage of total file size, but on already-large images it can still add several hundred KB. It’s also a privacy consideration if you’re sharing photos publicly, since location data can be exposed without you realizing it.
5. Color depth exceeds what the image actually needs
Standard images use 24-bit color, offering over 16 million colors. Most photos benefit from that. But simple graphics, icons, or scanned text documents with limited colors are often saved at the same depth unnecessarily, wasting space that indexed or reduced-color formats would use far more efficiently.
6. Screenshots are saved in the wrong format
Most operating systems save screenshots as PNG by default. A full HD screenshot, which is basically a flat image with sharp text and UI elements, still ends up 2-4MB because PNG doesn’t compress well for screen content with subtle gradients or photos embedded inside it. Converting a screenshot to JPG or compressing the PNG directly usually solves this quickly.
| Cause | Typical Impact on File Size | Fix |
|---|---|---|
| High resolution | Very high | Resize to actual required dimensions |
| PNG used for photos | High | Convert to JPG or WEBP |
| Quality set to 100% | Moderate to high | Reduce to 75-85% quality |
| EXIF metadata | Low to moderate | Strip metadata during compression |
| Unnecessary color depth | Low to moderate | Use indexed color for simple graphics |
| RAW camera format | Very high | Export as JPG before uploading |
Format Comparison: Where the Size Difference Comes From
| Format | Compression Type | Best For | Typical File Size (same image) |
|---|---|---|---|
| JPG | Lossy | Photos, general use | Small to medium |
| PNG | Lossless | Screenshots, graphics, transparency | Large |
| WEBP | Lossy or lossless | Web images, modern browsers | Smallest |
| HEIC | Lossy | iPhone photos | Small, but compatibility varies |
| RAW | Uncompressed/minimal | Professional editing | Very large |
If you’re dealing with a photo that opens as HEIC and won’t upload anywhere, that’s a separate but related issue. Converting it to JPG through an image converter usually resolves both the compatibility problem and shrinks the file at the same time.
How to Actually Fix an Oversized Image
Step 1: Check what size you actually need
Before doing anything, check the upload requirement. Government exam portals often specify something like “under 50KB” or “under 100KB,” while a website banner might just need to be under 2MB with no strict dimension requirement.
Step 2: Resize to the correct dimensions first
Resizing has more impact than most people expect. Use an image resizer to bring the photo down to the required pixel dimensions before touching compression settings. This alone often solves half the problem.
Step 3: Compress with an appropriate quality setting
Run the resized image through an image compressor and aim for 75-85% quality for photos. If you have a strict KB limit, tools that let you target an exact file size (like compressing to under 50KB or 100KB) remove the guesswork entirely.
Step 4: Convert format if needed
If the file is a PNG photo or a HEIC file, convert it to JPG or WEBP. This step alone can cut file size by more than half without any visible quality change.
Step 5: Verify metadata isn’t inflating the file unnecessarily
Most compression tools strip EXIF data automatically. If you’re using desktop software instead, check that metadata stripping is enabled, especially if you’re compressing many images in bulk.
For readers dealing specifically with exam or application photo uploads, our complete image compression guide goes deeper into quality settings and format tradeoffs for different use cases.
Common Mistakes That Keep File Sizes Large
- Compressing without resizing first — a huge image compressed at low quality can still end up larger than a properly sized image at high quality
- Repeatedly re-saving JPGs — each re-save adds another round of lossy compression, degrading quality without necessarily reducing size much further
- Using PNG for photographs — a habit carried over from screenshots or graphics work that doesn’t apply well to photos
- Assuming “high quality” always means “correct quality” — for most screens and uploads, 100% quality is wasted file weight
- Ignoring the actual upload requirement — spending time compressing to under 200KB when the portal actually allows up to 1MB, or vice versa
When a Large File Size Is Actually Fine
Not every large image needs shrinking. If you’re archiving photos, printing at large sizes, or doing professional photo editing, keeping higher resolution and less aggressive compression makes sense. The problem only shows up when you’re uploading, emailing, or displaying on the web, where smaller files load faster and meet stricter platform limits.
Frequently Asked Questions
Why is my phone photo so much bigger than a screenshot?
Phone cameras capture far more detail and use higher resolution sensors than what’s displayed on screen, resulting in significantly larger files even though screenshots can also be large due to PNG format.
Does converting PNG to JPG always reduce file size?
For photographs, yes, almost always. For simple graphics with flat colors like logos or icons, PNG can sometimes stay smaller or comparable, so it depends on the image content.
Will compressing my image reduce its quality noticeably?
At 75-85% quality, most people can’t tell the difference visually, especially on screens. Quality loss becomes visible mainly below 50% or with heavy compression on detailed images.
Why does my image file size not change much after I resize it?
If you only changed the display size without changing the actual pixel dimensions, the file size stays the same. You need to resize the actual resolution, not just how it appears on a page.
Is HEIC the reason my iPhone photos are large?
Actually HEIC files are usually smaller than JPG at similar quality, the size issue with iPhone photos is more often about high resolution, and HEIC’s compatibility issues on some websites are a separate problem from file size.
Does removing metadata really make a noticeable difference?
Usually it’s a small reduction unless the image has embedded thumbnails or extensive editing history, but it adds up when compressing many images at once.
What’s the best format for uploading photos to reduce file size?
JPG remains the most widely compatible choice for photos, while WEBP typically produces the smallest files if the platform accepts it.
Why does my scanned document image have such a large file size?
Scanners often default to high DPI settings and save as PNG or TIFF, both of which produce large files for what is essentially black and white or limited-color content.
Can I reduce file size without losing image dimensions?
Yes, adjusting quality settings and format without resizing pixel dimensions still reduces file size, though the reduction is usually smaller than combining it with resizing.
How much can compression realistically shrink a large image?
Depending on the original format and settings, reductions of 60-90% are common without significant visible quality loss, especially when converting from PNG or high quality JPG.
Summary
Large image files usually come down to a mix of high resolution, the wrong format for the content, quality settings left at maximum, and metadata nobody bothered to strip. Fixing it isn’t complicated: resize to what’s actually needed, pick the right format for the content, and compress with a reasonable quality target instead of guessing. Once you know which of these is causing the problem in your specific case, shrinking the file down to whatever limit you’re working with usually takes a couple of minutes.