
Key Takeaways
- JPEG quality between 60-80% gives the best balance of file size and visual quality for most web and upload use cases.
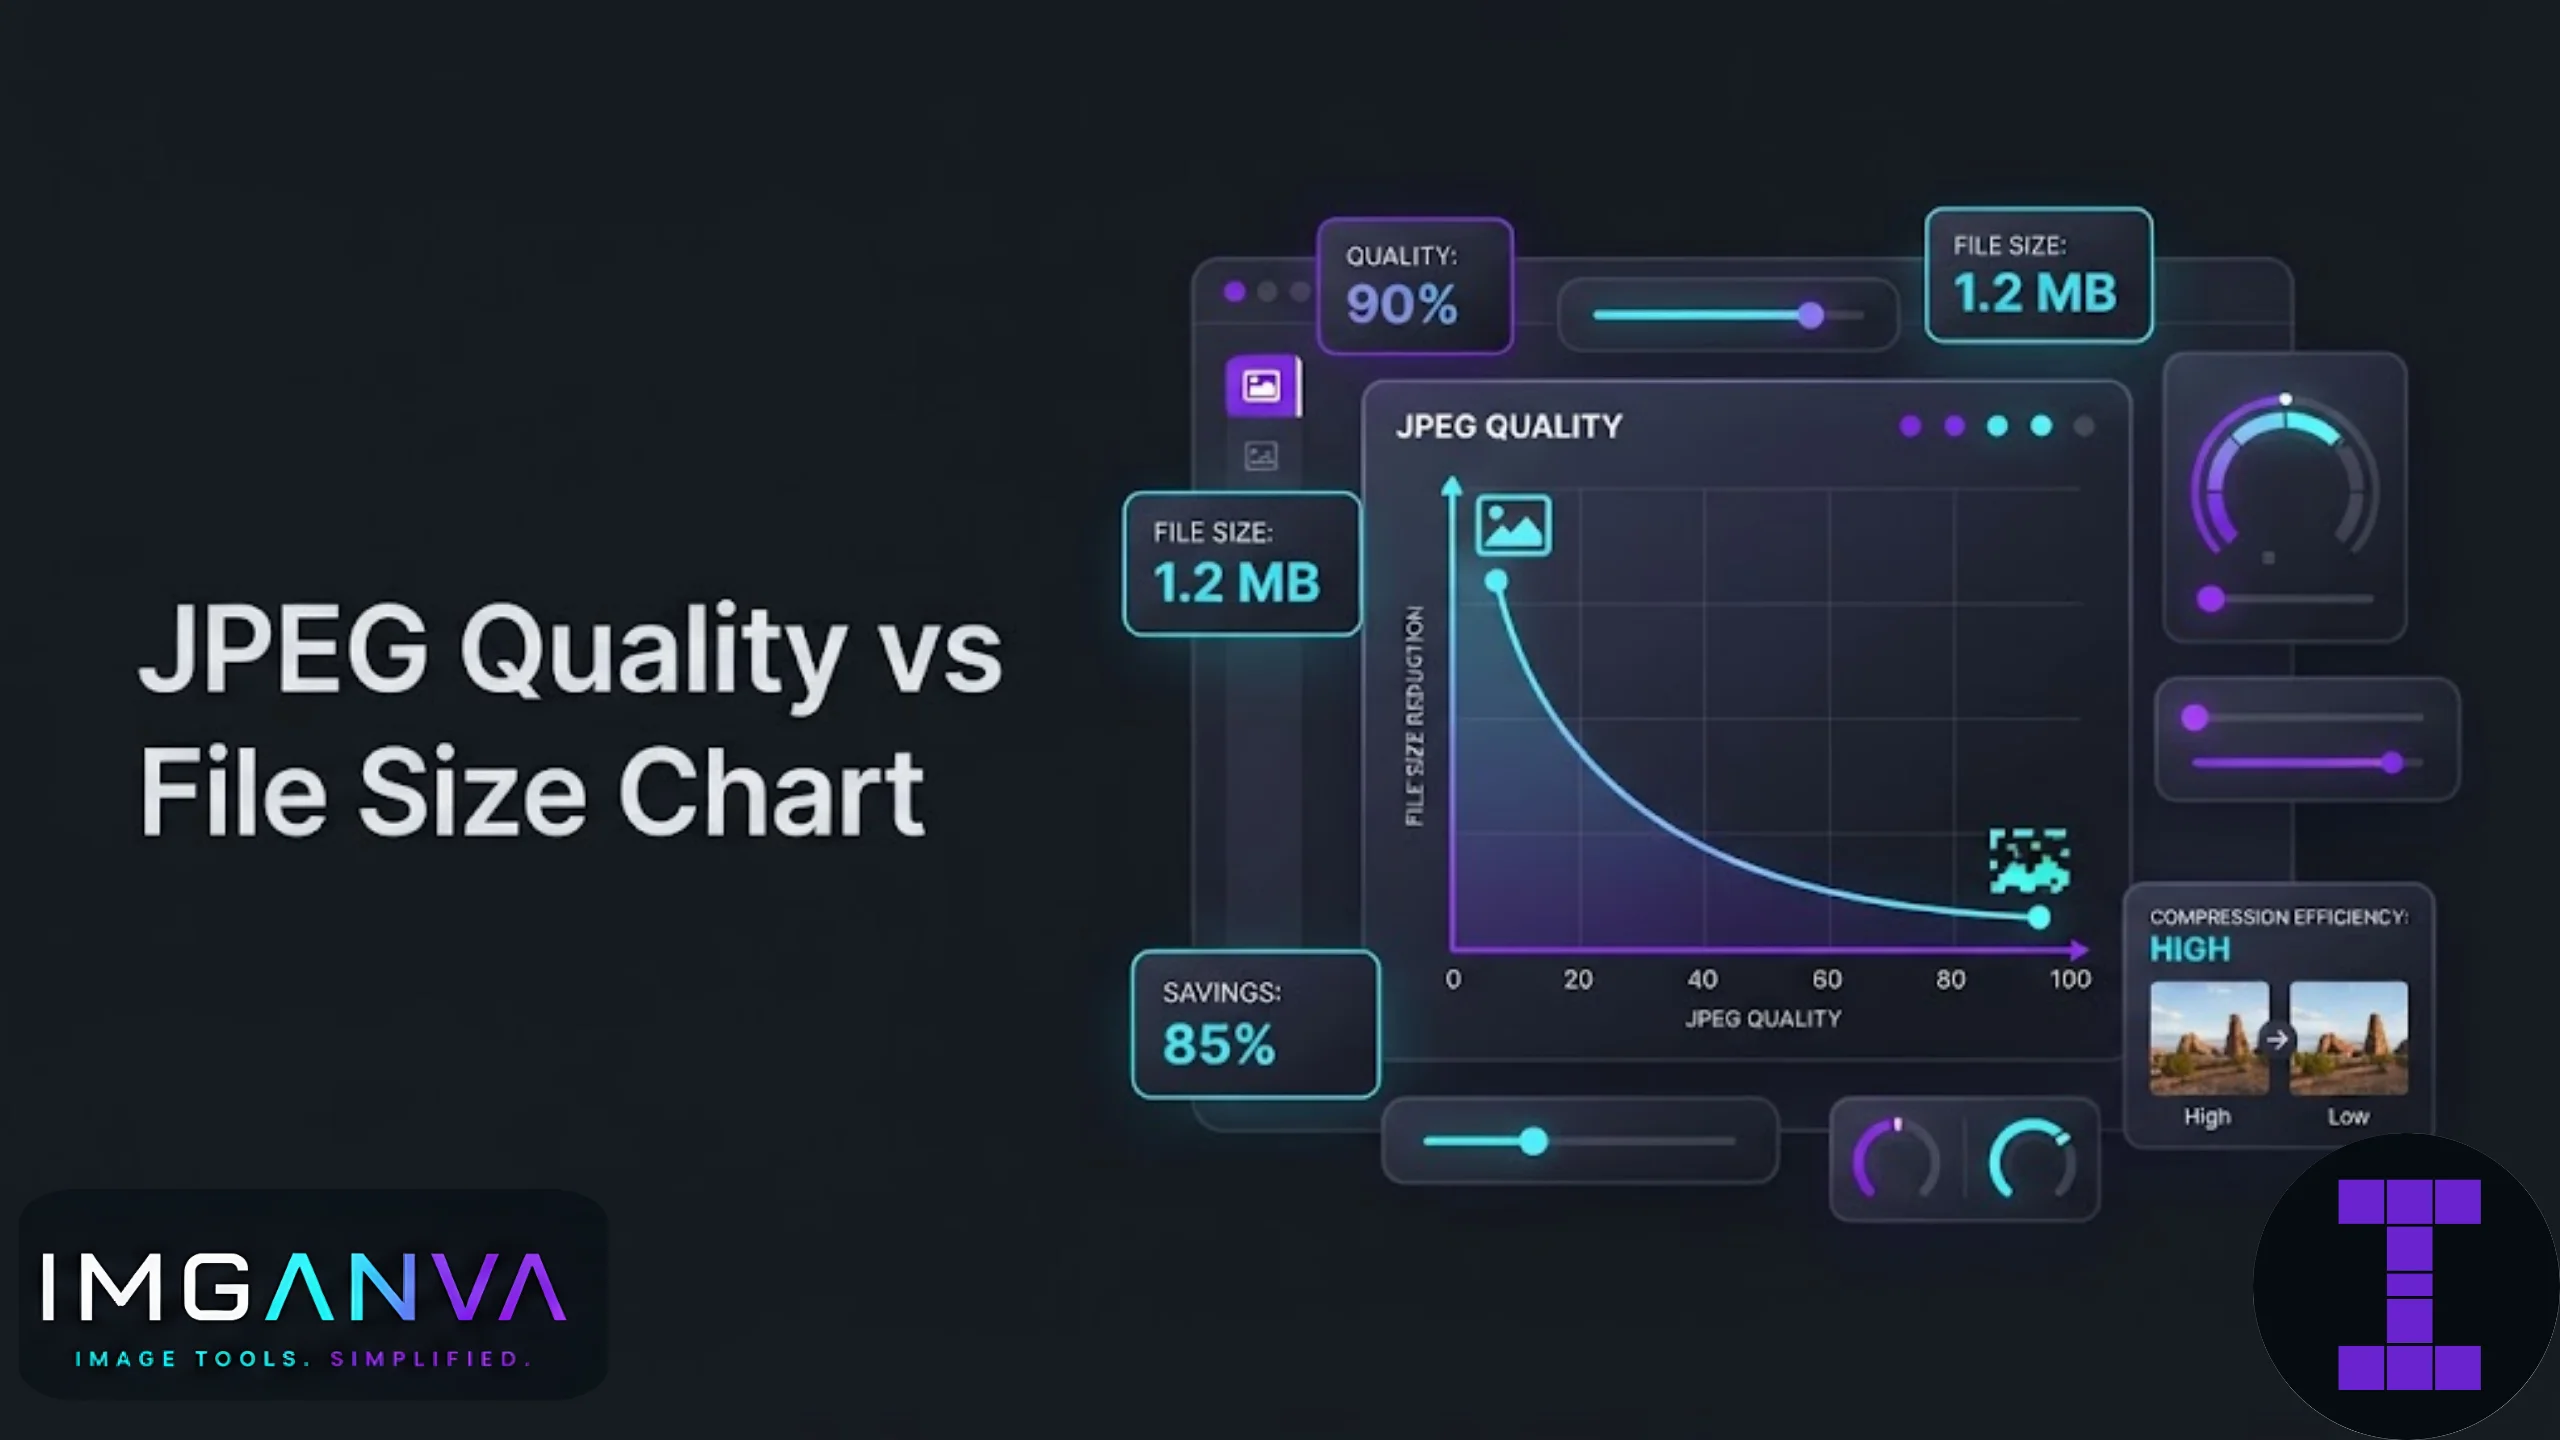
- File size drops fastest between 100% and 80% quality, often by 60-70%, with almost no visible difference.
- Below 50% quality, compression artifacts like blocking and color banding become noticeable, especially around text and sharp edges.
- Photos with lots of detail (foliage, skin, fabric) tolerate lower quality settings better than photos with flat colors or text.
- Government forms and exam portals in India often specify a KB range, not a quality percentage, so you may need to test settings to hit an exact target.
JPEG Quality vs File Size: The Chart
The numbers below come from compressing a typical 12-megapixel photo (roughly 4000×3000 pixels, originally 4-6MB as an uncompressed or lightly compressed JPEG). Your exact results will vary depending on the image content, but the pattern holds across almost every photo.
| Quality Setting | Approx. File Size (from 5MB original) | Visual Quality | Best Use Case |
|---|---|---|---|
| 100% | 4.5 – 5.2 MB | Lossless-feeling, no visible artifacts | Print, archival, professional editing masters |
| 90% | 1.8 – 2.4 MB | Virtually identical to original | High-quality web images, portfolios |
| 80% | 900 KB – 1.3 MB | No visible loss for most viewers | General web use, blog images, social sharing |
| 70% | 550 – 800 KB | Minor softening under close inspection | Website product images, email attachments |
| 60% | 350 – 550 KB | Slight blur in fine detail, still clean overall | Forms with moderate KB limits, faster page loads |
| 50% | 250 – 400 KB | Visible softness, some blocking in shadows | Government portals with strict KB caps, thumbnails |
| 40% | 180 – 280 KB | Noticeable blockiness and color banding | Strict 100-200KB upload limits, low priority images |
| 30% | 120 – 200 KB | Clear compression artifacts, blurred edges | Extreme size targets like 50KB photo uploads |
| 20% and below | Under 120 KB | Heavy pixelation, unusable for most purposes | Avoid unless the only alternative is rejection by upload system |
Notice how much size drops between 100% and 80% compared to how little the image actually changes. That gap is where JPEG compression is most efficient. Past 60%, you start trading real visual quality for smaller numbers, and past 40%, most people can spot the difference without zooming in.
Why File Size Doesn’t Drop in a Straight Line
JPEG compression works by throwing away information the human eye is less likely to notice, mostly fine color detail and high-frequency patterns. At high quality settings, there is a lot of redundant, barely-noticeable data to strip out, so the encoder removes a lot of weight without touching anything you would actually see. Once that easy data is gone, further compression has to start cutting into detail your eye does register, like edges, gradients, and texture. That is why the size curve is steep near the top and flattens out near the bottom. You will rarely see file size cut in half between 40% and 20%; the low-hanging fruit is already gone.
What Changes Visually at Each Range
90-100%: No Practical Difference
Unless you are pixel-peeping on a large monitor or preparing a file for print, you will not tell 90% from 100% apart. This range exists mostly for professional workflows where the image will be edited again later, since repeated saves at high quality avoid stacking compression artifacts.
70-89%: The Sweet Spot
This is where most web images should live. File sizes are small enough for fast loading, and quality loss is invisible on a phone or laptop screen at normal viewing distance. If you’re compressing photos for a blog, portfolio, or product listing, 75-80% is a reasonable default.
50-69%: Noticeable Under Scrutiny
At this range, skies can start to show faint banding, and very fine textures (hair, fabric weave, small text in the frame) lose some crispness. Most casual viewers still won’t flag it as “compressed,” but it’s a step down from the sweet spot. This is the range many government and exam upload portals effectively force you into, since their KB limits are tight.
Below 50%: Visible Compression Artifacts
Blocky squares appear around high-contrast edges, colors can shift slightly, and text within images starts to blur. If you have ever seen a WhatsApp-forwarded photo that looks slightly “smudged,” that’s usually WhatsApp’s own aggressive compression pushing an image into this range or lower.
Common Mistakes People Make With Quality Settings
- Assuming quality percentage is standardized. “80% quality” in one tool is not guaranteed to produce the same file size or look as “80%” in another. Different compressors use different internal scales.
- Compressing an already-compressed JPEG repeatedly. Every time you re-save a JPEG, you lose a little more quality, even at high settings. If you need to edit an image multiple times, work from a PNG or the original file and export to JPEG only at the end.
- Using the same quality setting for every image type. A photo of a forest can tolerate 50% quality far better than a screenshot with text, because JPEG artifacts are much more visible around sharp edges and lettering.
- Ignoring dimensions. Lowering quality only goes so far. If you need a file under 50KB, resizing the image down in pixel dimensions first, then compressing, usually gets you there with less visible damage than crushing the quality slider alone.
Matching Quality Settings to Real Situations
| Situation | Recommended Quality | Notes |
|---|---|---|
| Personal website or blog | 75-85% | Balance of speed and clarity |
| Social media upload | 80-90% | Platforms usually recompress anyway |
| Email attachment | 65-75% | Keeps files light for slower connections |
| Government exam photo upload (UPSC, SSC, IBPS) | Varies, target the KB limit directly | Portals usually specify KB range, not quality percent |
| Passport or visa photo | Target file size directly (often 20-50KB) | Prioritize meeting the exact size over visual polish |
| Print or professional archive | 95-100% | Avoid compression loss entirely where possible |
For exam and application photos specifically, the target is usually a strict file size, not a quality level. If a portal asks for a photo under 50KB, you’re better off using a tool that lets you set the exact target size, like the image compressor for 50KB targets, rather than guessing quality percentages by trial and error.
How to Find the Right Setting for Your Image
- Start at 80% quality as a baseline for general use.
- Zoom in on faces, text, or fine detail in the compressed version. If it still looks clean, you can usually drop lower.
- If you have a strict KB limit, work backward: compress until you hit the target, then check whether the visual quality is still acceptable.
- For images with text, screenshots, or sharp graphics, stay above 70% quality when possible. Text degrades faster than photos.
- For photos with lots of natural texture (trees, crowds, textiles), you can often go as low as 50-60% without most viewers noticing.
If you’d rather skip the manual guesswork, Imganva’s image compressor lets you preview quality changes in real time and compare file sizes side by side before downloading.
JPEG vs Other Formats at Similar Quality
JPEG isn’t the only option, and it’s worth knowing when a different format actually serves you better than pushing JPEG’s quality slider lower.
| Format | Compression Type | Best For | Tradeoff |
|---|---|---|---|
| JPEG | Lossy | Photos, complex images | Quality loss increases with compression |
| PNG | Lossless | Screenshots, graphics, transparency | Much larger file sizes for photos |
| WEBP | Lossy or lossless | Web images needing smaller size than JPEG | Limited support on some older government portals |
If your upload target is stubborn about accepting only JPEG, or you’re dealing with a HEIC photo from an iPhone that a portal won’t accept, Imganva’s image converter handles the format switch before you get to the compression step. For a deeper look at compression techniques beyond just the quality slider, the complete image compression guide covers resizing, format choice, and metadata stripping as additional ways to cut file size.
Summary
JPEG quality and file size don’t move together in a straight line. Most of the size savings come cheap between 100% and 80%, with almost no visible cost. Past 60%, you start noticing softness, and past 40%, artifacts become obvious, especially in text and fine detail. For general use, 75-85% quality is a safe default. For strict file size limits like exam photo uploads, it’s more reliable to target the exact KB size directly rather than adjusting quality by feel. Match the setting to what the image actually contains, since photos with texture tolerate compression far better than screenshots or graphics with sharp lines.
What JPEG quality setting gives the smallest file size without visible quality loss?
Most images hold up well down to 75-80% quality with no visible difference on a screen. Below that, softness starts to appear, though it depends on the image content.
Does JPEG quality percentage mean the same thing in every tool?
No. Different compressors use different internal scales, so 80% quality in one tool may not match 80% in another. Always check the resulting file size and appearance rather than relying on the number alone.
Why does my image look fine but the file size barely changed?
If an image is already heavily compressed or has a lot of flat, simple color areas, there may not be much redundant data left to remove, so further compression has limited effect on size.
Is it better to lower quality or reduce image dimensions to hit a small file size?
For very strict limits like 50KB, reducing pixel dimensions first usually preserves more visual quality than crushing the quality slider alone, since fewer pixels means less data to encode.
Why do screenshots look worse than photos at the same JPEG quality?
JPEG compression struggles with sharp edges and flat colors, which are common in screenshots and text. Photos with natural texture hide compression artifacts much better.
What quality setting should I use for exam or government portal photo uploads?
Most portals specify a KB range rather than a quality percentage, so it’s more reliable to compress directly to that file size target instead of picking a quality number and hoping it fits.
Does saving a JPEG multiple times reduce quality even at high settings?
Yes. Each save re-applies compression, so repeated edits and exports gradually degrade the image even if every individual save uses a high quality setting.
Is WEBP always better than JPEG for smaller file sizes?
WEBP often produces smaller files at similar quality, but some older upload portals and government systems don’t accept it, so JPEG remains the safer default for compatibility.
Can I recover quality lost from over-compressing a JPEG?
No. Once detail is removed during compression, it can’t be restored. Always compress from the original or highest-quality version available, not from an already compressed copy.
Why does the same quality setting look different on two different photos?
Image content affects how visible compression is. Busy, textured photos mask artifacts well, while images with smooth gradients or fine text show compression loss more easily at the same quality level.