
If you’re filling out the UPSC Civil Services application, one small detail trips up more candidates than expected: the photograph isn’t just a plain passport-style picture. UPSC asks for your name and the date the photo was taken to be printed at the bottom of the image itself. Miss this, get the format wrong, or place it incorrectly, and your application can be flagged or rejected during scrutiny.
This guide covers exactly what the date stamp requirement means, how it differs from a regular photo upload, and how to add it correctly without messing up your file size or dimensions.
Key Takeaways
- UPSC requires the candidate’s name and the date the photograph was taken to be printed at the bottom of the photo, not just written on paper and photographed.
- The photo itself must be a recent color JPG, generally between 20KB and 200KB, though some notifications and prep portals list a slightly wider range up to 300KB.
- The photo should not be older than 10 days from when the application window opens, so don’t reuse an old passport photo.
- Face coverage should be around 75% of the frame, on a plain white background, with both ears visible.
- Always cross-check the exact figures against the current year’s official notification on upsconline.nic.in, since minor variations do show up between examination cycles.
What Exactly Is the Date Stamp Requirement?
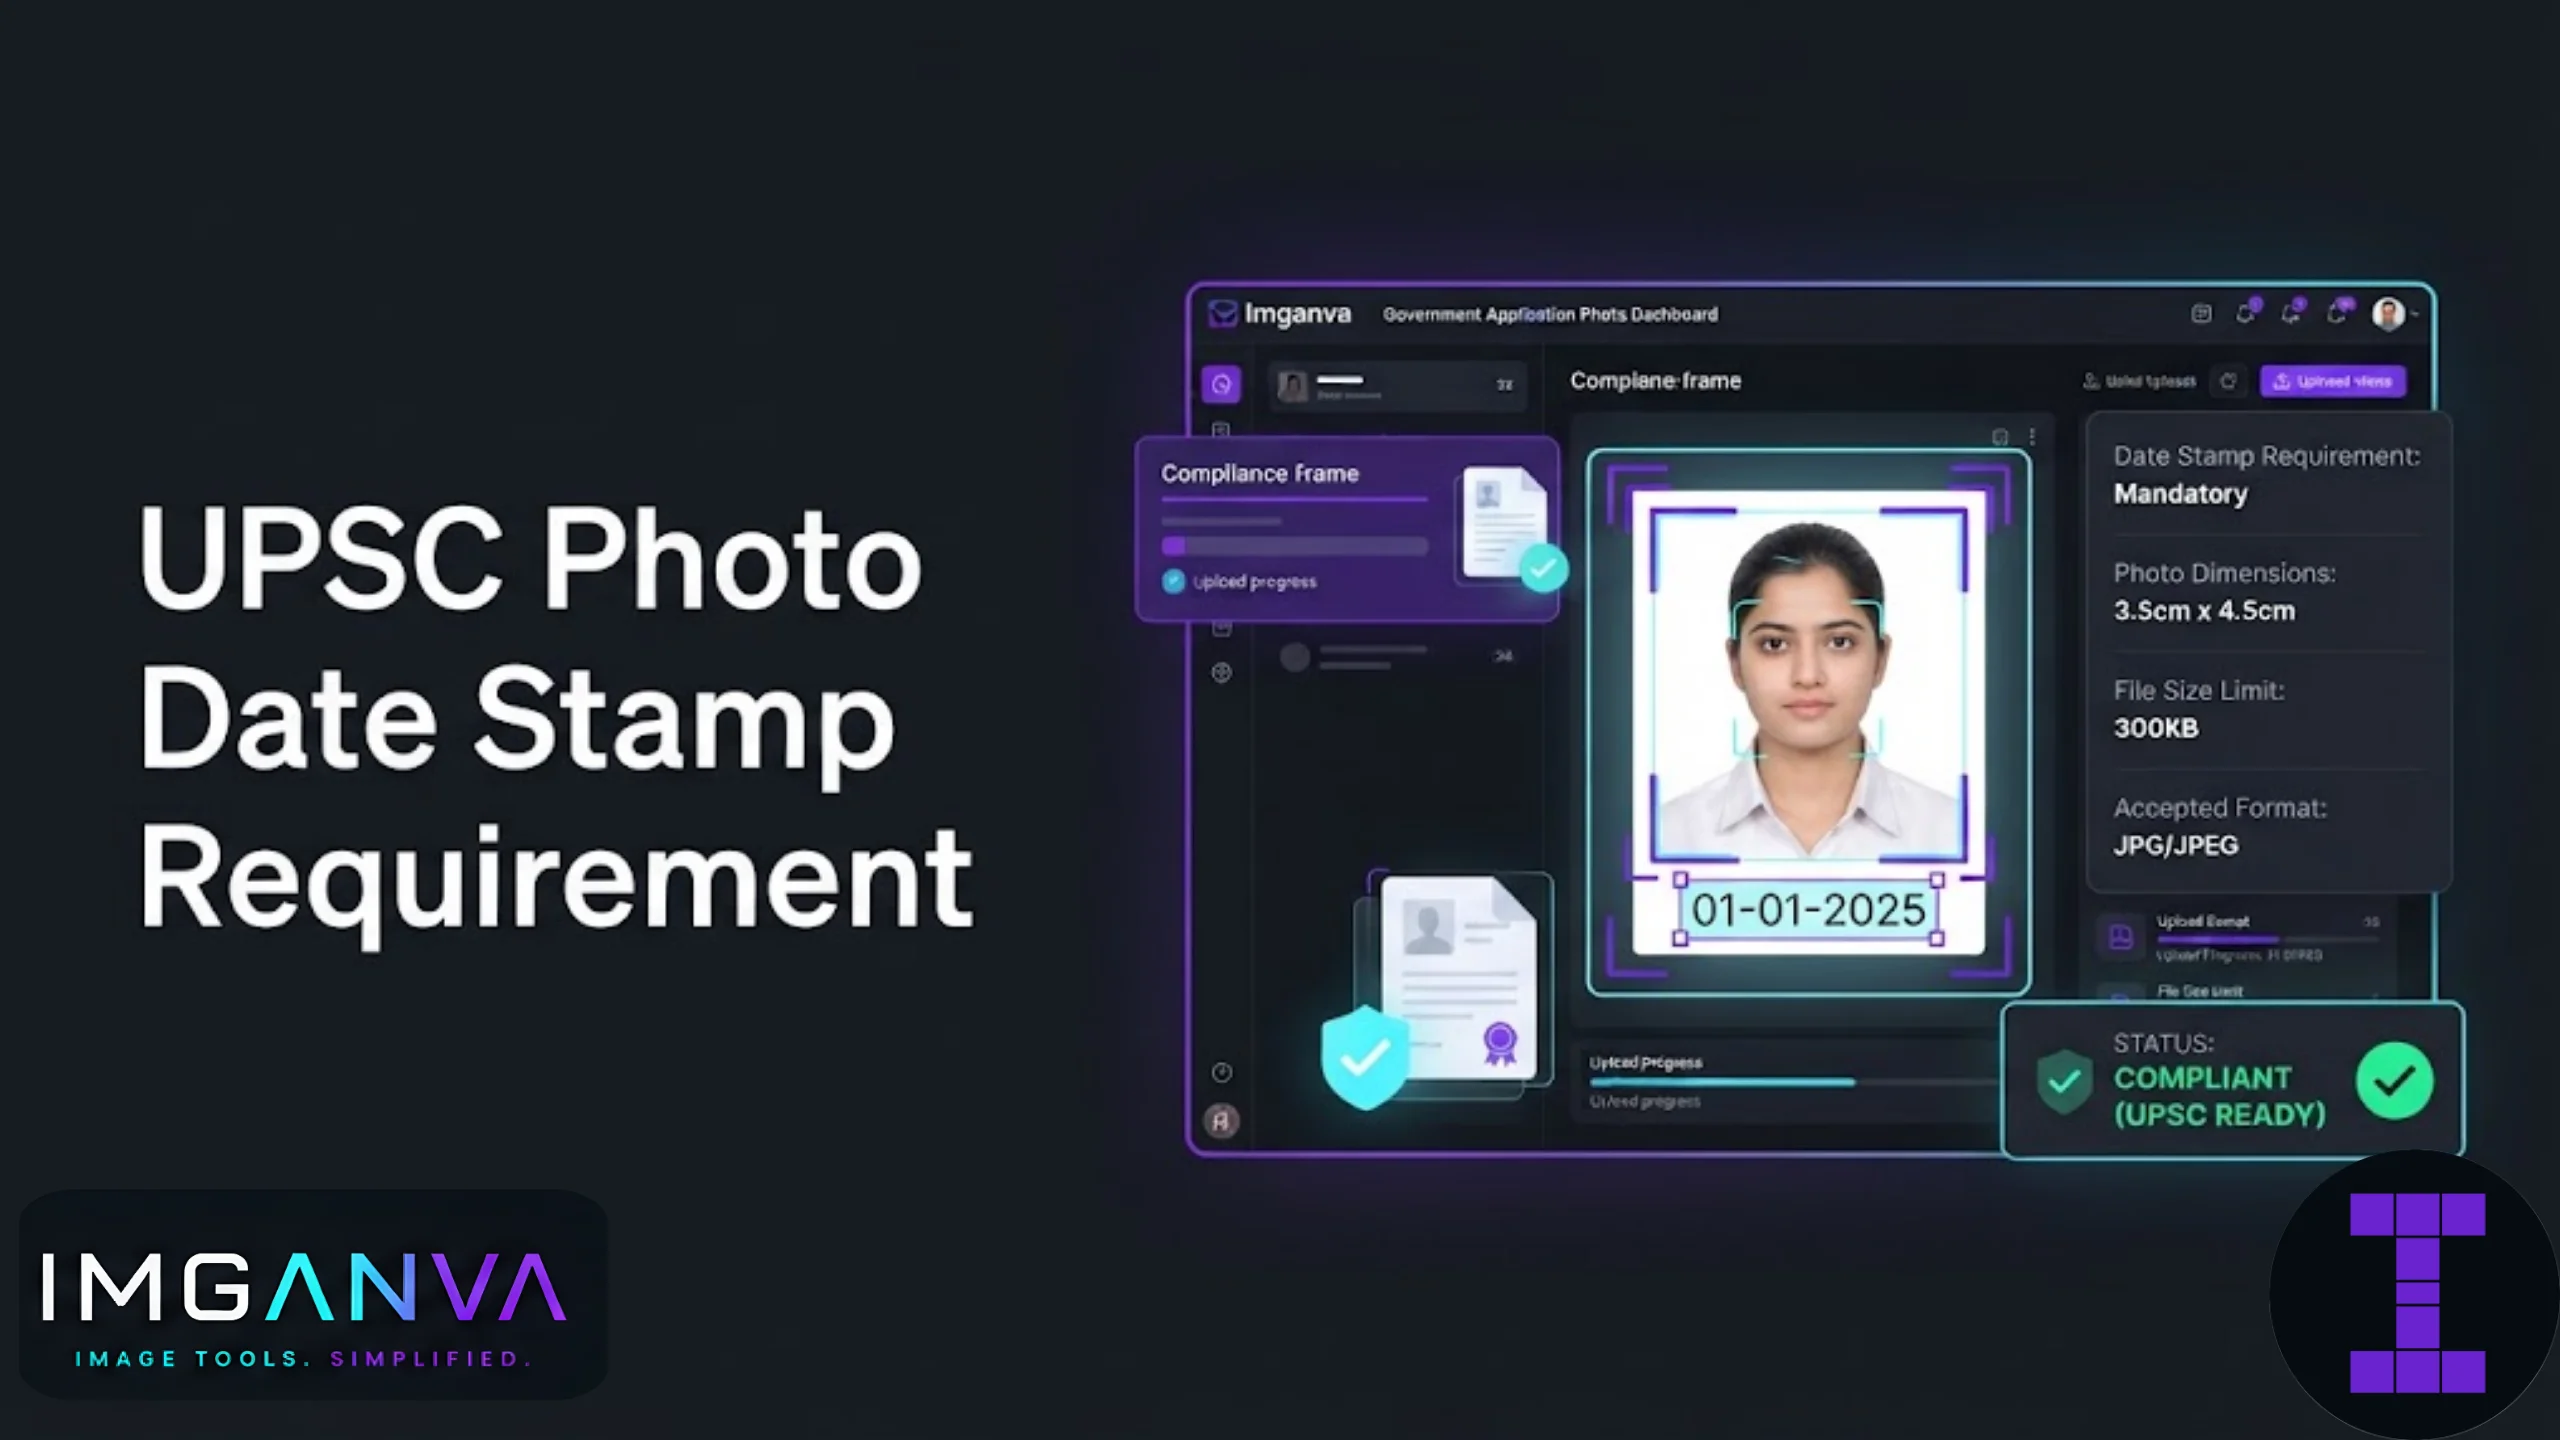
Most exam portals just want a recent photo. UPSC goes a step further. The name and date need to appear printed on the photograph as text, usually near the bottom edge, in a way that’s clearly legible and doesn’t overlap your face or cover the background. This isn’t a signature you add separately or a caption in the form. It has to be part of the image file you upload.
The reasoning behind this is straightforward. UPSC examinations run over many months, from prelims to mains to interviews, and the photo is matched against your appearance at each stage along with a live photo capture during application. A printed date makes it easy for verification staff to confirm the photo wasn’t reused from years earlier.
UPSC Photo Specifications at a Glance
| Requirement | Specification |
|---|---|
| File format | JPG / JPEG only |
| File size | 20KB to 200KB (some sources list up to 300KB; verify with current notification) |
| Background | Plain white, no shadows or patterns |
| Face coverage | Around 75% of the frame |
| Photo age | Not older than 10 days from application window opening |
| Text overlay | Candidate’s name and photo date printed at the bottom |
| Expression | Neutral, eyes open, both ears visible |
Because the exact KB range has shown minor variation across different years and prep sources, it’s worth treating 20KB to 200KB as the safe working target unless the current notification explicitly says otherwise.
How This Differs From Other Exam Photo Rules
Not every exam asks for a printed date. This is actually one of the more distinctive parts of the UPSC photo process, and it’s easy to assume the rules are the same everywhere. They’re not.
| Exam | Date stamp on photo required? | Notes |
|---|---|---|
| UPSC CSE | Yes | Name and date printed at bottom of photo |
| Kerala PSC | Yes | Requires a text band with name and date, plus fixed pixel dimensions |
| SSC | Usually no printed stamp, but photo must be recent | Often requires confirming the photo is within the last 3 months |
| NEET UG / JEE Main | No | Recency and dimension rules apply, but no text overlay on the image |
If you’re prepping for more than one exam, don’t assume a photo you already formatted for NEET or JEE will work for UPSC. The overlay text is a UPSC-specific (and Kerala PSC-specific) detail that other portals simply don’t ask for.
How to Add the Date Stamp Correctly
You don’t need photo editing software or a designer’s touch for this. A few careful steps get it right:
- Take the photo first, then get the actual date right. Use the date the photo was taken, not the date you’re filling out the form. These are sometimes different if you took the photo a few days earlier.
- Keep the text small and legible. A clean, readable font at the bottom edge works better than large bold text that eats into the photo. Avoid decorative fonts.
- Don’t cover your face or the white background. The text band should sit in a strip at the bottom without touching your chin or shoulders.
- Resize before you add the text. If your photo is too large in pixel dimensions, bring it down first using an image resizer, then add the overlay so the text doesn’t get blurred or resized awkwardly afterward.
- Compress to the target KB range last. Once the text is in place, use a tool that lets you hit an exact file size, like Imganva’s change image size in KB tool, so you land inside the 20KB to 200KB window without guessing quality percentages manually.
Checking the sequence matters here. Compressing first and adding text after can push your file back over the size limit, since text and any editing software’s re-save process often adds a little weight back to the file.
Common Mistakes Candidates Make
A lot of rejected applications come down to a handful of repeat issues, not obscure technical problems.
- Using an old photo with a fresh date typed on. Verification staff can often tell, and it defeats the purpose of the requirement anyway.
- Placing the date stamp too close to the face. This can make the photo look cluttered and risks partial face coverage falling outside the 75% guideline.
- Skipping the recency window. A photo taken weeks before the application opens, even if otherwise fine, doesn’t meet the 10-day rule.
- Not rechecking file size after adding the overlay. Adding text and re-saving in basic photo apps sometimes pushes the file above 200KB without the candidate noticing until upload fails.
- Assuming pixel dimensions from a random blog are official. Several third-party portals list specific pixel or centimeter figures that aren’t always consistent with each other. Treat the size and format info as directional and confirm against the current year’s official PDF notification before finalizing.
This last point matters more than it seems. UPSC’s own notification typically focuses on format (JPG), file size range, and content rules like face coverage and the date stamp, rather than a single universally agreed pixel dimension. If a source gives you an oddly specific pixel number with total confidence, cross-check it against the actual notification for your exam cycle.
Quick Checklist Before You Upload
| Check | Done? |
|---|---|
| Photo is recent, within 10 days of application opening | |
| Name and date printed at bottom, clearly legible | |
| Face covers roughly 75% of frame | |
| Background is plain white | |
| File saved as JPG | |
| File size falls between 20KB and 200KB | |
| Filename matches what the portal instructions ask for |
If you’re also handling passport photo formatting for other purposes, our guide on the complete photo size requirements for exams and applications walks through dimension and file size rules across other major exams and portals.
Frequently Asked Questions
Does UPSC really require the date printed on the photo itself?
Yes. The candidate’s name and the date the photograph was taken must be printed at the bottom of the photo, not just mentioned elsewhere in the form.
What happens if I upload a photo without the date stamp?
Your application can be flagged during scrutiny or rejected, since the date stamp is treated as a mandatory part of the photo specification, not an optional detail.
Can I add the date stamp using any photo editing app?
Yes, any editor that lets you add text to an image works, including free mobile apps. Just keep the text small, legible, and placed at the bottom edge without covering your face.
What file size should the final UPSC photo be?
Most official guidance places it between 20KB and 200KB in JPG format, though some sources list a wider range up to 300KB. Confirm against the current year’s notification before submitting.
Should I use the date I’m filling the form or the date I took the photo?
Use the actual date the photograph was taken. Using the form submission date instead defeats the purpose of the recency check.
Is the date stamp requirement the same for UPSC and SSC?
No. SSC generally asks for a recent photo without a printed date stamp, while UPSC and Kerala PSC specifically require the name and date printed on the image.
Can I reuse my NEET or JEE photo for UPSC?
Not directly. Those exams don’t require a printed date stamp, so a photo formatted for them won’t meet UPSC’s overlay requirement without editing.
Will adding text to my photo push it over the file size limit?
It can, especially if you compress the photo first and add text afterward. Add the text overlay first, then compress to your target file size as the last step.
What if my face doesn’t cover 75% of the frame after resizing?
Crop the photo tighter around the face and shoulders before adding the date stamp, so the proportion matches the guideline once the final image is saved.
Where can I check the exact current specifications for my application year?
Always refer to the official notification PDF released on upsconline.nic.in for your specific examination cycle, since minor variations in file size or format do occur year to year.
Summary
The UPSC photo date stamp requirement is a small detail with a real impact on your application. Your photo needs the candidate’s name and the actual date it was taken printed at the bottom, alongside a plain white background, roughly 75% face coverage, and a file size that generally sits between 20KB and 200KB in JPG format. Get the sequence right by resizing first, adding the text overlay, and compressing to the target size last, and you’ll avoid the most common reasons applications get held up at the photo upload stage. Since exact figures can shift slightly between examination cycles, treat this as a working guide and confirm the fine print against the current official notification before you submit.