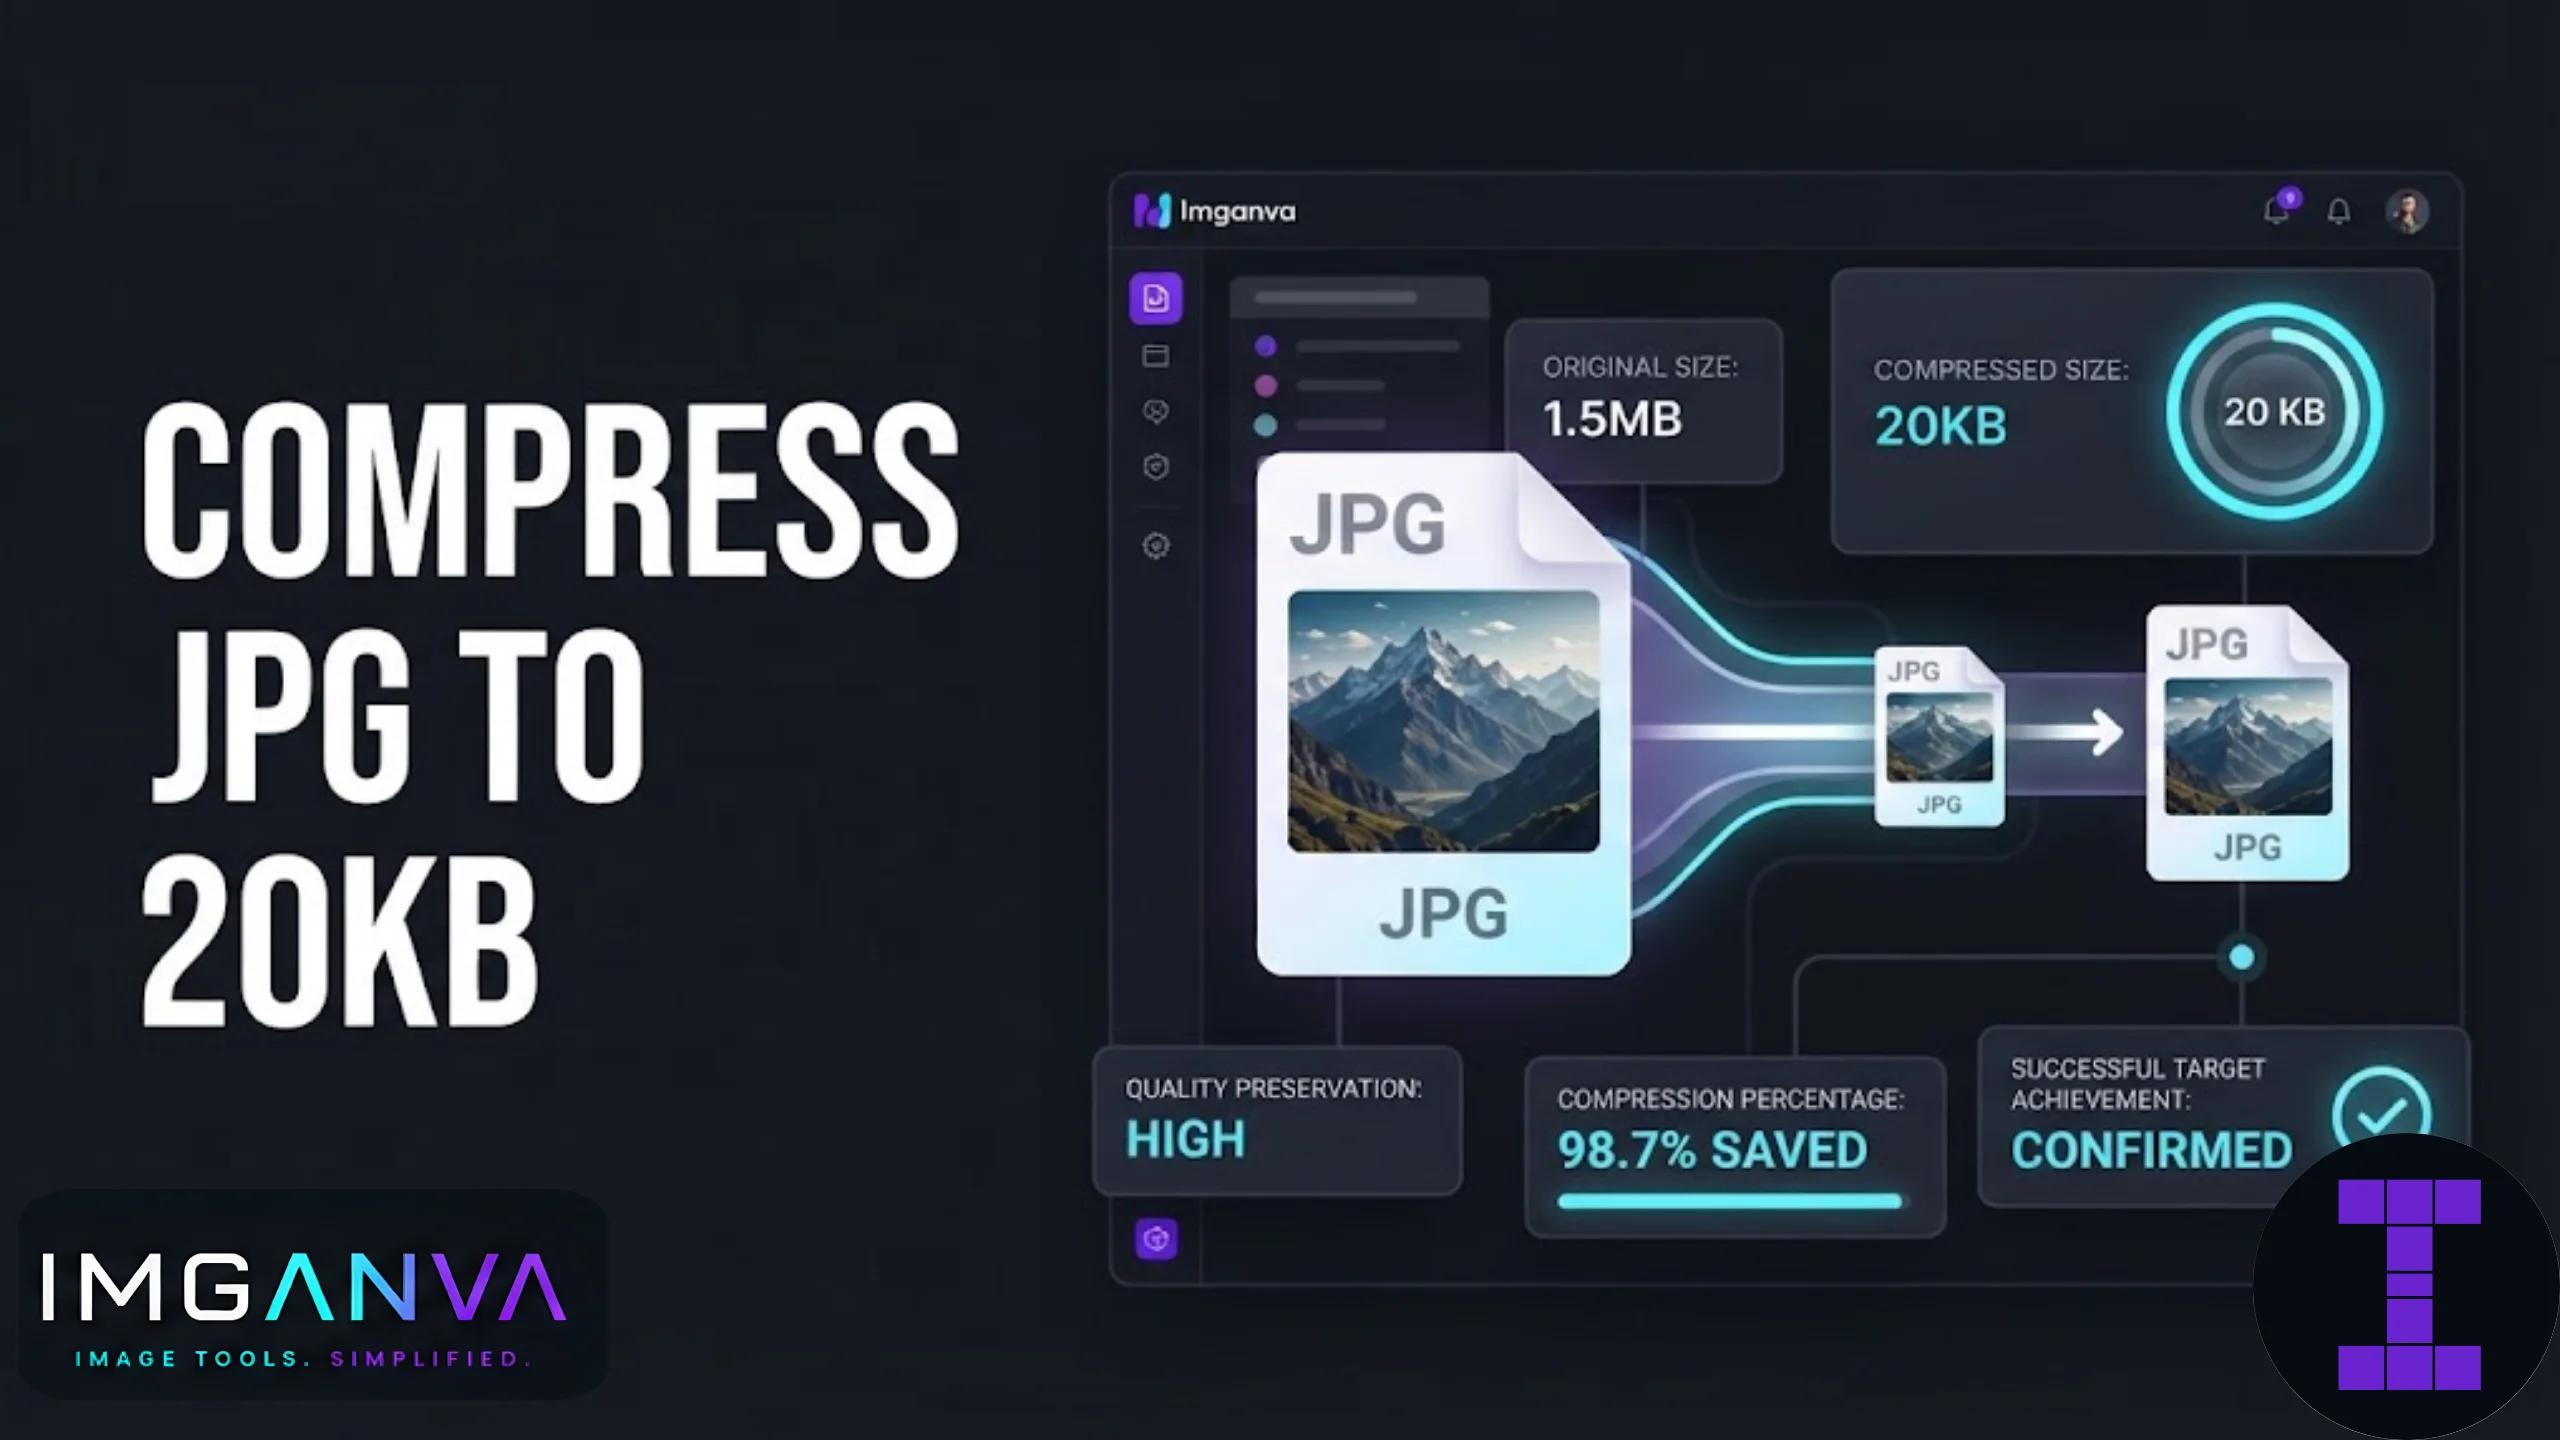

Twenty kilobytes is a tight limit. Most phone photos land somewhere between 2MB and 8MB straight out of the camera, so getting down to 20KB means shrinking a file to roughly 0.5% of its original size. This comes up constantly for government exam forms, scholarship portals, and old-school application systems that were built years ago and never updated their upload limits.
The good news is that 20KB is achievable without the photo turning into a blurry mess, as long as you resize the dimensions first and compress second.
Key Takeaways
- 20KB is a dimension problem before it’s a quality problem. Shrink the pixel size first, then compress.
- JPG compresses smaller than PNG for photos, which is why most 20KB requirements specify JPG or JPEG.
- A photo saved at 200x230px to 300x400px in JPG can usually hit 20KB while staying readable.
- Going straight from a 12MP photo to 20KB using quality sliders alone usually produces visible blotching around the face and background.
- Automated tools that target an exact KB value work faster and more reliably than manual trial and error.
Why 20KB Is Such a Common Requirement
Exam boards and application portals in India often set photo limits at 20KB, 50KB, or a range like “20KB to 50KB.” This traces back to older server infrastructure and database storage limits that many of these portals still run on. NTA, SSC, and several state-level recruitment boards specify small photo sizes precisely because their upload systems were designed for lightweight submissions.
If you’re filling out a form for UPSC, SSC, IBPS, RRB, or a similar exam, check the exact instructions before compressing. Some ask for a strict 20KB limit, others allow “up to 20KB,” and a few use a range. The difference matters because going even slightly over a strict cap will get your form rejected at the upload stage.
The Two-Step Method: Resize, Then Compress
Trying to hit 20KB by lowering JPG quality alone, without touching the dimensions, is where most people go wrong. A large image compressed down to 20KB at full resolution ends up with visible artifacts, blocky patches, and color banding because there simply isn’t enough data budget to represent that many pixels cleanly.
| Approach | Result at 20KB | Recommended |
|---|---|---|
| Full resolution + heavy quality reduction | Blurry, blocky, visible compression artifacts | No |
| Resized to passport/form dimensions + moderate compression | Clean, readable, face clearly visible | Yes |
| Resized too small (under 150px width) | Sharper file size, but face may look pixelated when reviewed | Only if the portal specifies these exact dimensions |
Step one is resizing the photo to the dimensions your form actually needs, usually somewhere between 200x230px and 350x450px for passport-style photos. An image resizer handles this part quickly if you’re not sure what the target pixel dimensions should be.
Step two is compression. Once the dimensions are right, run the resized image through an image compressor and target 20KB directly rather than adjusting a quality slider and hoping for the best.
Step-by-Step: Compress JPG to Exactly 20KB
- Check the exact photo dimensions required by the form or exam portal (width x height in pixels, or cm/inches if specified).
- Resize your original photo to those dimensions using an image resizer.
- Open the resized image in an image compressor.
- Set your target file size to 20KB, or as close to it as the tool allows.
- Preview the result before downloading. Check that facial features are still clear, especially the eyes and edges of the face.
- If the portal requires an exact byte range, use a KB-specific size tool to fine-tune the output rather than guessing with repeated saves.
What Quality Settings Actually Get You to 20KB
For a typical passport-style photo resized to around 300x400px, JPG quality settings in the 40 to 55 range usually land close to 20KB. This isn’t a fixed rule since it depends on how much detail and color variation is in the photo, but it’s a reasonable starting point.
| Image Dimensions | Approx. JPG Quality for 20KB | Visual Result |
|---|---|---|
| 150x180px | 60-70% | Clean, minimal artifacts |
| 200x230px | 50-60% | Good clarity, standard for exam forms |
| 300x400px | 35-45% | Acceptable but softer detail |
| 413x531px (standard passport) | 25-35% | Noticeable softness, use only if required |
These numbers are approximate. Photos with plain, uniform backgrounds compress more efficiently than photos with busy backgrounds or patterned clothing, since JPG compression works by simplifying repeated color patterns.
Common Mistakes When Compressing to 20KB
- Skipping the resize step. Compressing a full-size photo straight to 20KB almost always looks worse than resizing first.
- Saving as PNG. PNG is lossless and holds far more data per pixel, which makes it nearly impossible to hit 20KB without extreme downscaling. Stick with JPG for these requirements.
- Ignoring the aspect ratio. Many portals reject photos that don’t match the required width-to-height ratio, even if the file size is correct.
- Repeated re-saving. Every time a JPG is re-compressed and re-saved, it loses a bit more quality. Work from the original photo each time rather than compressing an already-compressed file.
- Not checking the portal’s exact wording. “20KB” and “up to 20KB” and “20KB-50KB” are three different requirements, and treating them as identical can lead to rejected uploads.
When 20KB Might Not Be the Right Target
If the form doesn’t specify an exact limit and only asks for “a small file size” or gives a range like 20KB to 50KB, aiming for the higher end of that range usually preserves more detail without any downside. Compressing tighter than required only costs you image quality for no real benefit.
Similarly, if you’re uploading the same photo across multiple different portals with different limits, it’s often easier to keep one properly resized master copy and compress a separate version for each specific requirement, rather than trying to make one file satisfy every limit at once.
Can I compress a JPG to exactly 20KB?
Yes. Resize the image to the required dimensions first, then use a compressor that lets you target a specific file size like 20KB rather than only adjusting a quality percentage.
Why does my photo look blurry after compressing to 20KB?
This usually happens when the photo is compressed at full resolution instead of being resized first. Reducing the pixel dimensions before compressing gives much cleaner results at very small file sizes.
Should I save my photo as JPG or PNG for a 20KB limit?
Use JPG. PNG is lossless and stores far more data, making it very difficult to reach 20KB without extremely aggressive downscaling that hurts quality.
What dimensions should I use for a 20KB exam photo?
Most passport-style exam photos work well between 200x230px and 350x450px, but always check the specific exam portal’s stated requirements first.
Is 20KB enough for a clear passport-style photo?
Yes, as long as the image is resized appropriately beforehand. A properly resized photo at 20KB is usually clear enough for identification and form review purposes.
What if my exam portal asks for 20KB to 50KB?
Aim for the higher end of the range when a range is given. This preserves more image quality without violating the upload limit.
Can I use my phone’s camera app to hit 20KB directly?
Most phone camera apps don’t offer this level of file size control. It’s easier to take the photo normally, then resize and compress it separately using dedicated tools.
Will repeated compression ruin my photo?
Yes, over time. Each time a JPG is re-saved and re-compressed, some quality is lost permanently. Always compress from the original file rather than an already-compressed copy.
Does the background of my photo affect how small I can compress it?
Yes. Plain, uniform backgrounds compress more efficiently than busy or patterned backgrounds, since JPG compression relies on simplifying repeated color data.
What’s the fastest way to hit an exact KB target without guessing?
Use a compressor tool built to target a specific KB value directly, rather than manually adjusting quality percentages and re-checking the file size each time.
Summary
Hitting 20KB cleanly comes down to order of operations: resize the photo to the dimensions your form actually needs, then compress with a target file size rather than a vague quality slider. Skipping the resize step is the single biggest reason people end up with blurry, rejected uploads. For exam and application photos specifically, check the exact wording of the size requirement before you start, since a strict 20KB cap and a “20KB to 50KB” range call for slightly different approaches. Once you have the right dimensions, an image compressor that lets you target an exact KB value will get you there in one or two tries instead of a dozen. For more on balancing quality against file size across different use cases, the complete image compression guide covers the broader techniques this article builds on.