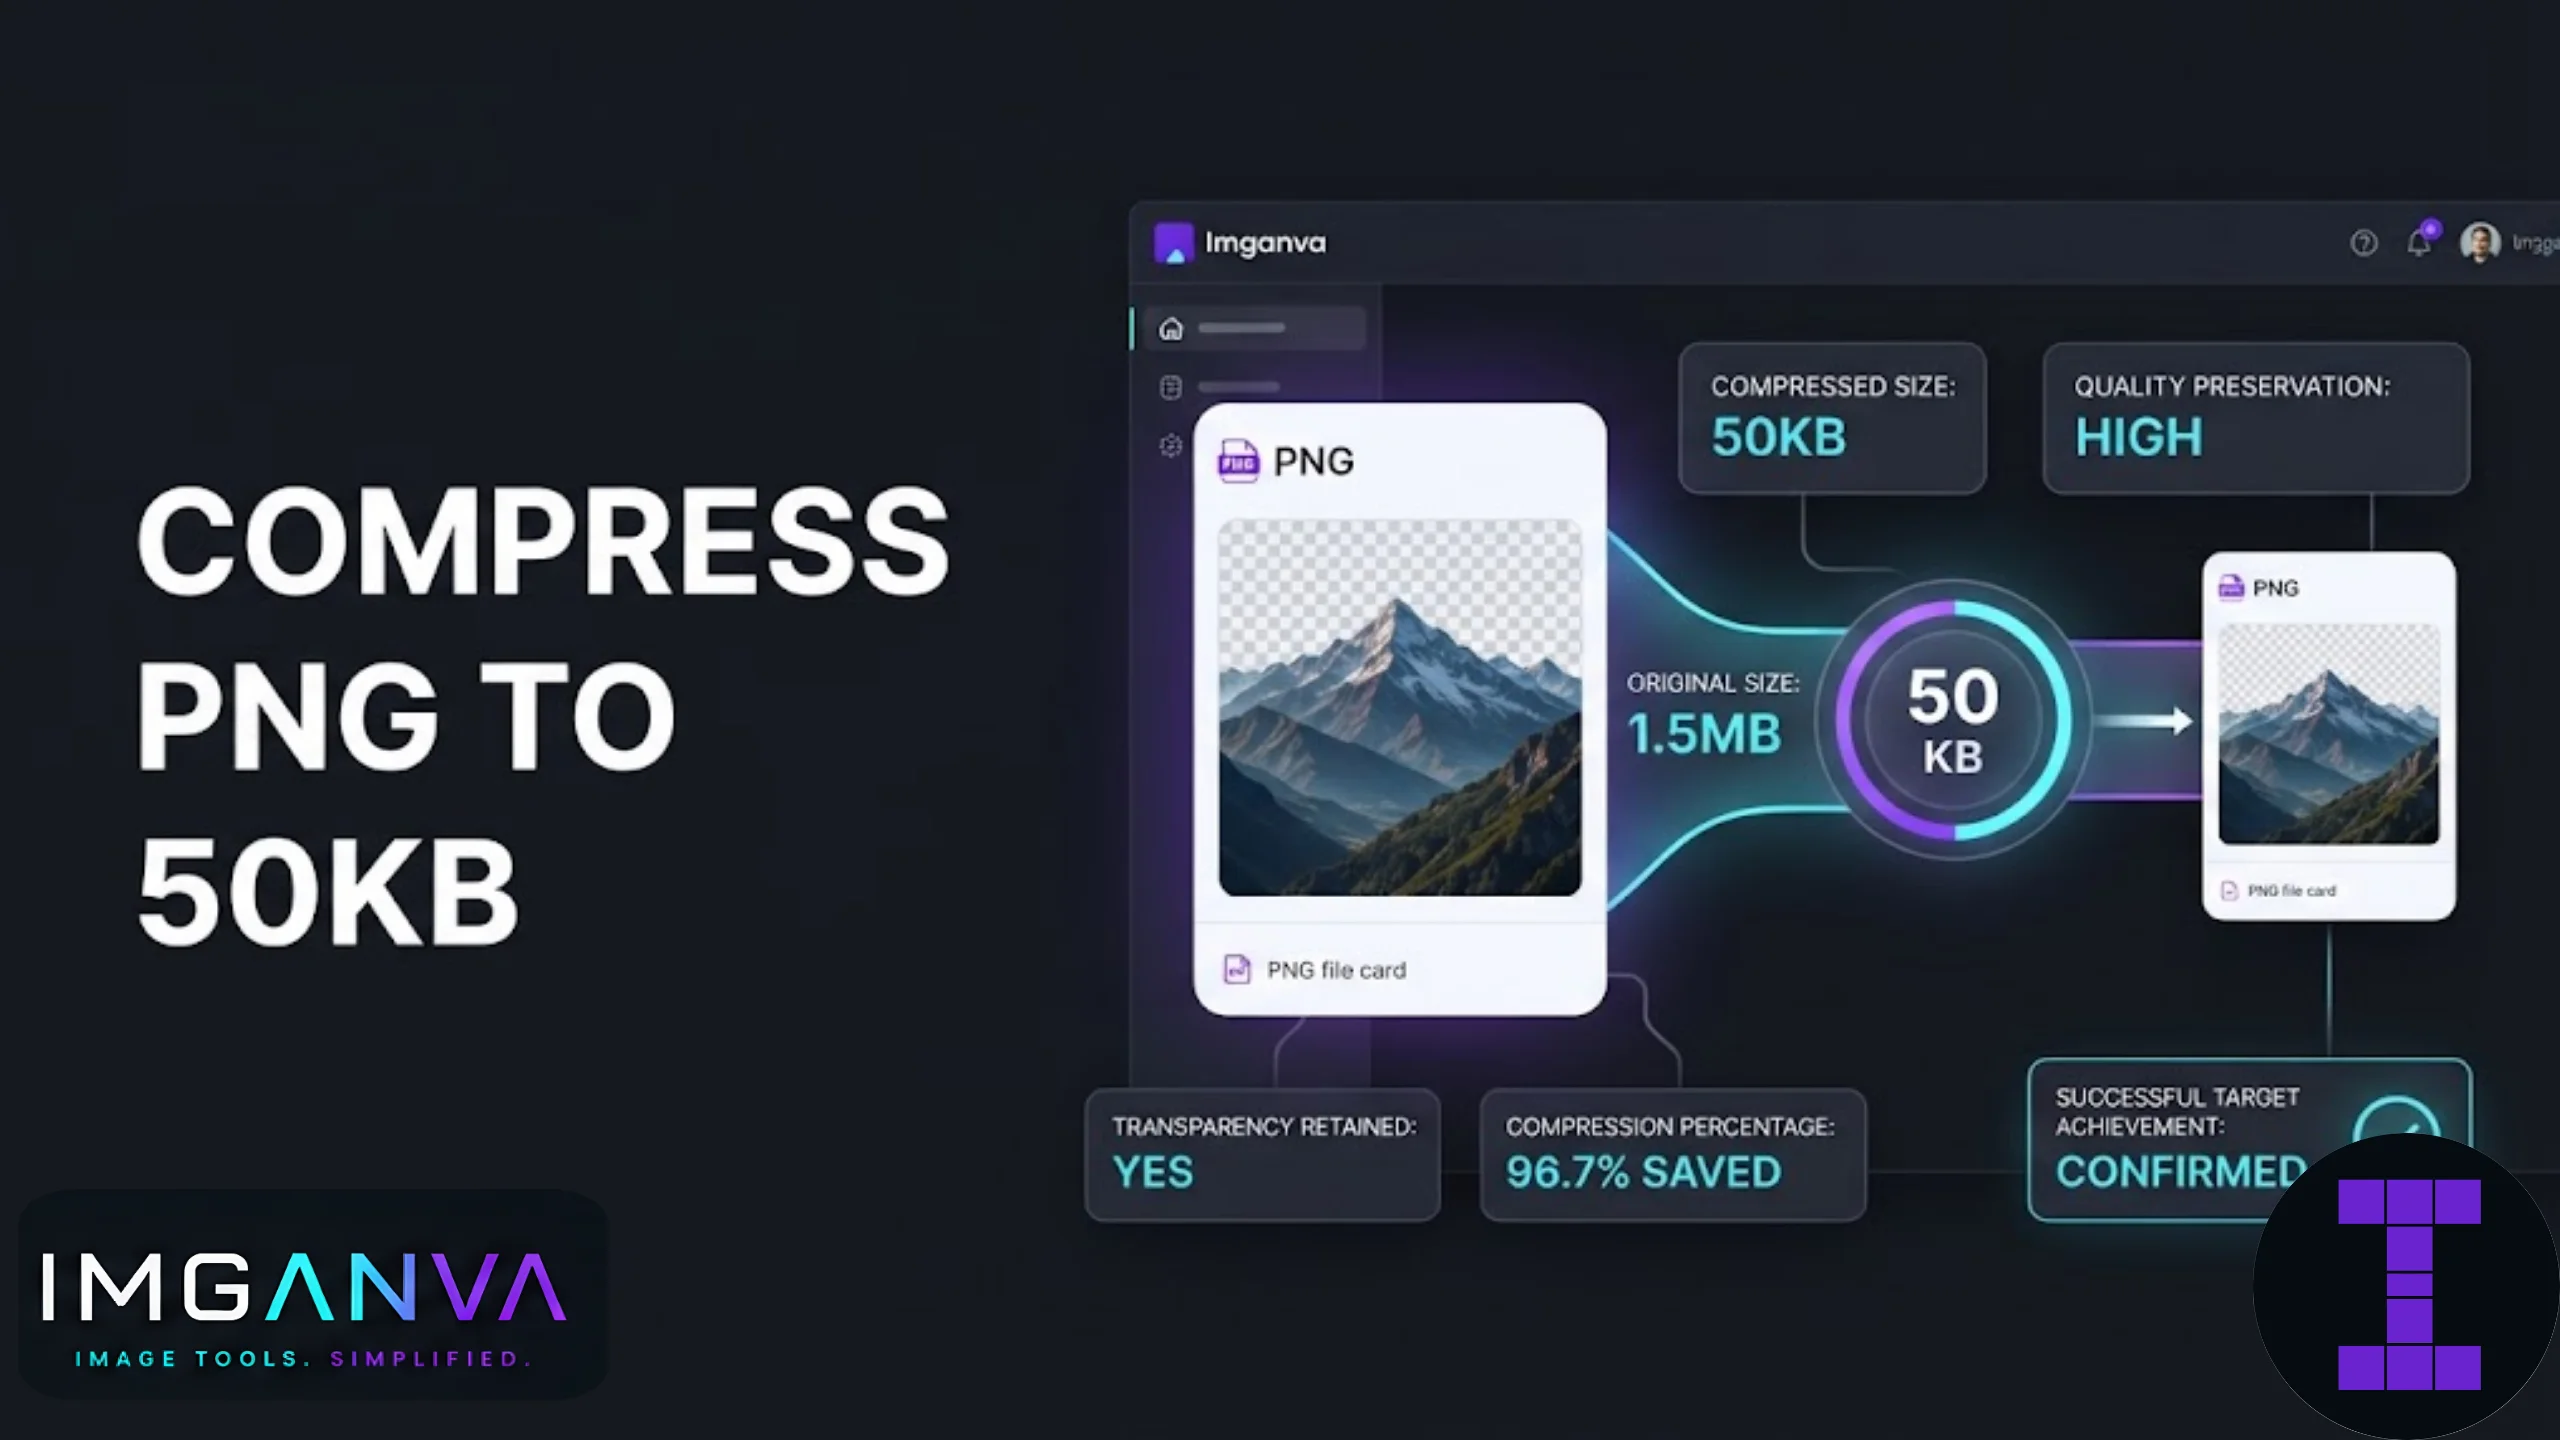

PNG files are already working against you when the target is 50KB. Unlike JPG, PNG uses lossless compression, which means it preserves every pixel of detail and every bit of transparency data. That’s great for screenshots, logos, and graphics with sharp edges, but it also means PNG files are naturally much larger than JPGs at the same dimensions.
Getting a PNG down to 50KB is possible, but it usually means making a decision first: do you actually need it to stay a PNG, or will a JPG do the job just as well?
Key Takeaways
- PNG compresses less efficiently than JPG for photos, so 50KB is a tighter squeeze than it sounds.
- If your image doesn’t need transparency, converting to JPG before compressing usually gets you a smaller, cleaner file.
- If transparency is required, reducing colors and resizing dimensions matters more than any “quality” setting, since PNG doesn’t compress the same way JPG does.
- Screenshots and simple graphics with flat colors compress to 50KB far more easily than photographs saved as PNG.
- A resize-first approach works for PNG the same way it does for JPG.
Why PNG Struggles to Hit 50KB
PNG was built to reproduce an image exactly, pixel for pixel, with no data thrown away. That’s ideal for things like app icons, diagrams, and screenshots with text, where JPG’s lossy compression would introduce blurring around edges and text. But that same lossless approach means a photo saved as PNG can easily be five to ten times larger than the same photo saved as JPG.
If your image contains photographic detail like gradients, skin tones, or complex backgrounds, PNG has to store far more information to reproduce it exactly, and there’s no quality slider to reduce that data the way JPG offers.
Step One: Decide If You Actually Need PNG
Before compressing, ask what the image is being used for. Government portals, job applications, and most form uploads that specify “PNG or JPG” accepted don’t actually require transparency, they just need a small, clear file. In these cases, converting to JPG first will almost always get you to 50KB more easily and with better visual quality.
| Use Case | Keep as PNG? | Recommended Format |
|---|---|---|
| Passport/exam photo | No | JPG |
| Screenshot with text | Yes | PNG |
| Logo with transparent background | Yes | PNG |
| Photo for a website or form | No | JPG |
| Diagram or flat-color graphic | Yes (or WEBP) | PNG |
If transparency isn’t needed, an image converter can switch the file to JPG in seconds, and from there compressing to 50KB becomes a much easier task.
Step Two: If You Need PNG, Resize Before You Compress
When transparency or lossless quality is a genuine requirement, resizing the image is your main lever. PNG file size scales closely with the number of pixels and the number of distinct colors in the image, so a smaller image with fewer colors will always compress down further than a large, colorful one.
- Check what dimensions you actually need for the use case (screenshot for documentation, app icon, form upload, etc.).
- Resize the image down to those dimensions using an image resizer.
- Run the resized PNG through an image compressor that supports PNG optimization, which reduces file size by simplifying color palettes and removing redundant metadata.
- Check the result. If it’s still above 50KB, reduce the dimensions further rather than trying to force more compression out of the same size image.
PNG Compression Techniques That Actually Help
| Technique | Effect on File Size | Effect on Quality |
|---|---|---|
| Reducing image dimensions | Large reduction | Minimal loss if scaled proportionally |
| Color palette reduction (PNG-8 vs PNG-24) | Significant reduction | Noticeable for photos, unnoticeable for flat graphics |
| Removing metadata | Small reduction | None |
| Converting to JPG (if transparency not needed) | Very large reduction | Minor loss, usually acceptable |
| Converting to WEBP | Large reduction, keeps transparency | Minimal loss |
Color palette reduction is worth understanding because it’s the main reason two PNGs of the same dimensions can have very different file sizes. A screenshot with mostly flat colors and text might use only a few hundred distinct colors, which compresses down easily. A PNG photo with smooth gradients and shadows can use tens of thousands of colors, which resists compression no matter how small you make the dimensions.
What About WEBP?
If the platform or portal accepts WEBP, it’s often a better middle ground than PNG for hitting small file size targets while keeping transparency. WEBP supports both lossless and lossy compression with an alpha channel, and typically produces files noticeably smaller than PNG at the same visual quality. Not every upload portal accepts WEBP though, so check the accepted formats before switching.
Common Mistakes When Compressing PNG to 50KB
- Trying to compress a full-resolution photo saved as PNG. Resize first, or convert to JPG if transparency isn’t needed.
- Assuming PNG “quality” settings work like JPG. PNG compression is lossless, so the real levers are dimensions and color count, not a quality percentage.
- Keeping unnecessary transparency. If the background is already a solid color and doesn’t need to be transparent, flattening it and converting to JPG usually gets a much smaller file.
- Ignoring metadata bloat. Some PNGs carry extra color profile and metadata information that adds unnecessary weight without improving how the image looks.
- Re-saving the same PNG repeatedly. Unlike JPG, this doesn’t degrade quality much since PNG is lossless, but it won’t shrink the file either. Compression needs an actual optimization pass, not just re-saving.
When 50KB PNG Isn’t Realistic
If you’re working with a detailed photograph and the portal genuinely requires PNG with no JPG option, getting to 50KB may mean shrinking the image down to a fairly small resolution, smaller than you’d want for anything beyond a basic thumbnail. In that situation, it’s worth double-checking whether the requirement is strictly PNG or just “an image file,” since most systems that specify PNG do so for logos and graphics rather than photographs.
Can a PNG file actually reach 50KB?
Yes, especially for screenshots, logos, and flat-color graphics. Photographic PNGs are harder to compress that small and usually need significant resizing or a format change to JPG or WEBP.
Should I convert PNG to JPG if I don’t need transparency?
Yes. JPG compresses far more efficiently than PNG for photos and typically reaches small file size targets like 50KB with much better visual quality than a heavily compressed PNG.
Why is my PNG so much bigger than the same photo saved as JPG?
PNG uses lossless compression, storing every pixel exactly, while JPG throws away some visual data to shrink the file. That’s why PNG files are usually several times larger than JPGs at the same dimensions.
Does resizing a PNG actually help hit 50KB?
Yes, resizing is one of the most effective ways to reduce PNG file size since it directly reduces the amount of pixel data the file has to store.
What is PNG-8 versus PNG-24?
PNG-8 uses a limited color palette of up to 256 colors, producing much smaller files, while PNG-24 supports millions of colors and full transparency, resulting in larger files. PNG-8 works well for simple graphics but not for detailed photos.
Is WEBP a good alternative to PNG for small file sizes?
Yes, if the platform accepts it. WEBP typically produces smaller files than PNG while still supporting transparency, making it a solid alternative when file size matters.
Why doesn’t lowering PNG quality reduce the file size much?
PNG doesn’t use a quality slider the way JPG does, since it’s a lossless format. The real ways to reduce PNG size are resizing the image and reducing the color palette.
Will converting my PNG to JPG remove transparency?
Yes. JPG doesn’t support transparency, so any transparent areas will be filled with a solid background color, usually white, during conversion.
Can I compress a PNG without losing image quality?
Yes, since PNG compression is lossless by nature. However, reducing dimensions or color count to hit a small file size target will affect how detailed the image looks, even though it isn’t the same as JPG-style quality loss.
What’s the fastest way to get a PNG down to 50KB?
Resize the image to the smallest dimensions that still work for your use case, then run it through a PNG-aware compressor. If transparency isn’t required, converting to JPG first is usually faster and produces better results.
Summary
Getting a PNG down to 50KB depends more on what the image actually needs to do than on any single compression setting. If transparency isn’t required, converting to JPG with an image converter almost always gets you there faster and with a cleaner result. If PNG is genuinely necessary, resizing the image and reducing its color palette through an image compressor are the two levers that actually move file size. For a broader look at compression techniques across formats, the complete image compression guide covers how JPG, PNG, and WEBP compare in more depth.