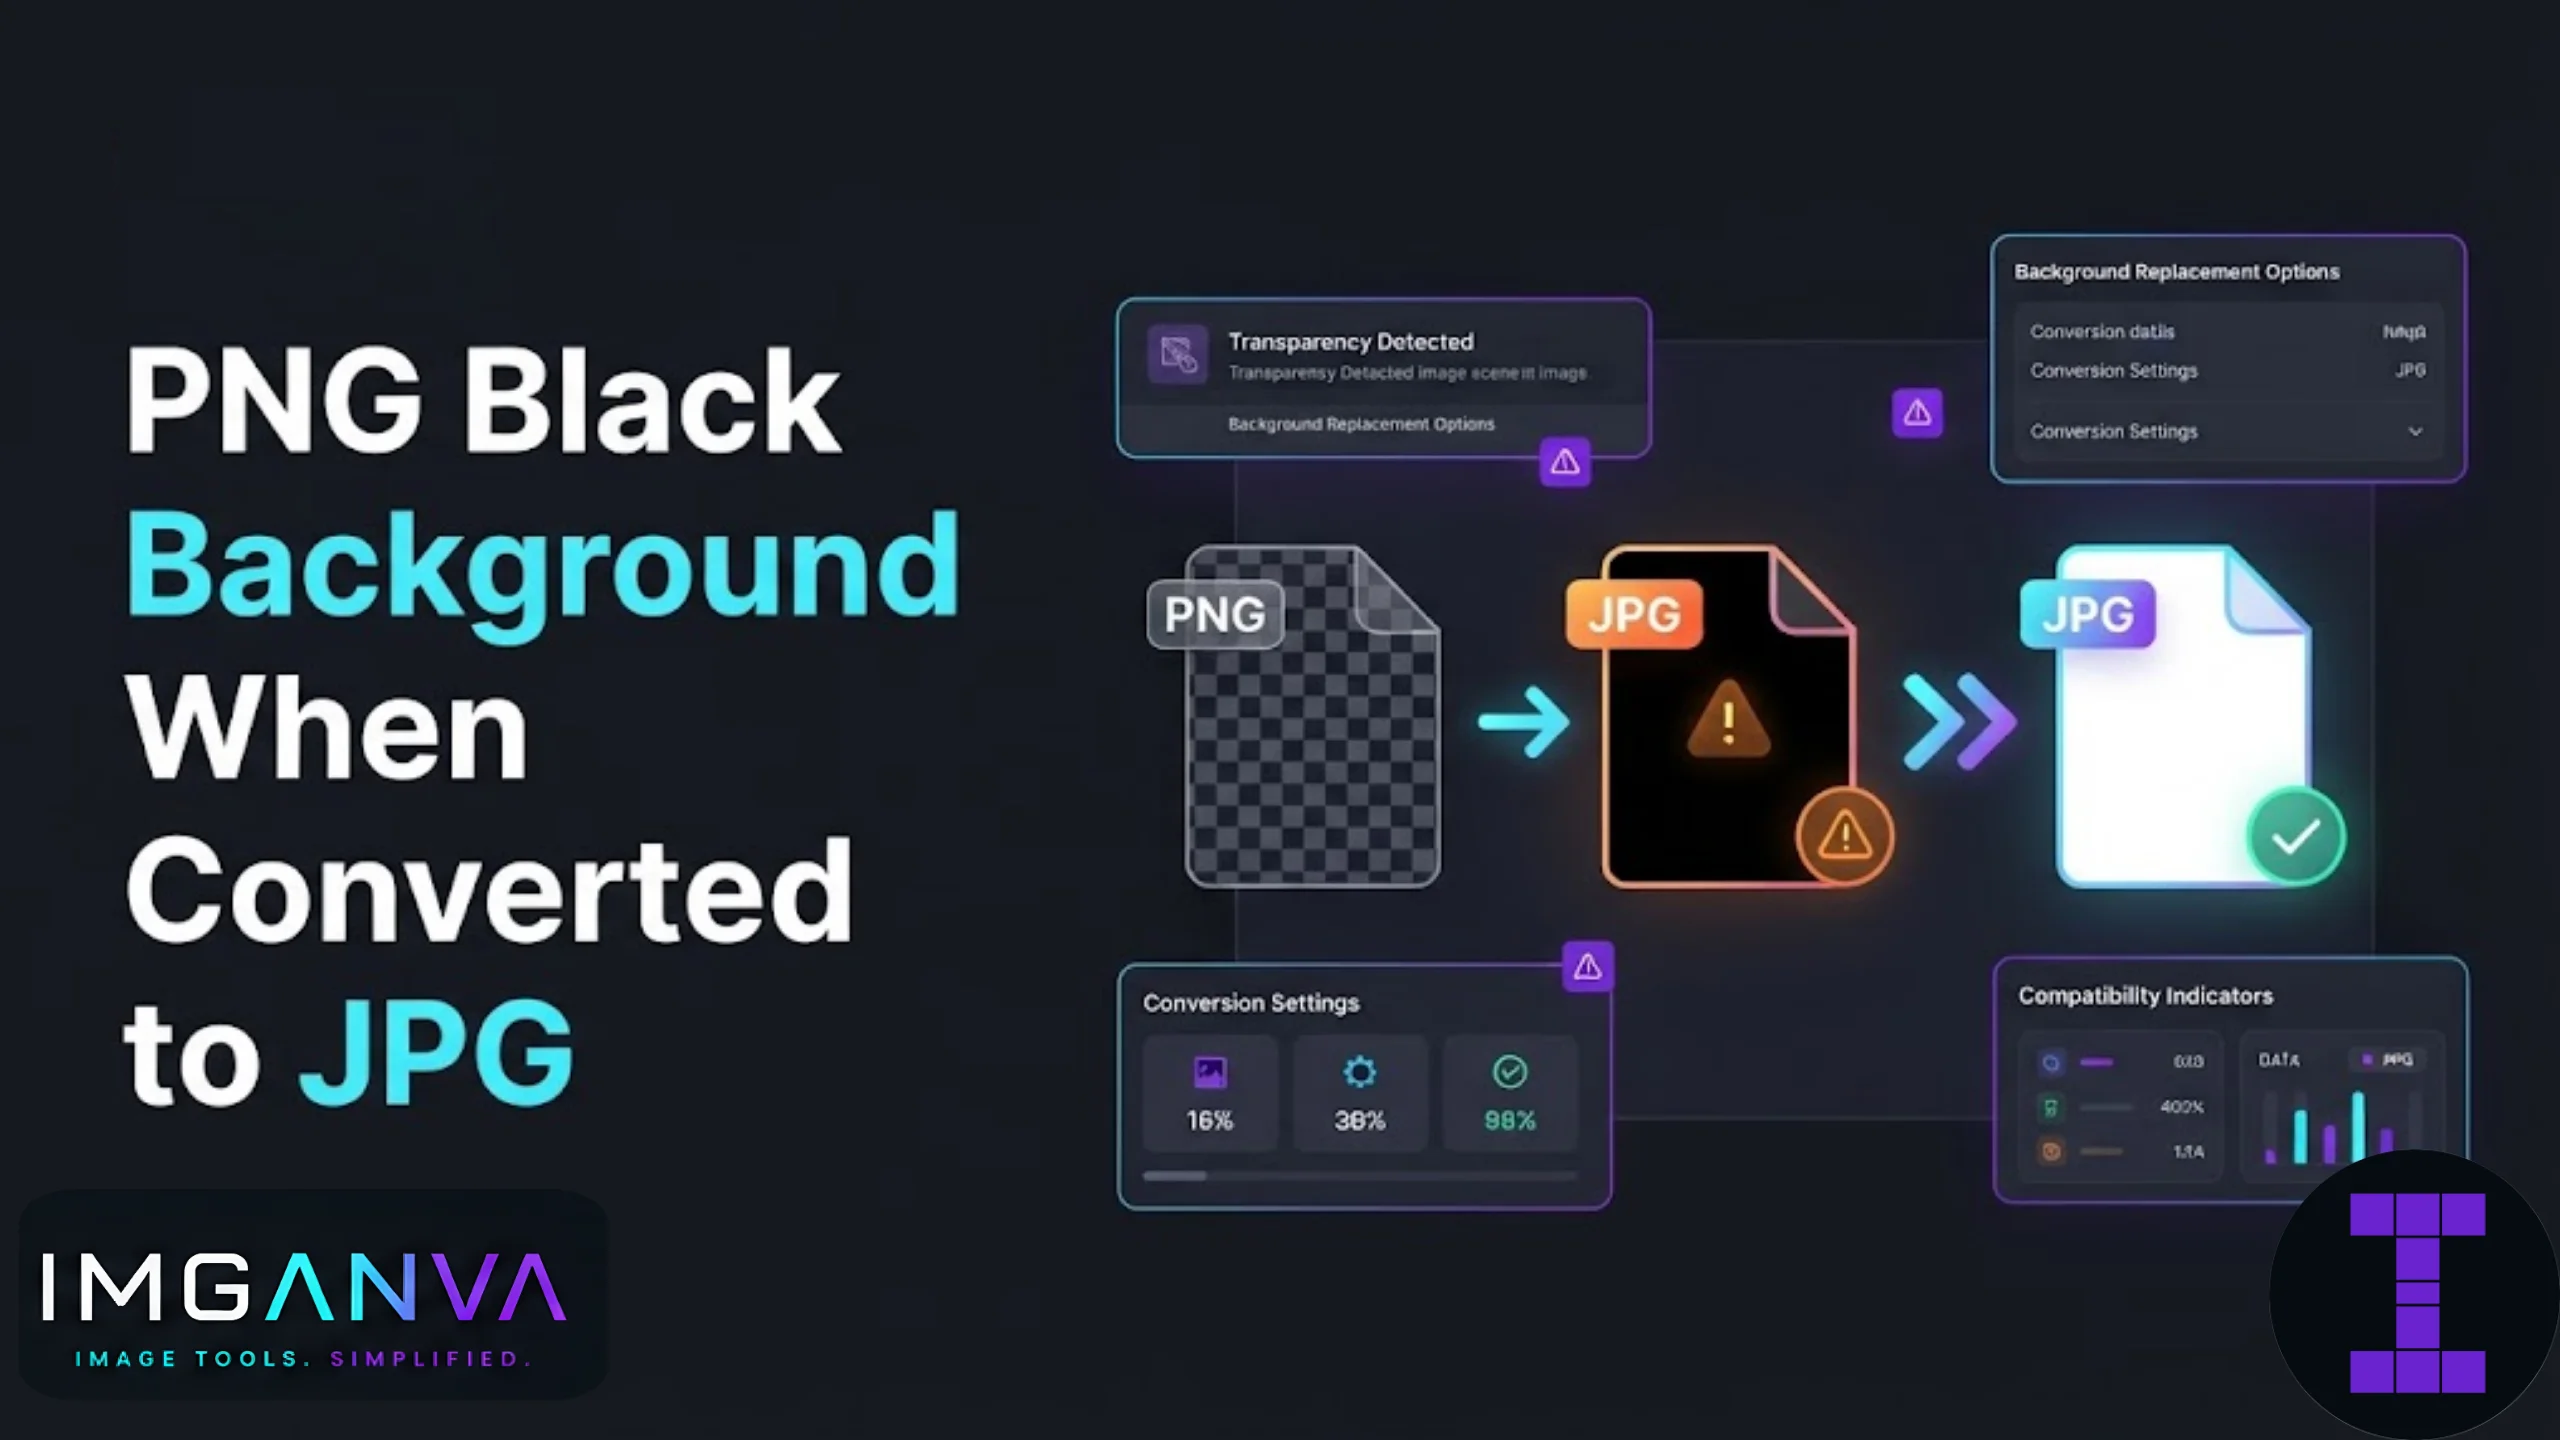

You convert a PNG logo or graphic to JPG, open the file, and the transparent background you had is now solid black. This is one of the most common issues people run into when switching between these two formats, and it happens for a simple reason: JPG doesn’t support transparency at all.
Key Takeaways
- JPG has no alpha channel, so any transparent pixel in a PNG has to be replaced with a solid color during conversion.
- Many converters default to black (or sometimes white) when they don’t know what background color to use.
- The fix is to either set a background color before converting, or keep the file as PNG if transparency matters.
- This mostly affects logos, icons, screenshots with rounded corners, and graphics exported from design tools like Photoshop, Canva, or Figma.
- A reliable image converter lets you choose the fill color instead of guessing what you’ll get.
Why This Happens
PNG is built to support an alpha channel, meaning every pixel can carry a transparency value alongside its color. That’s what lets you place a logo over any background without a visible box around it.
JPG was never designed with this in mind. It only stores RGB color data, no transparency layer at all. So when a PNG with transparent areas gets converted, the converter has to make a decision about what to put there instead. Some tools default to white. A lot of them default to black, especially command-line tools and basic converters that just flatten the alpha channel to zero without asking.
The result: your logo that looked clean on a white webpage now has a black box around it once it becomes a JPG.
Where This Usually Goes Wrong
| Scenario | What Happens | Why |
|---|---|---|
| Logo with transparent background | Black or white box appears around the logo | Transparent pixels get filled with a default color |
| PNG exported from Photoshop | Black background after batch conversion | Photoshop’s “Save for Web” sometimes defaults to black fill |
| Icon set converted in bulk | Inconsistent backgrounds across icons | Different converters handle transparency differently |
| Screenshot with rounded corners | Corners turn black | Corner pixels were transparent, not white |
| WordPress media library auto-conversion | Product images get black corners | Some plugins convert PNG to JPG without a fill color option |
How to Fix It
1. Set a Background Color Before Converting
The cleanest fix is to flatten the PNG onto a background color of your choice before the conversion happens, rather than letting the converter guess. Most decent converters, including Imganva’s Image Converter, let you pick white or a custom color as the fill before exporting to JPG.
2. Keep It as PNG
If the image genuinely needs transparency, like a logo that sits over different colored sections of a website, don’t convert it to JPG at all. PNG is the correct format for that use case. Converting it defeats the purpose.
3. Use a Two-Step Export from Design Software
In Photoshop, Figma, or Canva, flatten the image against a white or brand-colored background layer first, then export as JPG. Don’t export a transparent PNG and convert it afterward through a generic tool that doesn’t handle alpha channels properly.
4. Check the Converter’s Settings
Some tools have a hidden or default fill setting you can change. If you’re using a script or command-line tool like ImageMagick, you need to explicitly flatten the image with a background flag, otherwise it may default to black.
| Method | Best For | Effort |
|---|---|---|
| Online converter with fill color option | One-off conversions, non-technical users | Low |
| Design software flatten + export | Logos, branded graphics, precise control | Medium |
| Keep as PNG | Anything needing transparency | None (no conversion needed) |
| Command-line with explicit background flag | Batch processing many files | Higher (needs scripting knowledge) |
When You Shouldn’t Convert to JPG at All
Not every PNG should become a JPG. If the image relies on transparency for layout purposes, like a logo on a colored header, an icon overlaying a photo, or a graphic meant to sit on multiple backgrounds, converting it removes that flexibility permanently. JPG is best suited for photographs and images where a solid rectangular background is expected anyway.
If file size is the actual concern rather than format compatibility, you can often compress the PNG directly instead of converting it, keeping the transparency intact while still shrinking the file.
Common Mistakes
- Assuming every converter handles transparency the same way. They don’t, and defaults vary a lot between tools.
- Converting logos to JPG for a website without checking how they’ll look against different section colors.
- Batch converting an entire icon folder without testing one file first.
- Not noticing the black background until after the JPG has already been uploaded somewhere public.
- Trying to fix the black background after conversion by editing the JPG, when the transparency data is already gone for good once it’s flattened.
Related Reading
For a broader look at when and why to convert between formats, see the Image Format Conversion Guide 2026, which covers JPG, PNG, and WEBP tradeoffs in more depth.
Why does my PNG turn black when I convert it to JPG?
JPG doesn’t support transparency, so any transparent area in your PNG gets filled with a solid color during conversion. Many converters default to black when no fill color is specified.
How do I stop my PNG from turning black when converting to JPG?
Use a converter that lets you choose a background fill color, such as white, before exporting to JPG. This replaces the transparent area intentionally instead of letting the tool default to black.
Can I get my transparency back after converting to JPG?
No, once a PNG is converted to JPG the transparency data is permanently lost. You would need to go back to the original PNG file and convert it again with a proper fill color.
Why do some converters default to white and others to black?
There’s no universal standard for handling transparency during JPG conversion, so different tools make different assumptions. Some choose white as a safer default, others default to black, and some leave it unset entirely.
Is it better to keep my logo as PNG instead of converting to JPG?
Yes, if the logo needs to sit on different colored backgrounds, keeping it as PNG preserves that flexibility. JPG should only be used when a solid background is acceptable.
Does Photoshop cause this black background issue too?
Yes, Photoshop’s export tools can default to a black fill if you don’t manually flatten the image against a chosen background color before saving as JPG.
Why did my WordPress images turn black after upload?
Some WordPress plugins or hosting configurations automatically convert PNG uploads to JPG for file size reasons, and if no fill color is set, transparent areas can appear black.
What’s the best format for icons that need transparency?
PNG remains the best choice for icons needing transparency. WEBP also supports transparency and offers smaller file sizes if your platform supports it.
Can I fix a black background PNG converted to JPG using an online tool?
You can re-convert the original PNG using a tool that supports background fill selection, but you cannot recover transparency from an already-converted JPG since the data is gone.
Should I compress my PNG instead of converting it to JPG?
If your goal is a smaller file size rather than format compatibility, compressing the PNG directly keeps transparency intact while reducing file weight.
Summary
A black background after converting PNG to JPG comes down to one thing: JPG has no way to store transparency, so the converter fills that space with a default color, often black. The fix is straightforward once you know the cause. Pick a background color before converting, or better yet, keep the file as PNG if transparency is part of what makes the image work. Use a converter that gives you control over the fill instead of one that guesses for you.