
By default, every iPhone since the iPhone 7 shoots photos in HEIC, not JPG. That’s fine until you try to upload a photo somewhere that doesn’t recognize the format, or a friend on Android can’t open what you sent them. The fix takes less than a minute, and there’s more than one way to do it depending on whether you want to change future photos or fix ones you’ve already taken.
Key Takeaways
- iPhones shoot in HEIC by default from iOS 11 onward, saving storage space but causing compatibility issues on some platforms.
- You can switch the camera to JPG permanently through Settings, in under 5 taps.
- Photos already saved as HEIC need to be converted separately; the settings change only affects new photos.
- Sharing a HEIC photo to Windows, older Android devices, or certain web forms often auto-converts it, but not always reliably.
- Use Imganva’s Image Converter to batch convert existing HEIC photos to JPG in your browser, no app install needed.
Why iPhones Use HEIC Instead of JPG
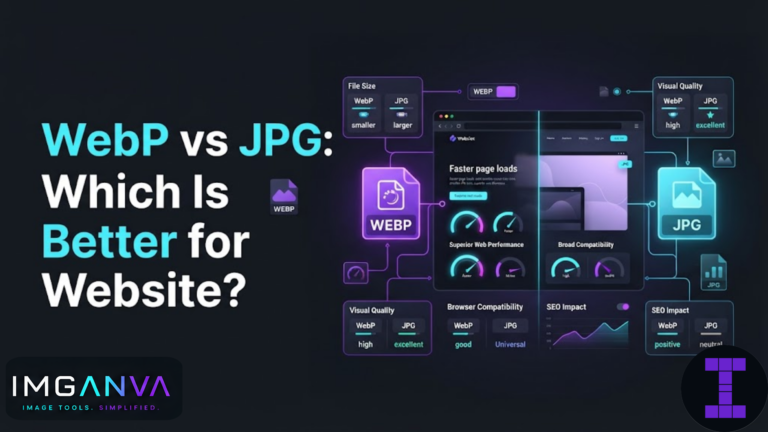
Apple switched to HEIC (High Efficiency Image Format) with iOS 11 because it stores the same image quality in roughly half the file size of JPG. For a phone with limited storage, that adds up fast across thousands of photos. The tradeoff is that HEIC isn’t universally supported. Older software, some Android phones, and a fair number of websites still expect JPG or PNG.
| Format | Typical File Size | Compatibility | Best For |
|---|---|---|---|
| HEIC | Smaller (roughly 50% of JPG) | Apple devices, newer software | Storage-conscious iPhone users |
| JPG | Larger | Nearly universal | Uploads, sharing, printing, forms |
Method 1: Change the Setting for All Future Photos
This is the permanent fix. Once set, every photo you take going forward saves as JPG automatically.
- Open Settings on your iPhone.
- Scroll down and tap Camera.
- Tap Formats.
- Under “Photo Capture,” select Most Compatible instead of “High Efficiency.”
That’s it. Your iPhone now saves new photos as JPG (and new videos as H.264 instead of HEVC). Existing photos already saved as HEIC won’t change; this setting only applies going forward.
Method 2: Change the Transfer Format When Sharing
If you don’t want to change the camera setting permanently, but need a specific photo to leave your phone as JPG, there’s a workaround built into iOS.
- Go to Settings > Photos.
- Scroll to Transfer to Mac or PC.
- Choose Automatic instead of “Keep Originals.”
With this on, whenever you transfer photos to a non-Apple computer, iOS converts HEIC files to JPG on the fly. This doesn’t help with AirDrop to another iPhone or app-based sharing, only direct transfers.
Method 3: Convert Existing HEIC Photos to JPG
If you already have a camera roll full of HEIC photos and need them in JPG right now, changing the camera setting won’t touch them. You have three practical options:
- Email or Share Sheet: Sharing a photo via Mail or Messages sometimes auto-converts it, but this depends on the receiving app and isn’t guaranteed to preserve full quality.
- Screenshot: Taking a screenshot of a HEIC photo produces a PNG, but you lose resolution and metadata, so this is a last resort only.
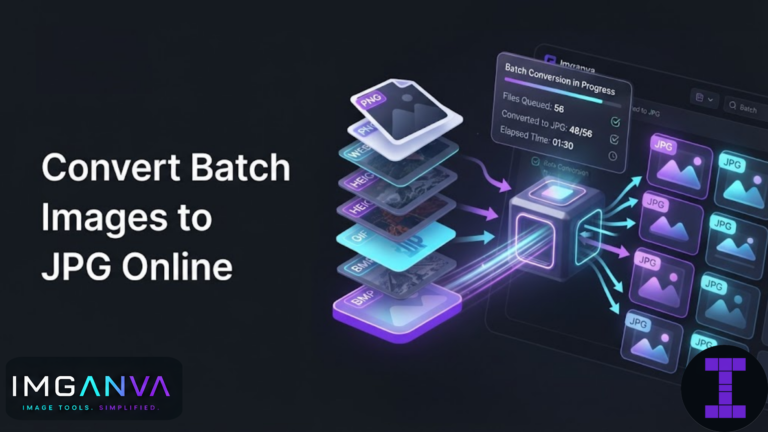
- Online Converter: The most reliable route is a dedicated converter. Imganva’s Image Converter handles HEIC to JPG conversion directly in your browser, keeps quality intact, and works whether you have one photo or a whole folder.
Step-by-Step: Converting HEIC to JPG with Imganva
- Open Imganva’s Image Converter on your iPhone or computer.
- Upload your HEIC photo (or several at once).
- Select JPG as the output format.
- Download the converted file, ready to upload anywhere.
If the JPG comes out larger than you’d like for a specific upload limit, run it through the Image Compressor afterward to bring the file size down without a noticeable quality drop.
Common Mistakes to Avoid
- Assuming the setting change is retroactive. It only affects photos taken after you change it. Older photos stay HEIC until converted.
- Relying on screenshots to “convert” photos. This degrades image quality and strips useful metadata like location and date.
- Forgetting that AirDrop between iPhones keeps HEIC. Apple-to-Apple transfers don’t trigger conversion, since both devices support the format natively.
- Not checking file size after conversion. JPG files from HEIC originals are typically larger, which can matter if you’re uploading to a site with a strict KB limit.
When HEIC Might Actually Be Fine
If you’re only storing photos, backing up to iCloud, or sharing between Apple devices, HEIC is genuinely a better choice. It saves space without hurting quality. The moment you need to send a photo somewhere outside the Apple ecosystem, that’s when JPG becomes the practical option.
Frequently Asked Questions
Why does my iPhone save photos as HEIC instead of JPG?
Apple made HEIC the default format starting with iOS 11 because it compresses photos to roughly half the size of JPG while keeping the same visual quality, which helps save storage on the device.
Will changing my camera settings convert my old photos to JPG?
No. Changing the setting under Settings > Camera > Formats only affects photos you take after making the change. Existing HEIC photos stay as they are until you convert them separately.
How do I convert a HEIC photo to JPG on iPhone without an app?
You can use a browser-based tool like Imganva’s Image Converter. Upload the HEIC file, select JPG as the output, and download the converted photo directly from your phone’s browser.
Does converting HEIC to JPG reduce image quality?
A well-built converter preserves visual quality during the conversion. Some quality loss is normal since JPG uses different compression, but it’s usually not noticeable to the eye.
Why did my HEIC photo not convert automatically when I emailed it?
Automatic conversion depends on the receiving app and platform. Some email clients convert HEIC to JPG automatically, others don’t, so it’s not something you can rely on for every situation.
Can I set my iPhone to always send JPG when AirDropping to a Windows PC?
AirDrop is Apple-only, so it always keeps the original HEIC format. For automatic conversion during transfer, use a direct USB or Photos app transfer with the “Automatic” setting enabled under Settings > Photos.
Is JPG or HEIC better for uploading to government exam portals?
JPG is almost always the safer choice for exam portals since most of these systems, including UPSC, SSC, and NTA platforms, expect JPG or JPEG uploads and may reject HEIC files entirely.
Does changing to JPG format increase my iPhone’s storage usage?
Yes, since JPG files are typically larger than HEIC files for the same image. If storage is a concern, you can compress JPG photos afterward to manage file size.
Can I convert multiple HEIC photos to JPG at once?
Yes. Tools like Imganva’s Image Converter support uploading multiple files together, so you can batch convert an entire folder of HEIC photos to JPG in one go.
What’s the difference between changing the camera format and changing the transfer format?
Changing the camera format under Settings > Camera > Formats affects how new photos are saved permanently. Changing the transfer format under Settings > Photos only affects how photos convert when moved to a non-Apple computer, without altering the originals on your phone.
Summary
Switching your iPhone camera to JPG is a one-time setting change under Settings > Camera > Formats, and it only affects photos you take from that point forward. For photos already sitting in HEIC, converting them through a tool like Imganva’s Image Converter is faster and more reliable than screenshots or hoping an app converts them automatically. If file size becomes an issue after conversion, pair it with the Image Compressor to keep uploads within limits. For a broader look at choosing between formats, see the Image Format Conversion Guide.