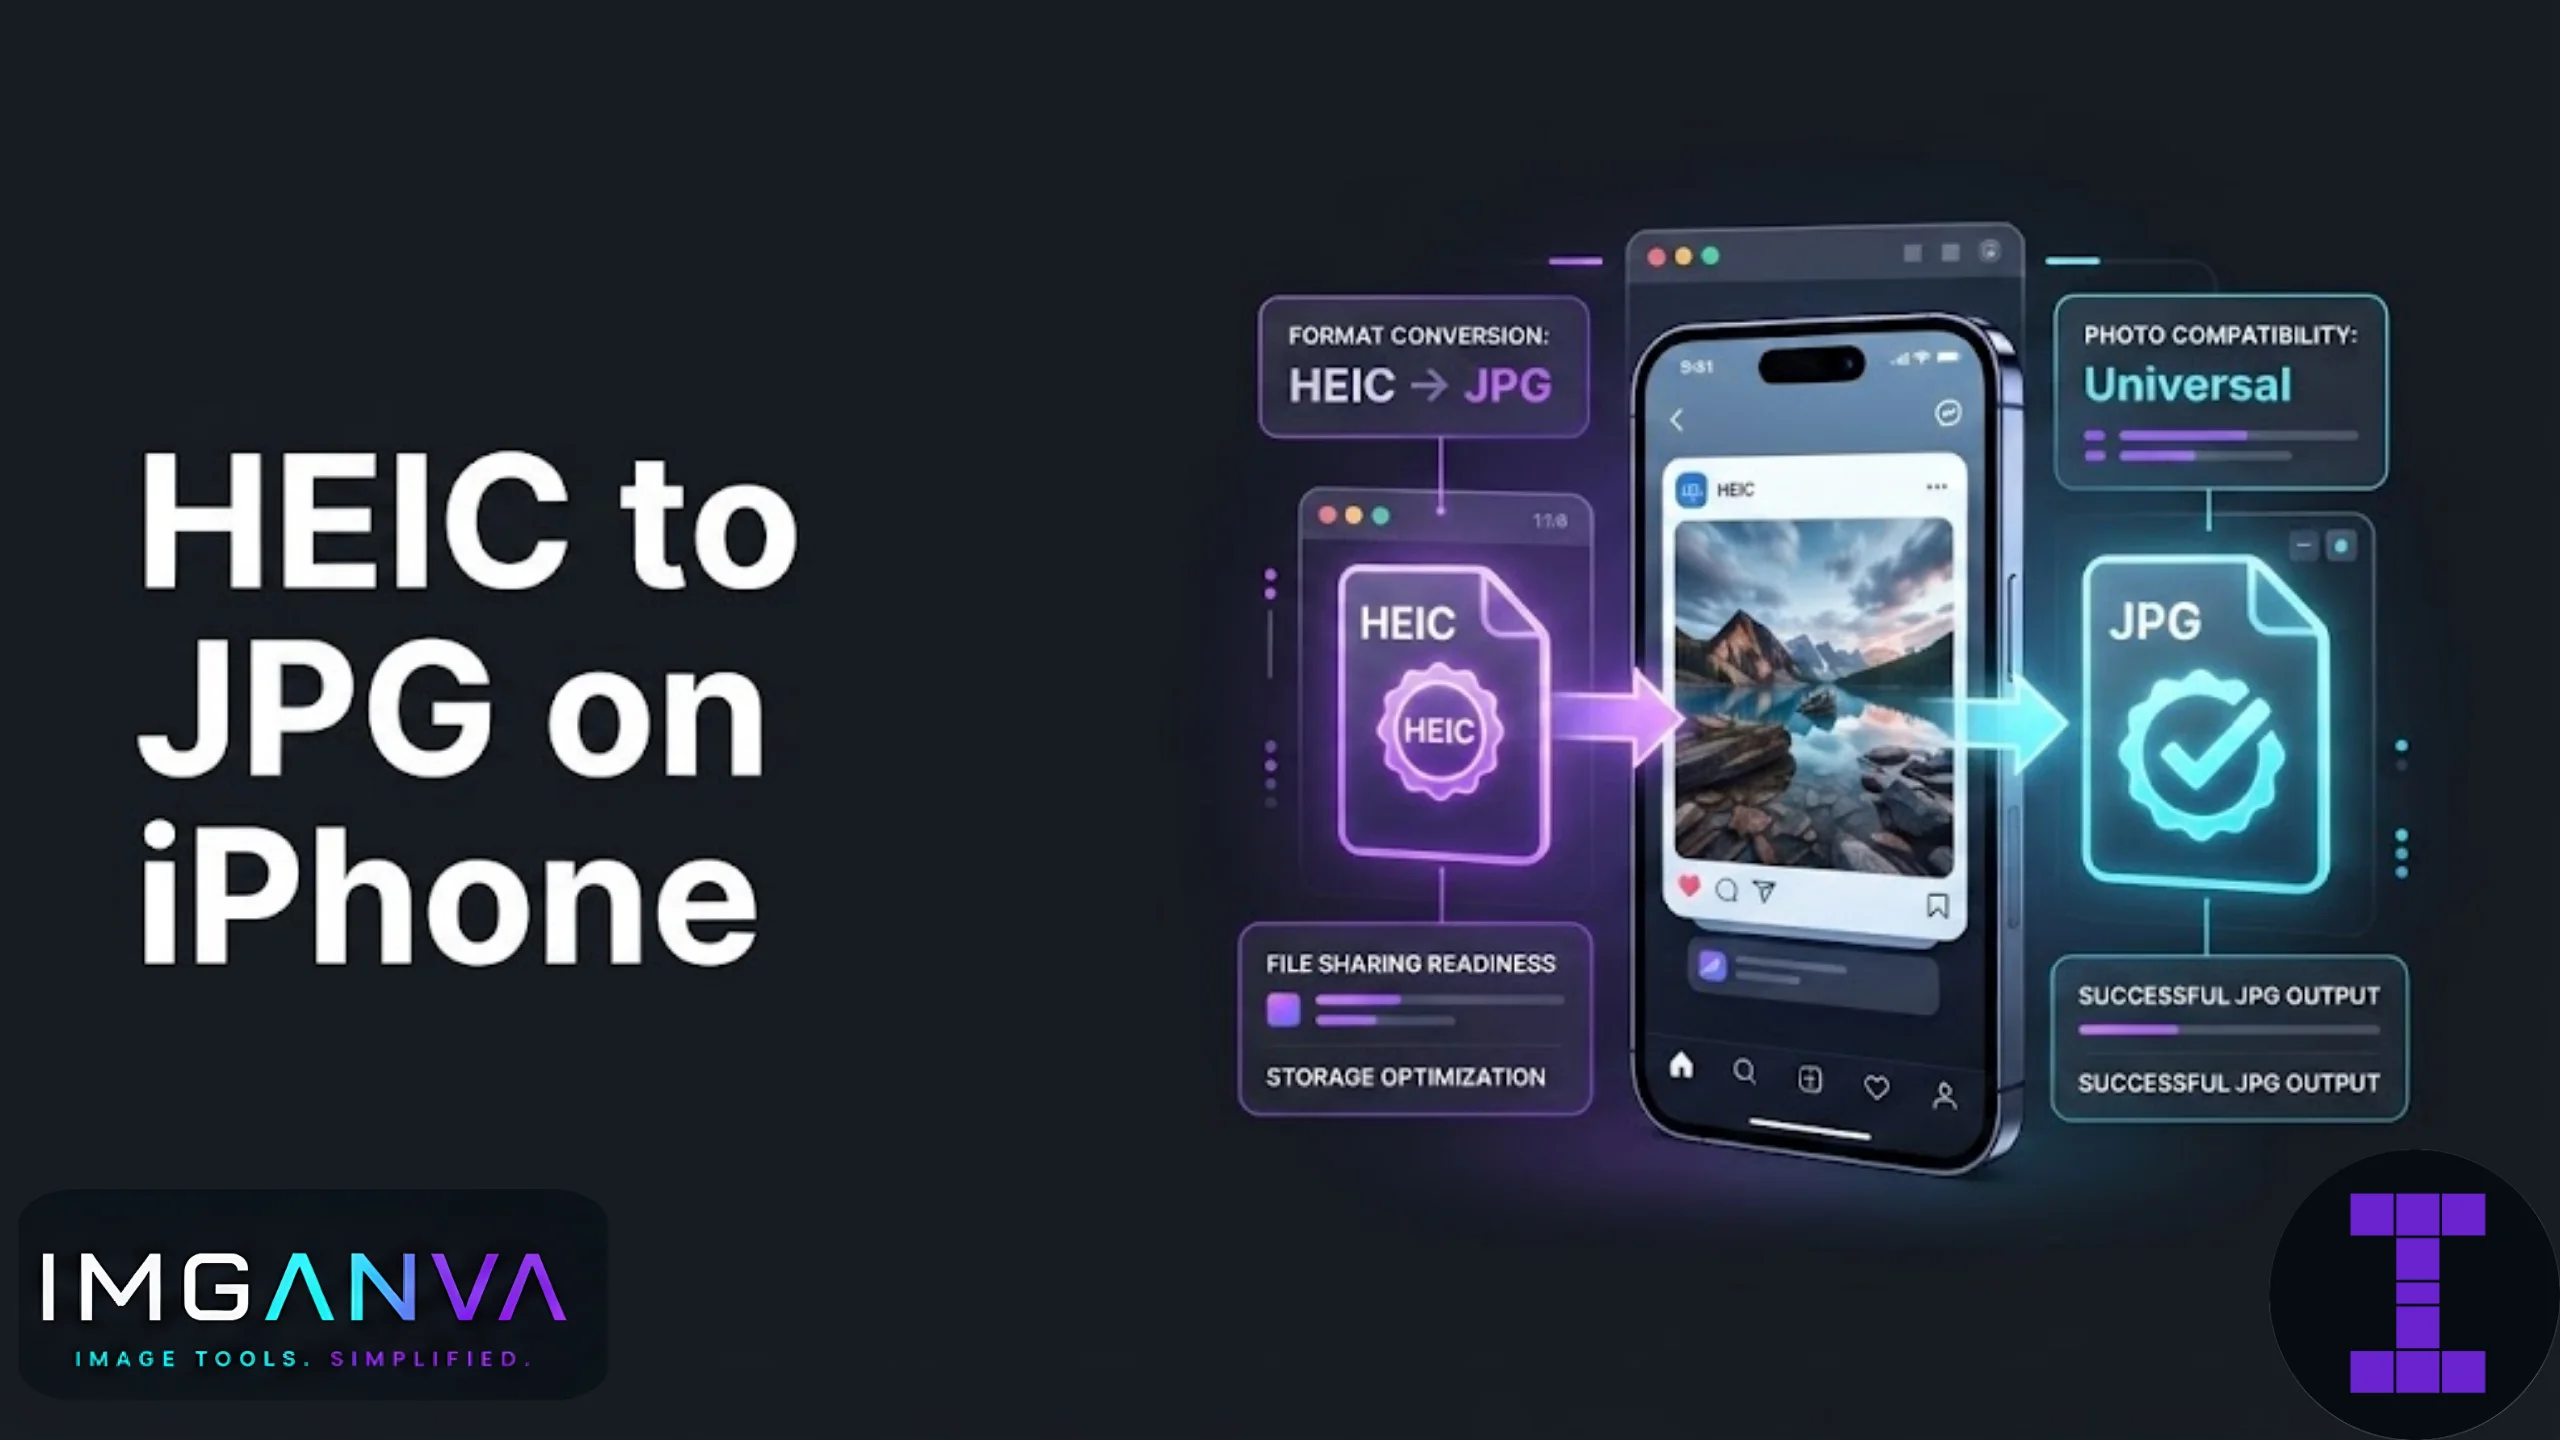

If you’ve ever tried uploading an iPhone photo to a website, a job portal, or an old Windows machine and got an error or a blank thumbnail, HEIC is usually the reason. Apple’s default photo format saves space but isn’t universally supported. Converting to JPG fixes that instantly, and there are a few ways to do it depending on whether you want a one-time fix or a permanent setting change.
Key Takeaways
- HEIC is Apple’s default photo format since iOS 11, built for smaller file sizes with good quality.
- Many websites, older devices, and government portals don’t accept HEIC uploads directly.
- You can convert HEIC to JPG right on your iPhone, no app required, or use an online image converter for batch jobs.
- Changing your camera settings to “Most Compatible” saves photos as JPG automatically going forward.
- Converting HEIC to JPG usually increases file size slightly, since JPG compression is less efficient at the same quality level.
What Is HEIC and Why Does the iPhone Use It?
HEIC (High Efficiency Image Container) is the format Apple switched to by default starting with iOS 11. It stores photos at roughly half the file size of an equivalent JPG while keeping similar visual quality. That’s genuinely useful for storage on a phone, especially if you shoot a lot of photos or Live Photos.
The catch is compatibility. HEIC isn’t as widely supported outside Apple’s ecosystem. Some Android devices, older browsers, certain content management systems, and quite a few government and exam application portals in India still expect a plain JPG or PNG file. That’s usually when people first run into the “why won’t this upload” problem.
Ways to Convert HEIC to JPG on iPhone
1. Change the Camera Format Setting (Prevents the Problem Going Forward)
If you’re tired of dealing with HEIC files altogether, change how your iPhone saves photos before they’re even taken.
- Open Settings
- Tap Camera
- Tap Formats
- Select “Most Compatible” instead of “High Efficiency”
New photos from that point on save directly as JPG. This doesn’t touch photos you’ve already taken though, so you’ll still need to convert your existing HEIC library separately.
2. Convert Existing Photos Using the Share Sheet
This is the fastest way to fix a photo you already have without changing any settings.
- Open the photo in the Photos app
- Tap the Share icon
- Tap Copy Photo
- Paste it into Notes, Files, or a Mail draft
Depending on where you paste it, iOS often converts the image to JPG automatically. This works well for single photos but gets tedious fast if you’re converting dozens of images.
3. Export as JPG Through the Files App
If you sync photos to iCloud Drive or Files, you can export directly.
- Save the HEIC photo to the Files app
- Long-press the file
- Tap Share and choose Compress, or open it in an editing app that supports JPG export
This method is less consistent since not every app forces a format change, but it’s an option if you already keep photos in Files.
4. Use an Online Converter for Bulk or Guaranteed Results
When you need multiple photos converted reliably, or you’re on a deadline and don’t want to test which sharing method actually works, an online image converter is the most predictable option. Upload the HEIC files, select JPG as the output, and download the converted batch. This works the same whether you’re on an iPhone, Android, or desktop, and it avoids the guesswork of iOS’s built-in conversion quirks.
Comparison of Conversion Methods
| Method | Best For | Batch Support | Setup Needed |
|---|---|---|---|
| Camera format setting | Preventing future HEIC files | N/A (applies going forward) | One-time settings change |
| Copy Photo + Paste | Converting a single photo quickly | No | None |
| Files app export | Photos already stored in Files/iCloud Drive | Limited | None |
| Online image converter | Multiple photos, reliable output | Yes | None |
Common Mistakes to Avoid
- Assuming Copy Photo always converts the format. It depends on where you paste it. Pasting into some apps keeps the original HEIC file intact.
- Not checking file size after conversion. JPG versions are often slightly larger than the original HEIC, which can matter if you’re uploading to a portal with a strict KB limit. Use a compressor afterward if the converted file is too large.
- Converting the entire photo library unnecessarily. If you rarely share photos outside Apple devices, switching your camera format isn’t required. Convert only what you need to send elsewhere.
- Forgetting Live Photos convert differently. A Live Photo saved as JPG loses its motion component, since JPG only supports static images.
When Converting to JPG Isn’t Necessary
If you only ever share photos through iMessage, AirDrop to another Apple device, or store them in iCloud, HEIC works fine and there’s no reason to convert. The moment you’re uploading to a non-Apple platform, sending to someone on Android, or submitting a photo through a form that lists JPG or PNG as accepted formats, that’s when conversion becomes worth doing.
Related Reading
For a broader look at when and why to switch formats, our image format conversion guide covers JPG, PNG, and WEBP tradeoffs in more depth. If you’re managing photos entirely from your phone, our mobile image tools guide walks through compressing, converting, and resizing without needing a computer.
Frequently Asked Questions
Why does my iPhone save photos as HEIC instead of JPG?
Apple switched to HEIC by default in iOS 11 because it stores photos at about half the file size of JPG with comparable quality, saving storage space on the device.
Does converting HEIC to JPG reduce photo quality?
Not noticeably. JPG conversion preserves visual quality well, though the resulting file is usually a bit larger than the original HEIC version.
Can I convert HEIC to JPG without an app?
Yes. You can use Copy Photo from the Share menu and paste it into Notes or Mail, which often converts it automatically, or use an online converter for guaranteed results.
Why won’t a website accept my iPhone photo?
The website likely doesn’t support HEIC files. Converting the photo to JPG using your iPhone or an online converter usually resolves the upload error.
Will changing my camera format convert old photos too?
No. Switching to Most Compatible in Camera settings only affects new photos taken after the change. Existing HEIC photos need to be converted separately.
What happens to Live Photos when converted to JPG?
Live Photos lose their motion and sound component when saved as JPG, since JPG only supports a single static image.
Is HEIC supported on Android phones?
Some newer Android devices can open HEIC files, but support is inconsistent across manufacturers and Android versions, so JPG remains the safer choice for sharing.
Why is my converted JPG file bigger than the original HEIC?
JPG compression is less efficient than HEIC at the same visual quality, so file sizes typically increase slightly after conversion.
What’s the fastest way to convert many HEIC photos at once?
An online image converter is the most reliable option for batch conversion, since it handles multiple files at once without relying on iOS sharing behavior.
Summary
HEIC works well within Apple’s ecosystem, but JPG remains the safer choice for uploading photos elsewhere. Whether you convert a single photo through the share sheet or switch your camera settings for good, the process takes only a few taps. For anything beyond a photo or two, an online converter saves time and guarantees the format actually changes.