
Key Takeaways
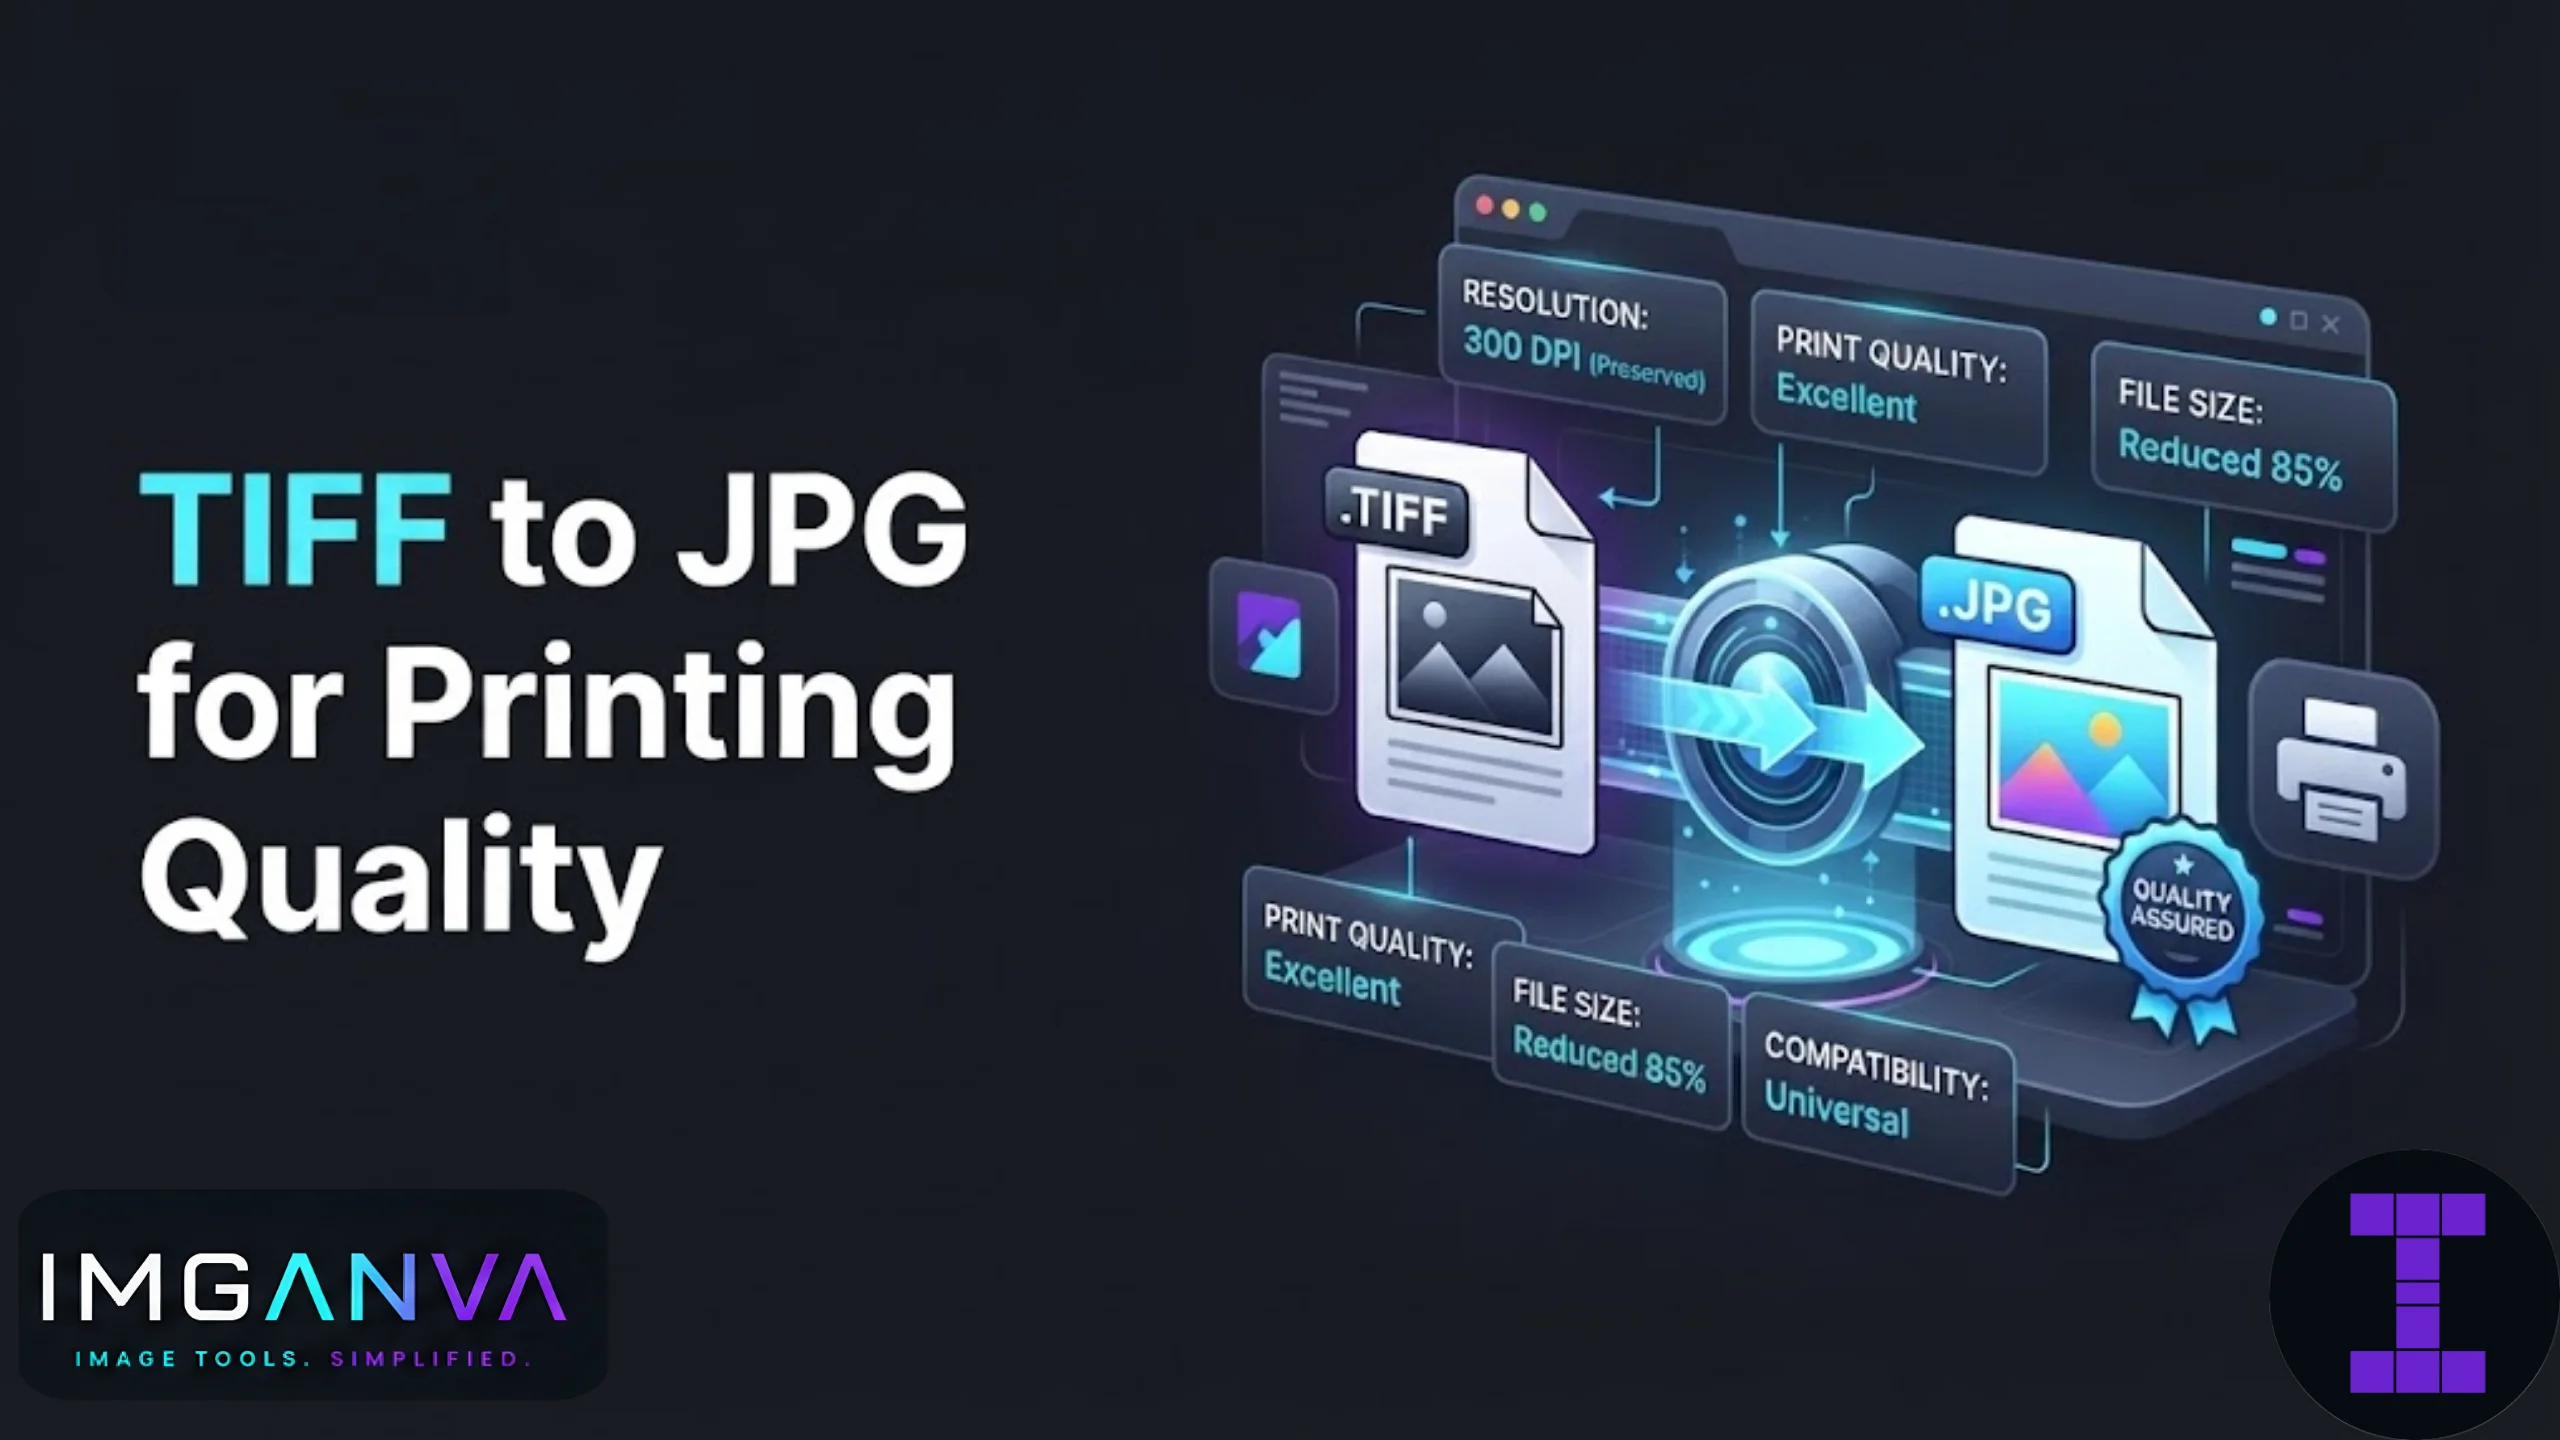
- TIFF is a lossless format built for archiving and print production; JPG uses lossy compression that discards some data every time you save.
- For printing, JPG can hold enough quality if you export at a high quality setting (90 or above) and keep the resolution at 300 DPI.
- Print shops and online labs almost always accept JPG, while some legacy software or professional printers still expect TIFF.
- Converting once at high quality causes barely visible loss. Converting, editing, and re-saving as JPG repeatedly is what actually ruins print quality.
- File size drops dramatically after conversion, usually 80-95% smaller, which matters if you’re uploading to a print-on-demand service with size limits.
Why People Convert TIFF to JPG for Printing
TIFF files are common in photography, scanning, and design workflows because they preserve every pixel of detail without compression artifacts. A single TIFF from a DSLR or a flatbed scanner can run anywhere from 20MB to over 200MB depending on resolution and color depth.
That’s great for archiving originals. It’s not so great when you need to upload a photo to an online print lab, email a proof to a client, or submit an image to a printing service that caps uploads at 25MB or 50MB. JPG solves that problem by compressing the file while keeping most of the visual detail intact, assuming you use the right settings.
The real question isn’t whether you should convert, most print workflows eventually need a JPG somewhere along the line, it’s how to do it without visible quality loss on the printed page.
TIFF vs JPG for Print: Quick Comparison
| Factor | TIFF | JPG (high quality) |
|---|---|---|
| Compression | Lossless or uncompressed | Lossy |
| Typical file size | 50-200MB+ | 3-15MB |
| Print lab compatibility | Accepted by professional labs, rejected by most consumer/online labs | Universally accepted |
| Editing durability | No quality loss across multiple saves | Quality degrades with repeated re-saves |
| Best use case | Master file, archival copy, professional pre-press | Final upload for printing, sharing, submission |
| Transparency support | Yes | No |
Does Converting to JPG Actually Hurt Print Quality?
At a high enough quality setting, no, not in any way a viewer would notice on a physical print. JPG compression removes information the human eye is least sensitive to, mostly in color detail rather than brightness detail. At quality settings of 90-100, that loss is nearly impossible to detect even in large-format prints.
The damage happens with repeated compression cycles. Every time you open a JPG, edit it, and save it again as JPG, you compress it again on top of the existing compression. Do that five or six times and you’ll start seeing blocky artifacts, especially around sharp edges and text. The fix is simple: keep your TIFF as the untouched master, do your edits there, and export to JPG only once at the end for printing.
Resolution and DPI Matter More Than Format
A common mistake is assuming format alone determines print quality. It doesn’t. Resolution does most of the heavy lifting. For standard photo prints, you want at least 300 DPI (dots per inch) at the final print size.
| Print Size | Minimum Pixel Dimensions (300 DPI) |
|---|---|
| 4×6 inches | 1200 x 1800 px |
| 5×7 inches | 1500 x 2100 px |
| 8×10 inches | 2400 x 3000 px |
| 11×14 inches | 3300 x 4200 px |
| 16×20 inches | 4800 x 6000 px |
If your TIFF already meets these dimensions, converting to JPG at high quality won’t drop you below the threshold. The pixel count stays exactly the same during conversion, only the compression method changes.
Recommended JPG Settings for Print
- Quality: 90-100 (or “Maximum” in most editors)
- Color profile: Keep sRGB for online labs, Adobe RGB or CMYK if the print shop specifically requests it
- Resolution: 300 DPI at final print dimensions
- Color space conversion: Avoid converting to CMYK yourself unless your print provider asks for it. Most consumer and pro labs handle that conversion internally and prefer RGB submissions.
How to Convert TIFF to JPG
- Keep your original TIFF untouched as a backup.
- Open Imganva’s Image Converter and upload the TIFF file.
- Select JPG as the output format.
- Choose a high quality setting, 90 or above, to preserve detail for print.
- Download the converted file and check the pixel dimensions match what your print size requires.
- If the file is still too large for your print lab’s upload limit, run it through an image compressor at a conservative setting rather than lowering quality further during conversion.
When TIFF Is Still the Better Choice
Not every print job should end in JPG. If you’re working with a professional pre-press team, sending files to a large-format commercial printer, or archiving originals for future reprints, TIFF remains the safer format. Some print shops specifically request TIFF because it avoids any compression questions entirely, particularly for fine art reproduction or gallery prints where every pixel matters.
For everyday needs, passport-style photo prints, family photo books, online print-on-demand orders, standard photo lab uploads, JPG at high quality is not just acceptable, it’s usually what the service expects.
Common Mistakes to Avoid
- Compressing too aggressively: Dropping quality below 80 to save space defeats the purpose of a print-quality conversion.
- Repeated re-saving: Editing the same JPG multiple times compounds quality loss. Always edit the TIFF, export once.
- Ignoring DPI: A JPG at 72 DPI will look fine on screen but pixelated in print, regardless of format.
- Deleting the original TIFF: Once converted, you can’t recover the lossless data. Keep the TIFF as your master copy.
- Assuming bigger file size means better quality: An unnecessarily large JPG at 100% quality isn’t sharper than one properly optimized at 90-95%, it’s just bigger.
Frequently Asked Questions
Will converting TIFF to JPG reduce my print quality?
Not noticeably if you use a quality setting of 90 or higher. The pixel dimensions stay the same, and the compression loss at high settings is invisible to the eye in a physical print.
What quality percentage should I use for print-ready JPGs?
90 to 100 is recommended for printing. Anything below 80 risks visible compression artifacts, especially in large prints or images with fine detail like text or gradients.
Can I convert TIFF to JPG without losing DPI information?
Yes, DPI metadata carries over during conversion as long as your converter preserves it. Always double check the output file’s resolution before sending it to print.
Do print labs accept TIFF files directly?
Some professional and pre-press labs do, but most consumer and online print services only accept JPG or PNG. Check your specific lab’s upload requirements first.
Why is my TIFF file so much larger than the JPG version?
TIFF stores image data with little to no compression, while JPG uses lossy compression that removes redundant visual information, which is why file sizes typically shrink by 80-95%.
Should I convert to CMYK before uploading for print?
Usually not necessary. Most online print labs prefer RGB files and handle CMYK conversion internally using their own color profiles for the specific printer.
Is it safe to delete the TIFF after converting to JPG?
It’s not recommended. Keep the TIFF as your master file in case you need to make future edits or reprints without additional quality loss.
What’s the minimum resolution I need for an 8×10 print?
You need at least 2400 x 3000 pixels for a true 300 DPI print at 8×10 inches. Lower resolutions will still print but may appear soft or slightly pixelated.
Can I batch convert multiple TIFF files to JPG at once?
Yes, most converter tools including Imganva’s Image Converter support uploading and converting multiple files in one session, which saves time for larger photo batches.
Does converting TIFF to JPG affect color accuracy?
At high quality settings, color shifts are minimal and generally not visible. Significant color changes usually come from color profile mismatches rather than the format conversion itself.
Summary
TIFF to JPG conversion for printing is safe and often necessary, as long as you keep quality settings high and resolution at 300 DPI for your target print size. Treat your TIFF as the untouched master copy, convert once, and avoid repeated re-saving. For most everyday printing needs, from photo books to standard lab prints, a properly converted high-quality JPG will look identical to the original TIFF on paper. Save TIFF for archival masters or specialized pre-press work where every pixel is scrutinized.