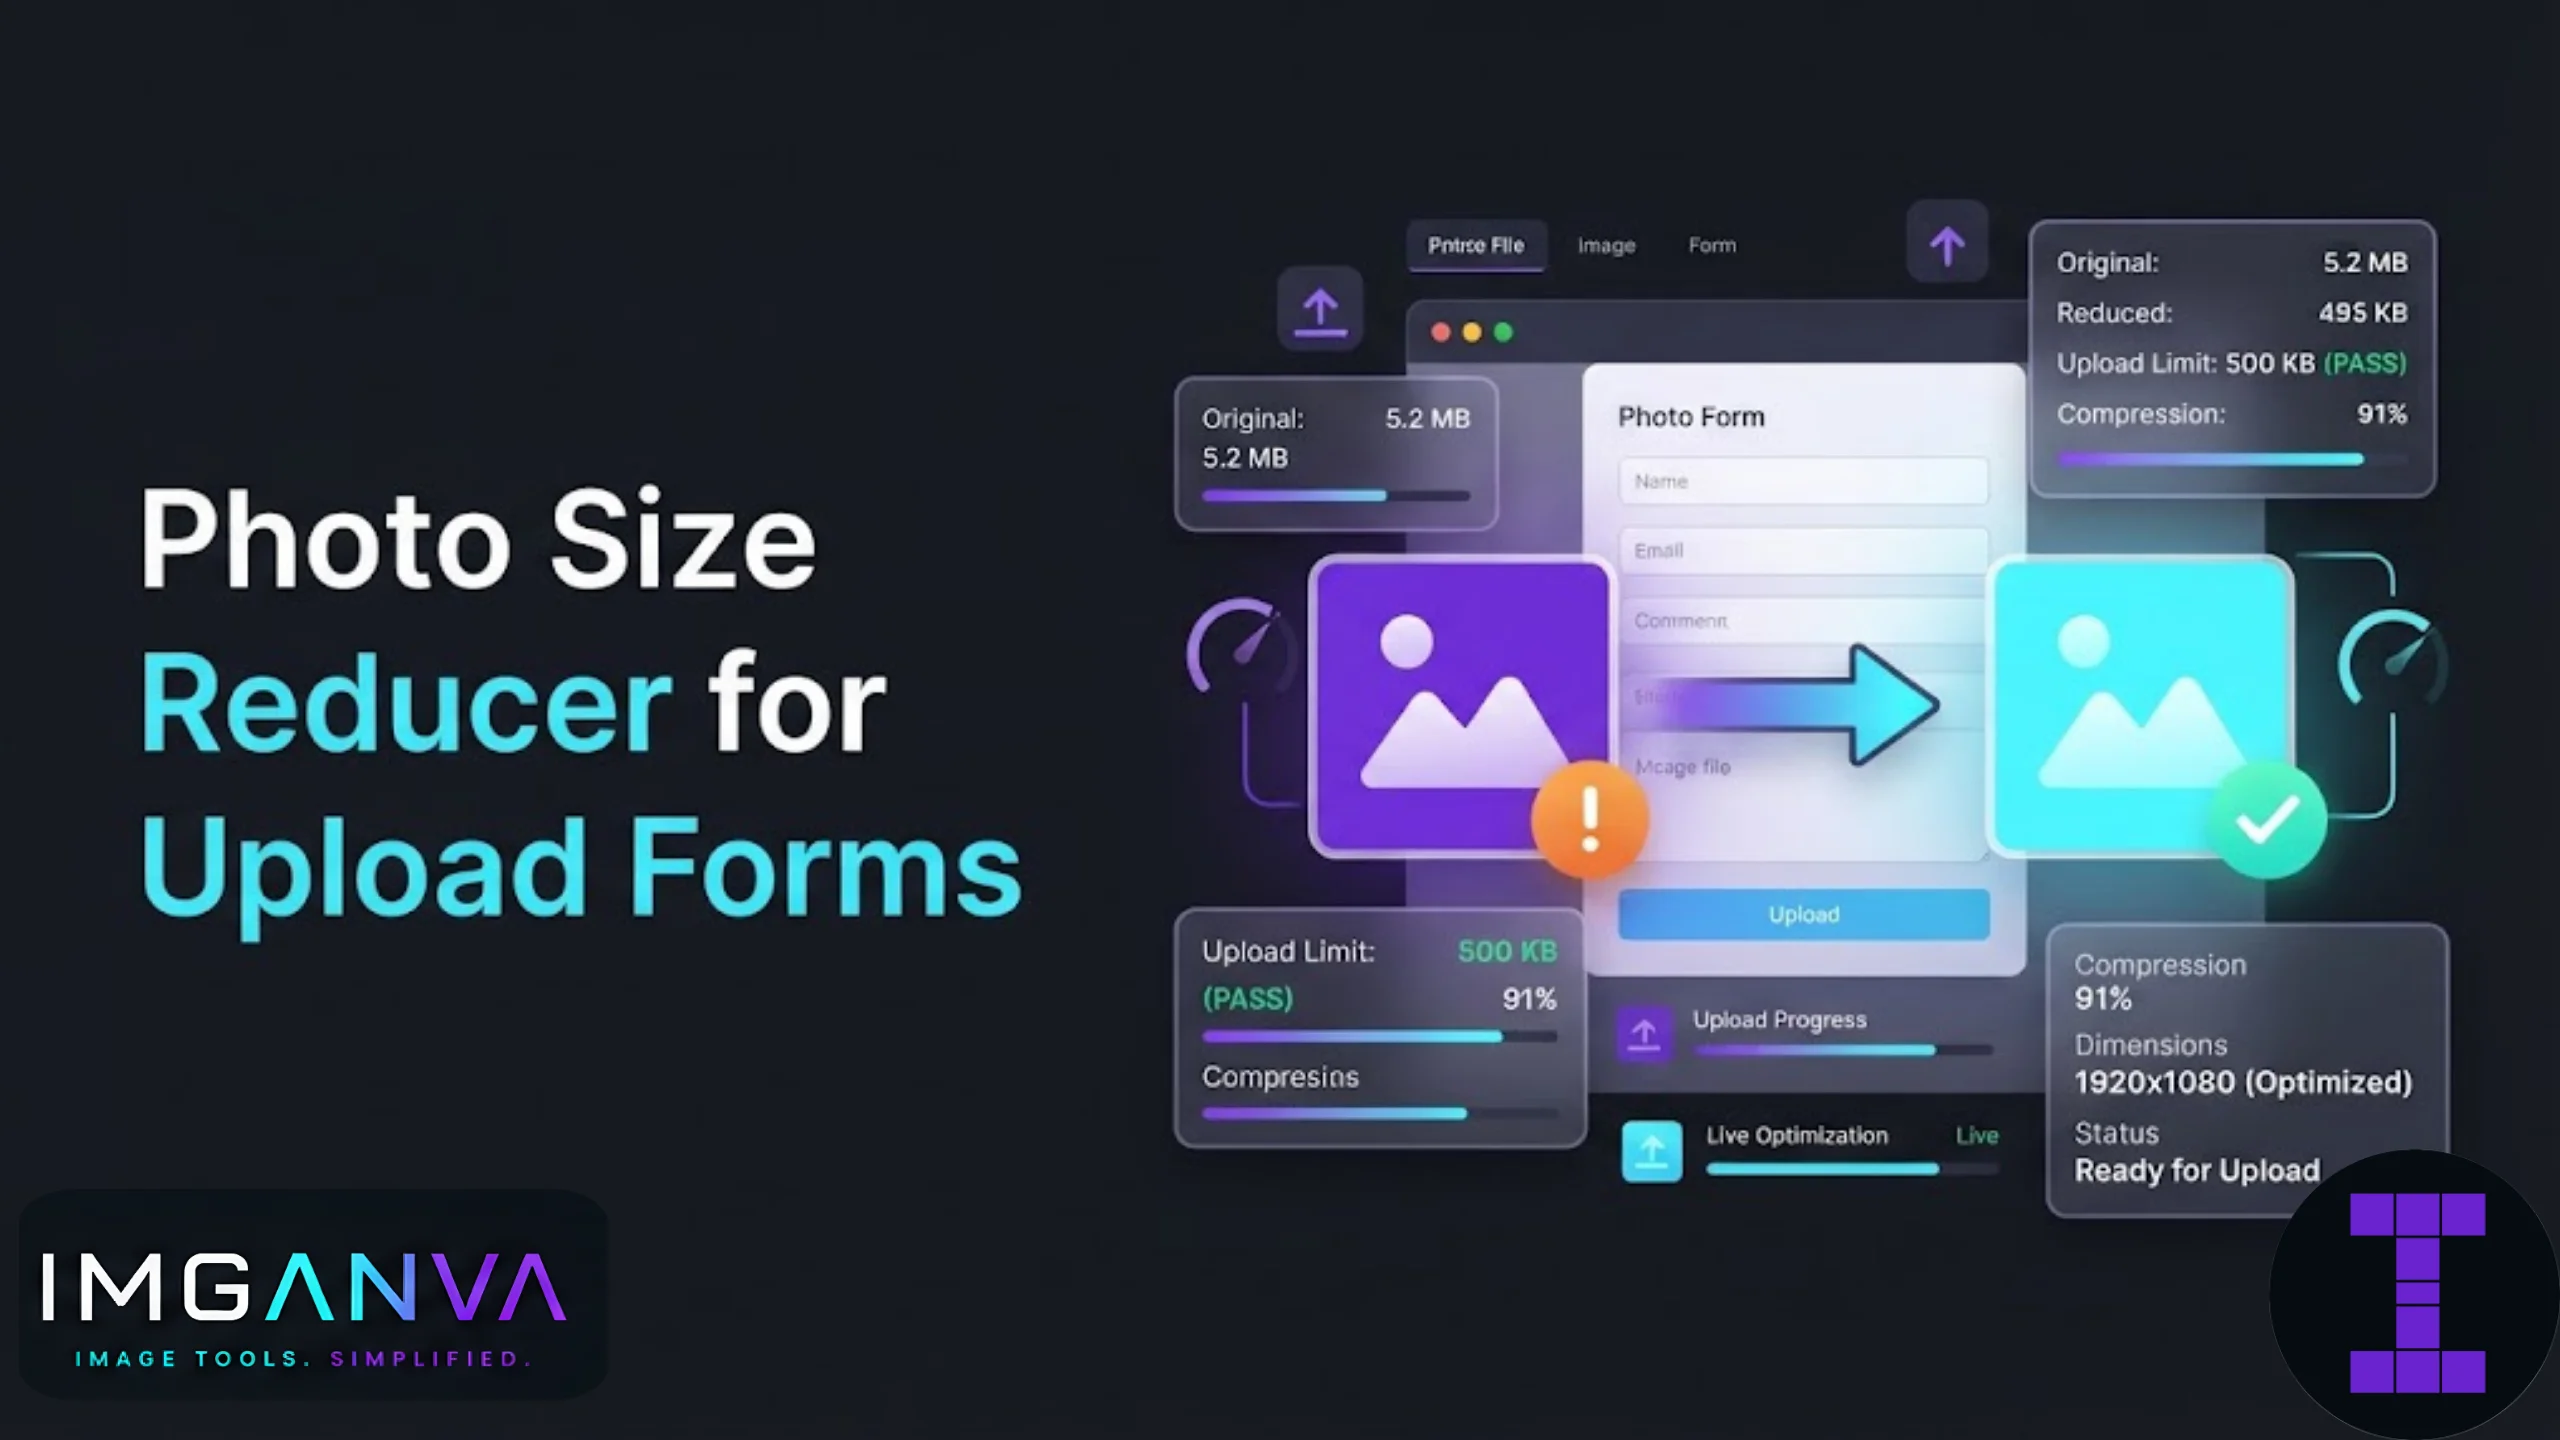

Almost every online form has a hidden trap: the photo upload field. You pick a clear photo from your phone, hit upload, and get an error saying the file is too large. This happens on job portals, government applications, college admission forms, and even simple contact forms that ask for a profile picture.
The fix is straightforward once you understand what these forms actually check for. This guide covers how to reduce a photo’s size specifically for upload forms, without turning it blurry or unrecognizable.
Key Takeaways
- Most upload forms reject files not because the photo looks bad, but because the file size in KB exceeds their limit.
- Reducing dimensions and adjusting compression both lower file size, but they affect the photo differently.
- Government and exam portals in India often have stricter limits (20KB to 300KB) compared to general web forms.
- A photo compressor that lets you target an exact KB size is faster than manually testing quality settings.
- JPG is usually the safest format for form uploads since most portals expect it by default.
Why Upload Forms Reject Your Photo
Forms usually reject a photo for one of three reasons: the file size is too big, the dimensions don’t match what’s expected, or the format isn’t supported. File size is by far the most common issue. A photo straight from a modern smartphone can easily be 3MB to 8MB, while most upload forms cap uploads somewhere between 20KB and 2MB.
The gap between what your phone produces and what the form accepts is the entire problem. Your camera is optimized for quality and detail. The form is optimized for fast processing and limited server storage. Something has to give, and that something is your file size.
Dimensions vs Compression: What Actually Reduces Size
People often assume that only compression (lowering image quality) reduces file size. In practice, two separate factors control it.
| Factor | What It Changes | Effect on File Size | Effect on Appearance |
|---|---|---|---|
| Dimensions (pixels) | Width and height of the image | Large reduction | Photo becomes physically smaller, still sharp if resized correctly |
| Compression (quality) | How much detail is discarded per pixel | Moderate to large reduction | Can introduce blur or artifacts if pushed too far |
| Format | File encoding (JPG, PNG, WEBP) | Small to moderate reduction | PNG keeps more detail but produces bigger files |
For most upload forms, a combination of slightly reduced dimensions and moderate compression gets you to the target size without visible quality loss. Dropping dimensions alone often isn’t enough if the form limit is very small, like 20KB or 50KB.
Step-by-Step: Reducing Photo Size for a Form
- Check the form’s exact requirement. Look for both a maximum file size (in KB or MB) and dimension requirements (in pixels or inches).
- Start with the right format. Convert to JPG if your photo is in PNG or HEIC, since JPG compresses more efficiently for photographs.
- Resize dimensions first. If the form specifies pixel dimensions, resize to that exact size using an image resizer.
- Compress to the target KB. Use a compressor that lets you set an exact output size rather than guessing at quality percentages.
- Preview before submitting. Zoom into the face or key details to confirm nothing looks smudged or pixelated.
Common Upload Form Requirements
Requirements vary a lot depending on what kind of form you’re dealing with. Here’s a general reference for common categories.
| Form Type | Typical Size Limit | Common Dimensions | Format |
|---|---|---|---|
| Government exam portals (UPSC, SSC, IBPS) | 20KB to 100KB | 200x230px to 3.5×4.5cm | JPG |
| Job application portals | 50KB to 500KB | Varies, often passport-style | JPG or PNG |
| College admission forms | 20KB to 300KB | Passport-style, sometimes specified in mm | JPG |
| General web contact forms | 1MB to 5MB | No strict requirement | JPG, PNG, WEBP |
| Visa or passport applications | Varies by country, often 10KB to 240KB | Country-specific | JPG |
If you regularly deal with exam or application portals, it helps to bookmark a tool that lets you change image size in KB directly rather than adjusting quality sliders by trial and error.
Handling Very Strict Size Limits
Some Indian exam portals ask for photos as small as 20KB or 30KB. At this size, quality loss becomes noticeable if you’re not careful. A few things help keep the photo usable even at tiny file sizes:
- Start with a well-lit, sharp original photo. Compression makes existing problems worse, it doesn’t fix them.
- Resize dimensions down to what’s actually required before compressing further. Trying to compress a large photo down to 20KB without resizing usually looks worse than resizing first.
- Avoid repeated compression. Compressing an already-compressed JPG multiple times degrades quality faster than compressing once from the original.
- Use a tool built for exact KB targets, such as compress image to 50KB or compress image to 100KB, depending on the portal’s requirement.
Common Mistakes to Avoid
- Ignoring the dimension requirement. A photo can be small in KB but still get rejected if the pixel dimensions don’t match.
- Using screenshots instead of the actual photo file. Screenshots often add extra compression artifacts and change the file format unexpectedly.
- Compressing too aggressively in one step. Dropping quality to the minimum in a single pass often creates visible blockiness. Gradual reduction with dimension resizing works better.
- Uploading HEIC files from iPhones. Many portals don’t accept HEIC at all. Convert to JPG first using an image converter.
- Not checking the final file size after editing. Some editing apps re-save files larger than expected, especially after adding filters.
When a Simple Reduction Isn’t Enough
If the form requires an exact pixel dimension and a strict KB cap at the same time, resizing or compressing alone often won’t hit both targets. In these cases, resize to the exact dimension first, then compress toward the KB limit as a second step. Trying to do both in one pass tends to produce either the wrong dimensions or a file that’s still too large.
It’s also worth noting that some scanned or edited photos carry unnecessary metadata or embedded color profiles that add to file size without affecting how the photo looks. Stripping this during compression can shave off extra kilobytes without touching visible quality.
For a broader look at compression techniques beyond just form uploads, the Complete Image Compression Guide 2026 covers formats, quality settings, and use-case specific approaches in more depth.
FAQs
Why does my photo still get rejected after resizing?
The form may have a separate file size limit in addition to the dimension requirement. Check both and adjust compression after resizing.
What is the best format for upload form photos?
JPG is the safest choice for most forms since it compresses well and is widely accepted. PNG is rarely required unless transparency is needed.
Can I reduce a photo to 20KB without losing quality?
You can get close by resizing dimensions first and compressing gradually. Some quality loss at very small sizes is normal, but starting with a sharp original minimizes it.
Why do government exam portals have such small size limits?
Older systems and high applicant volumes mean these portals often cap file sizes low to keep server load and storage manageable.
Is it okay to screenshot a photo to resize it?
It’s better to resize the original file directly. Screenshots can change the format and add compression artifacts that reduce quality further.
Do I need to resize dimensions and compress separately?
When a form has both a dimension and a strict KB requirement, doing both steps separately usually gives more accurate results than one combined adjustment.
Will compressing my photo multiple times damage it?
Yes, repeated compression from an already-compressed file degrades quality faster than compressing once from the original image.
How do I convert HEIC photos from an iPhone for upload forms?
Use an image converter to change the HEIC file to JPG before resizing or compressing, since many portals don’t accept HEIC directly.
What size should a passport-style photo for applications be?
Requirements vary by portal, but common sizes range from 3.5×4.5cm to 200×230 pixels. Always check the specific form’s instructions.
Does removing metadata actually reduce file size?
Yes, stripping unnecessary metadata and embedded color profiles can reduce file size slightly without affecting visible quality.
Summary
Getting a photo through an upload form usually comes down to matching three things: file size, pixel dimensions, and format. Start with a clear original photo, resize it to the required dimensions, and compress toward the exact KB limit rather than guessing at quality percentages. For strict portals like exam or government applications, resize first and compress second to avoid unnecessary quality loss. Once you know the pattern, reducing a photo for any form takes a couple of minutes instead of several failed upload attempts.