The Dimensions Caveat: Requirements Differ by Country and Use Case
Before resizing anything, check the exact requirements for your specific application. “Passport photo size” isn’t one universal standard different countries, embassies, and visa portals specify different dimensions.
| Country / Application | Dimensions (mm) | Pixel Size (at 300 DPI) | File Size Limit |
|---|---|---|---|
| India (Passport / Visa) | 35mm × 35mm | 413 × 413 px | Typically 20KB – 300KB |
| USA (US Passport) | 51mm × 51mm (2×2 inch) | 600 × 600 px | Under 10MB (digital) |
| UK (British Passport) | 35mm × 45mm | 413 × 531 px | Varies by portal |
| Schengen Visa | 35mm × 45mm | 413 × 531 px | Varies by embassy |
| Canada (Canadian Passport) | 50mm × 70mm | 590 × 826 px | Varies |
| Australia (Australian Passport) | 35mm × 45mm | 413 × 531 px | Under 10MB (digital) |
| NTA / UPSC / SSC (India exams) | Not fixed pixel-based | 200×230 to 300×400 px typical | 10KB – 100KB |
For Indian passport and OCI applications through the Passport Seva portal, the photo requirement is 35mm × 35mm with a white background, face covering 70–80% of the frame. For online portals, they specify pixel dimensions directly check the official portal’s upload guidelines before you start.
The same applies for visa applications through embassy portals. US visa applications through VFS require 2×2 inch (51×51mm) photos. Schengen applications typically ask for 35×45mm. Always read the specific instructions for your application, not generic passport photo guides.
Photo Prep Basics Before You Resize
Resizing is the last step not the first. If the photo itself doesn’t meet the basic requirements, the right dimensions won’t save it. Get these right before touching the dimensions:
Background
Most passport and visa photos require a plain white or off-white background. Some countries accept light grey. Busy backgrounds, patterned walls, or backgrounds with shadows are grounds for rejection. If your photo doesn’t have the right background, you’ll either need to retake it or use a background removal tool before resizing.
Lighting
Even, diffused lighting is best. Shadows across the face, harsh side lighting, or a very bright spot from a window behind you all cause problems. Natural daylight facing a window (not backlit) usually works well. Avoid flash directly on the face it can wash out features.
Face positioning and framing
The face should be centered, straight-on, with a neutral expression. Eyes open, mouth closed. Most specifications require the face to take up 70–80% of the photo frame. This means cropping the photo so the head fills most of the space not a full-body shot or a distant photo that shows a lot of background above the head.
If the original photo has too much background above the head or cuts too close to the top of the head, crop it to correct framing before resizing.
Image quality
Start with the highest quality version of the photo you have. Resizing a blurry or low-resolution photo doesn’t improve it it scales down a bad image. For digital applications, a photo taken on a modern phone in good lighting is usually sharp enough. For printed passport photos, you ideally want the source image to be at least 600×600 pixels.
Head coverings and glasses
Most countries don’t accept glasses in passport photos (this became standard internationally after 2018). Head coverings are generally only accepted for religious reasons, and even then the full face must be visible. Check the specific requirements for your application.
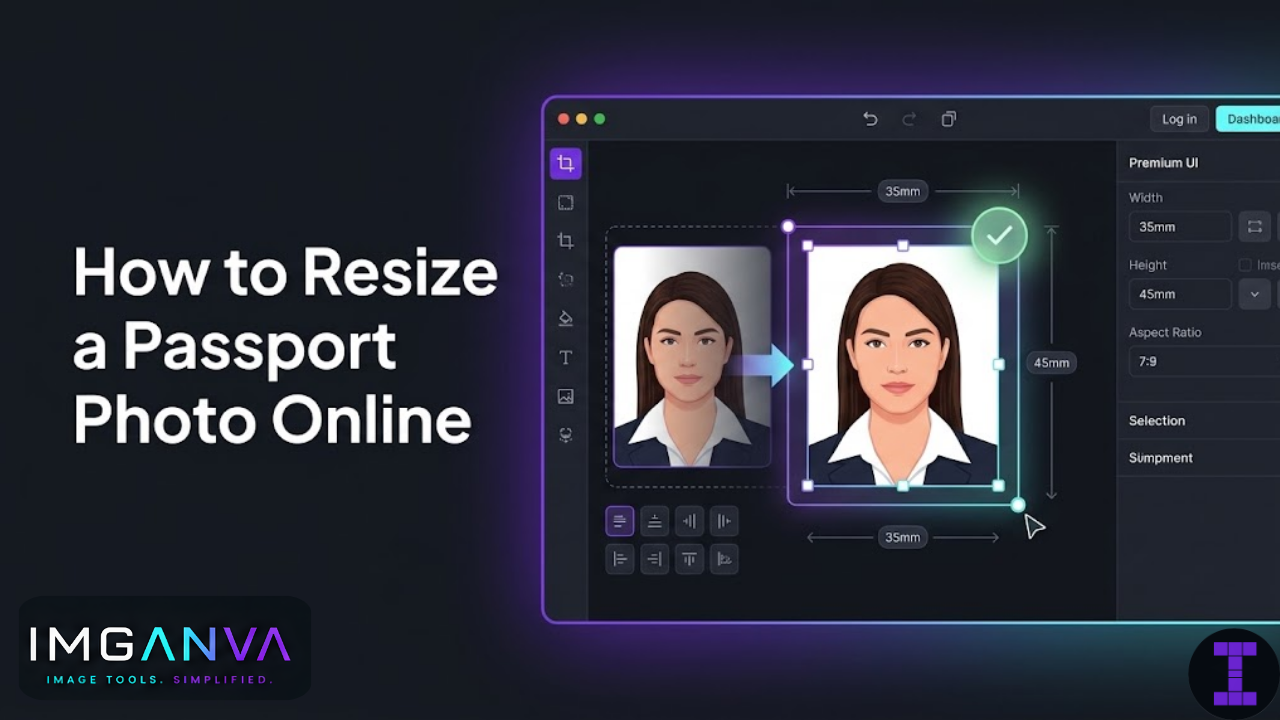
How to Resize a Passport Photo Online
Once your photo is correctly framed and prepped, resizing it to the required dimensions takes under a minute.
- Go to Imganva’s Image Resizer
- Upload your photo
- Enter the required pixel dimensions width and height based on your application’s specifications
- Make sure aspect ratio lock is set appropriately for square photos (like Indian passport: 35×35mm), both dimensions are equal; for rectangular (35×45mm), set both independently
- Download the resized photo
That’s it. No account needed, no software to install.
A note on aspect ratio
When resizing to specific dimensions, you need to set both width and height independently. If your tool locks the aspect ratio and your target is a different shape than your source photo, it will distort the image. For passport photos, the framing should be done before resizing crop to approximately the right proportions first, then resize to the exact pixel dimensions.
Pixel Dimensions vs. Physical Dimensions: What’s the Difference?
Passport photo requirements are often listed in millimeters (physical size for print) or in pixels (for digital upload). These aren’t the same thing a 35×35mm photo at 300 DPI is 413×413 pixels, but at 72 DPI (screen resolution) it would be a different size entirely.
For online portal uploads, always use the pixel dimensions listed in the portal’s own instructions. If only physical dimensions are given and you’re uploading digitally, use 300 DPI as your conversion reference:
- 35mm at 300 DPI = approximately 413 pixels
- 45mm at 300 DPI = approximately 531 pixels
- 51mm (2 inch) at 300 DPI = approximately 600 pixels
If you’re taking the photo to a print shop, physical dimensions (mm or inches) are what matter the printer handles the DPI.
Export Tips: Format and File Size
Once resized, how you export the file matters too.
Format
Nearly all passport and visa portals require JPG. Save your resized photo as JPG, not PNG. PNG files can be significantly larger and many portals explicitly reject non-JPG formats.
File size
Most portals set a file size limit often between 20KB and 500KB. If your resized JPG is too large, compress it. For a photo at 413×413 pixels or 600×600 pixels, a JPG at 80% quality will almost always be under 100KB. If the portal has a very strict limit (under 50KB), compress to 65–70% quality.
Color mode
Save as RGB color, not greyscale, even if the photo looks black and white. Some portals check color mode and reject greyscale files.
Filename
Name the file something simple and clear passport-photo.jpg rather than IMG_20240915_103247.jpg. Some portals have filename length or character restrictions.
Common Passport Photo Rejection Reasons
Understanding why photos get rejected helps you avoid the same mistakes:
| Rejection Reason | What to Check |
|---|---|
| Wrong dimensions | Verify pixel width and height match the portal’s exact spec |
| File too large | Compress the JPG before uploading |
| Wrong format | Make sure it’s saved as JPG, not PNG or WEBP |
| Background not plain white | Retake or remove background |
| Face too small in frame | Crop tighter so the face fills 70–80% of the photo |
| Shadows on face or background | Retake in better lighting |
| Eyes closed or not looking at camera | Retake |
| Photo too old (for renewal) | Check recency requirements typically within 6 months |
| Glasses on | Remove glasses; most portals now reject them |
Can You Take a Passport Photo Yourself at Home?
Yes, for most digital applications. The main requirements that matter when doing it yourself:
- Shoot against a plain white wall or hang a white sheet behind you
- Sit near a window for natural light face the window, don’t sit with it behind you
- Use the rear camera (better quality than selfie camera on most phones)
- Have someone else take the photo, or use a tripod holding the phone yourself tends to tilt and crop awkwardly
- Take several shots and pick the clearest one
- Crop and resize before uploading
For physical passport applications where a photo will be printed and submitted, the photo studio is still the safer option they know the exact print specifications and use calibrated printers. For digital portal uploads, a home photo that’s properly cropped and resized works fine.
Resizing for Multiple Applications at Once
If you’re preparing a passport photo for several different purposes Indian passport, US visa, university application, exam portal you’ll need different sizes for each. The most efficient approach:
- Start with one high-quality source photo, correctly framed and cropped
- Make a separate resized copy for each application, saved with a clear filename that indicates the dimensions (e.g.
passport-photo-413x413.jpg) - Compress each copy to meet that portal’s file size requirement
- Keep the original high-resolution version you’ll need it each time
Never resize a copy and then resize it again for a different size. Always go back to the original for each export. Resizing from an already-resized image degrades quality unnecessarily.
Frequently Asked Questions
- What is the standard passport photo size in India?
- 35mm × 35mm with a white background. For portal uploads, this is approximately 413×413 pixels at 300 DPI. Verify the exact pixel spec in the portal’s own upload guidelines.
- How do I resize a passport photo to 35×35mm online?
- Upload to Imganva’s Image Resizer, set dimensions to 413×413 pixels, and download. Crop and frame the photo correctly before resizing.
- What file format should a passport photo be?
- JPG. Almost all portals require it. Save as JPG and compress if the file size exceeds the limit.
- Can I resize a passport photo on my phone?
- Yes. Imganva works in mobile browsers upload from your gallery, enter the dimensions, download.
- What pixel size is a 2×2 inch passport photo?
- 600×600 pixels at 300 DPI. This is the standard for US passport and US visa photos.
- Why is my photo getting rejected despite correct dimensions?
- Dimensions are just one requirement. Rejections also happen for non-white backgrounds, face too small in frame, shadows, glasses, wrong file format, or exceeding the file size limit.
- How do I get a passport photo under 50KB?
- Resize first, then compress the JPG to 65–70% quality. A 413×413 or 600×600 pixel JPG at that quality level is typically well under 50KB.
Summary
Getting a passport photo right for an online portal comes down to four things: correct framing, correct dimensions, correct format, and correct file size. Resizing handles the dimensions but the photo still needs to be properly cropped and prepped before you resize it.
Check the specific requirements for your portal before starting. Use Imganva’s Image Resizer to hit the exact pixel dimensions, save as JPG, and compress if the file size is over the limit. Most rejections are avoidable if you read the upload instructions carefully before submitting.