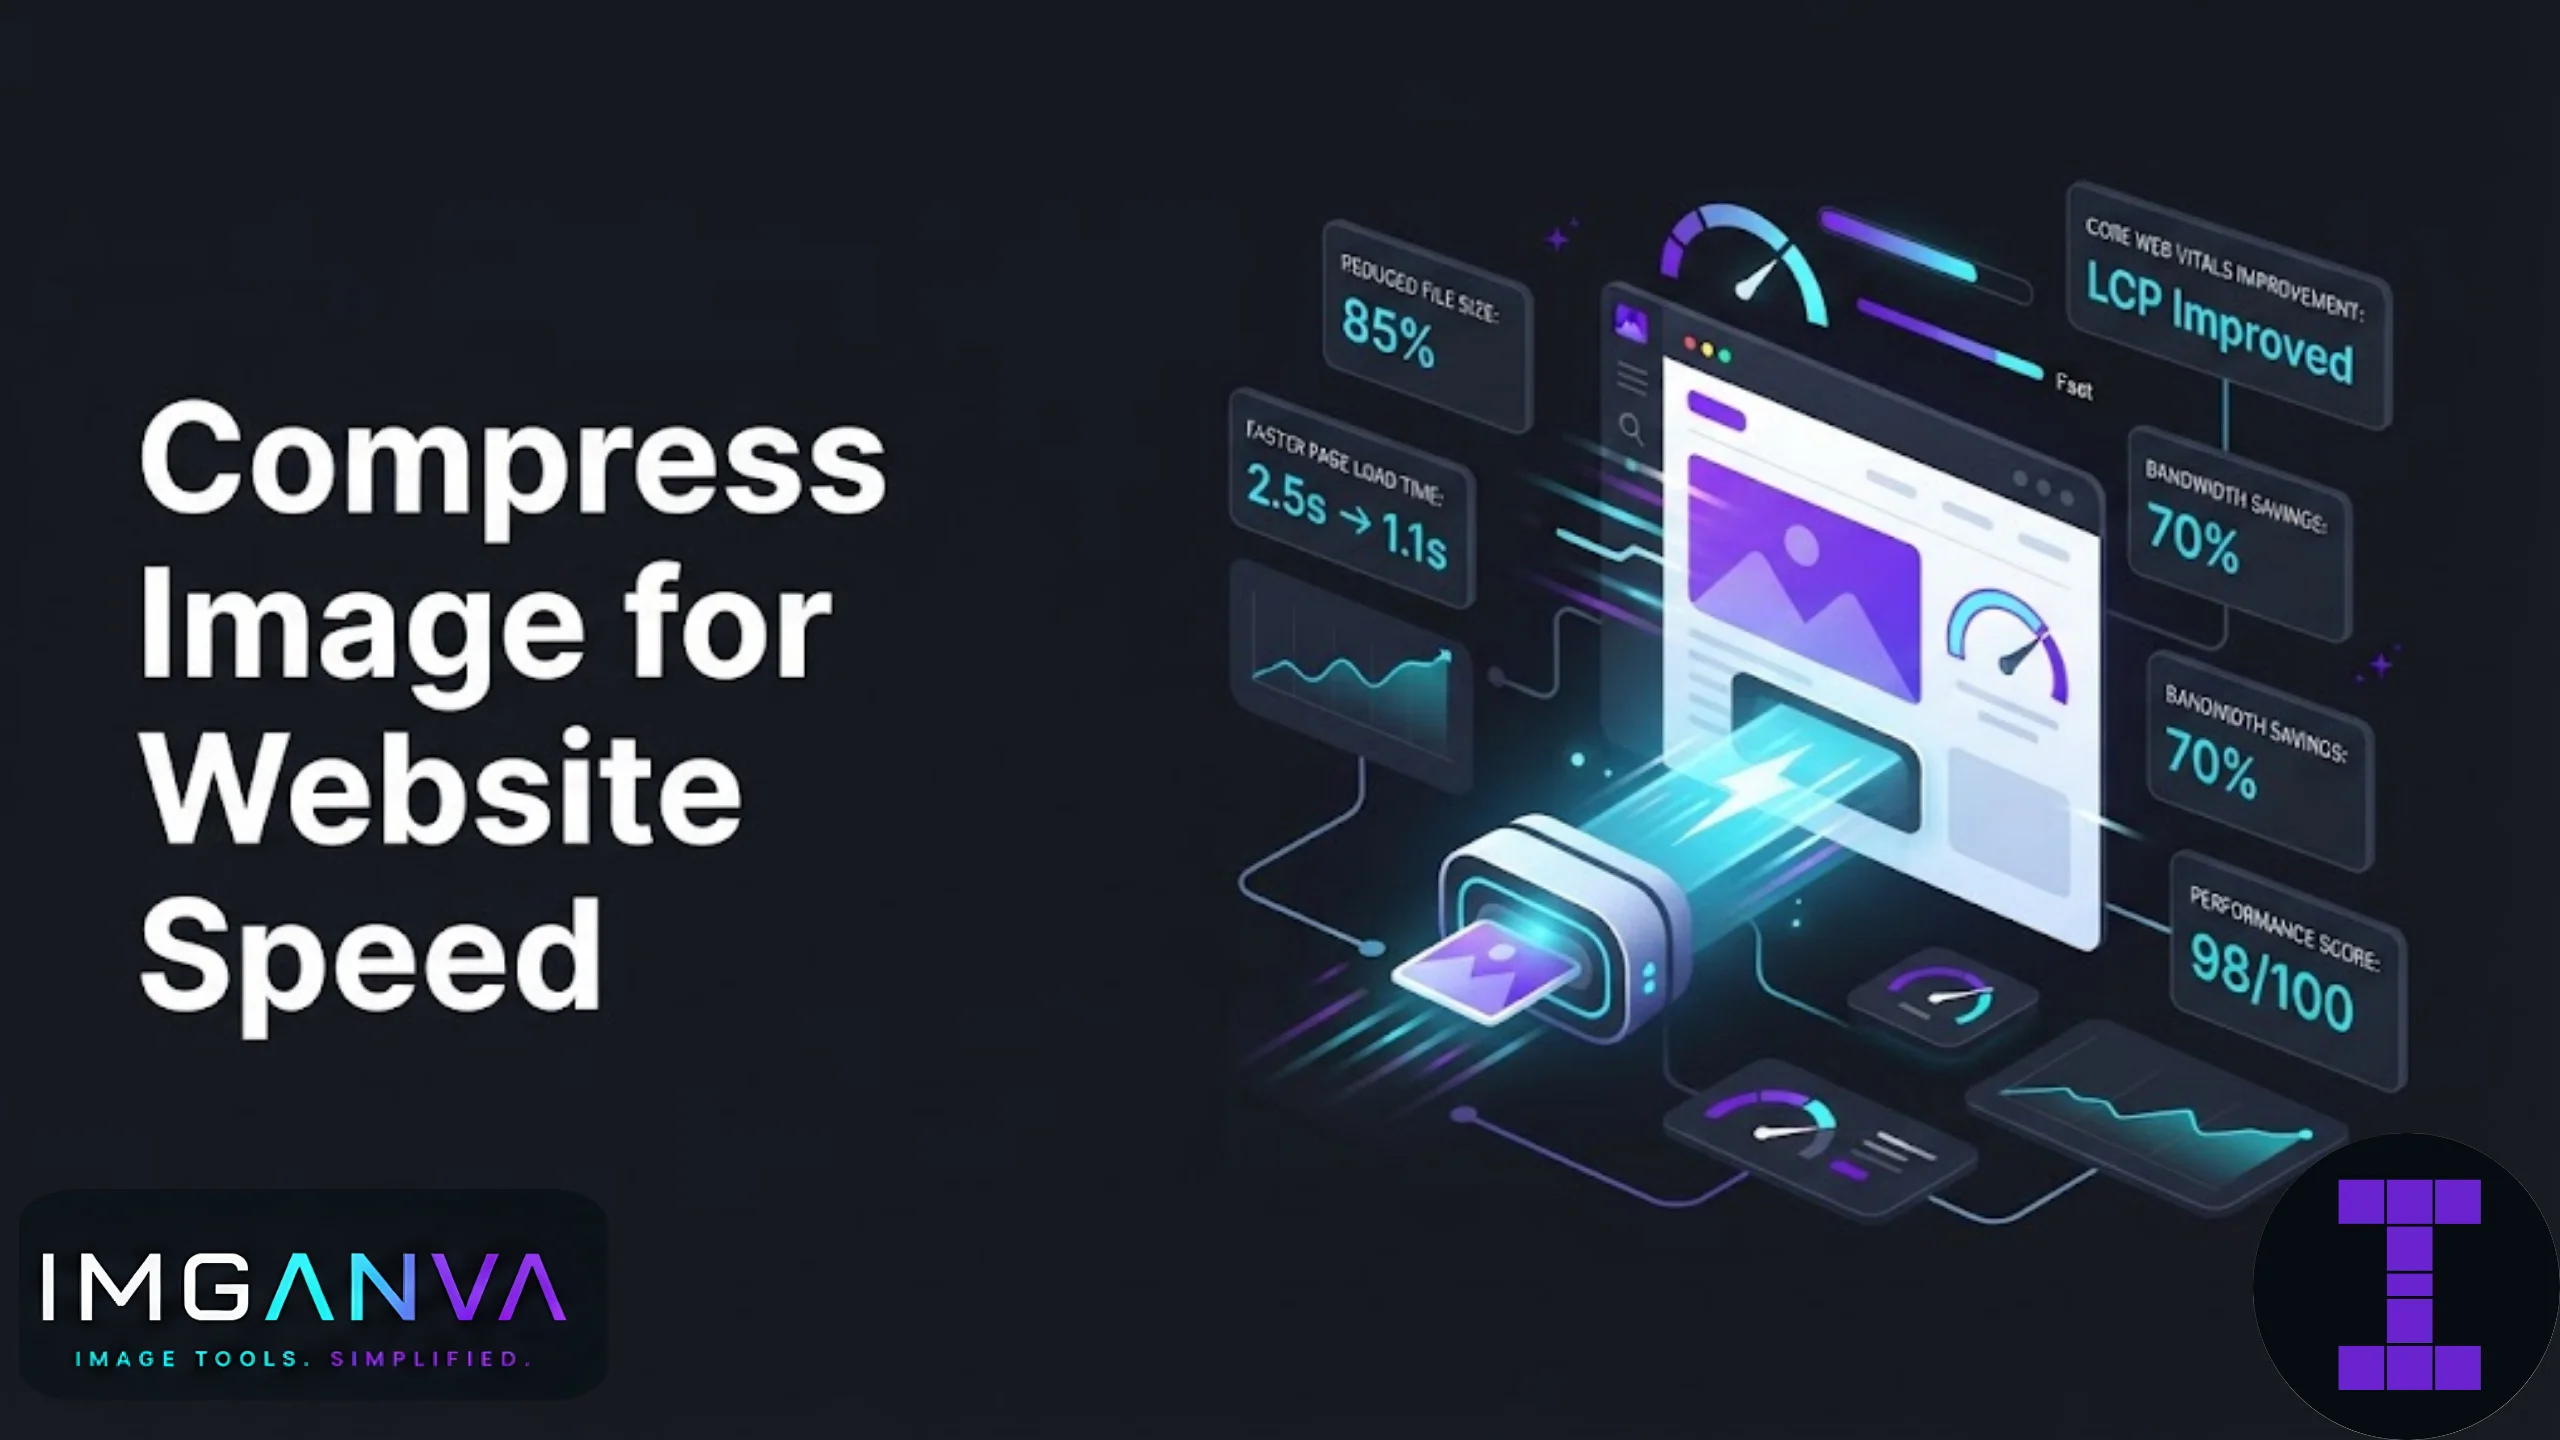

A single unoptimized hero image can add a full second or more to your page load time. That delay shows up in your bounce rate, your Core Web Vitals scores, and eventually your search rankings. If your website feels slow and you’ve already checked your hosting and scripts, the images are usually the next place to look.
This guide covers how much to compress, which format to pick, and what settings actually make a measurable difference in load speed, without turning your photos into a blurry mess.
Key Takeaways
- Most website images can be compressed to 60-80% of original quality with no visible difference to the average visitor.
- File size matters more than pixel dimensions once an image is already sized correctly for its display area.
- WebP typically cuts file size by 25-35% compared to JPG at equivalent visual quality.
- Large Contentful Paint (LCP), a core Google ranking signal, is directly affected by your heaviest above-the-fold image.
- Compressing in bulk before upload saves more time than fixing images one by one after a site audit.
Why Image Weight Is a Speed Problem
Images typically account for more than half of a webpage’s total download weight. On product pages, blog posts with featured images, or portfolio sites, that share climbs even higher. Every extra 100KB per image adds real, measurable delay, especially for visitors on mobile data rather than fiber broadband.
Google’s Core Web Vitals treat this seriously. Largest Contentful Paint measures how long it takes for the biggest visible element, often a banner or hero image, to render. A heavy, uncompressed image sitting above the fold is one of the most common reasons sites fail LCP thresholds.
The fix isn’t complicated. It’s compression, done consistently, before images ever reach your server.
How Much Should You Compress?
There’s no single number that works for every image, but there are ranges that hold up well in practice:
| Image Type | Recommended Quality | Why |
|---|---|---|
| Photography (hero images, banners) | 65-75% | Detail loss is barely visible at normal screen viewing distance |
| Product photos (ecommerce) | 75-85% | Customers zoom in, so slightly higher quality protects trust |
| Blog featured images | 60-70% | Rarely viewed at full size, so aggressive compression is safe |
| Screenshots with text | 85-95% or lossless PNG | Compression artifacts distort text edges badly |
| Icons and logos | Lossless (PNG or SVG) | Sharp edges and flat colors don’t tolerate lossy compression well |
If you’re unsure where to start, 70-75% quality on JPG is a safe default for most photographic content. You can drop it further if the image sits below the fold or isn’t central to the page’s purpose.
Format Choice Matters as Much as Compression Level
Picking the right format before you compress often saves more file size than tweaking the quality slider ever will.
| Format | Best For | Typical File Size vs JPG | Browser Support |
|---|---|---|---|
| JPG | Photos, gradients, general web images | Baseline | Universal |
| WebP | Same use cases as JPG, better compression | 25-35% smaller | All modern browsers |
| PNG | Transparency, logos, screenshots with text | Often 2-3x larger | Universal |
| AVIF | Photos where maximum compression matters | 40-50% smaller | Growing, not universal yet |
WebP has become the practical default for most sites because it balances strong compression with wide support across Chrome, Firefox, Safari, and Edge. AVIF compresses even further but isn’t worth the compatibility tradeoff unless your site already serves fallback images. If you want the full breakdown of why WebP performs the way it does, the WebP for websites guide covers the technical reasoning in more depth.
Step-by-Step: Compressing Images for Web Speed
- Resize before you compress. A 4000px photo displayed at 800px wide is wasting bandwidth no matter how much you compress it. Match dimensions to actual display size first.
- Choose the right format. Photos go to JPG or WebP. Graphics with flat colors or transparency go to PNG.
- Set quality between 65-80% for most content, adjusting up for hero images and down for background or decorative images.
- Compress in bulk rather than image by image if you’re optimizing an existing site with dozens or hundreds of images.
- Check the result at actual size, not zoomed in. Compression artifacts that look obvious at 200% zoom are usually invisible at normal viewing size.
An online image compressor handles steps 2 through 4 in one pass, which is faster than manually adjusting settings in desktop editing software for every image.
Lossy vs Lossless: Which One for Web Speed?
Lossy compression removes data permanently to shrink file size, and it’s what you want for most web imagery. Lossless compression preserves every pixel exactly, which matters for logos and screenshots but produces much larger files for photographic content.
The mistake many site owners make is applying lossless PNG to photos out of habit. A photo saved as PNG can be five to ten times larger than the same image saved as a well-compressed JPG or WebP, with no visible quality benefit for typical photographic content.
Common Mistakes That Slow Down Websites
- Uploading camera-resolution images directly. A photo straight from a DSLR or modern phone camera is often 4-8MB. Uploaded without resizing, it forces the browser to download the full file even if it’s displayed in a small thumbnail.
- Using PNG for photographs. PNG is built for flat colors and transparency, not gradients and photographic detail. It’s the wrong tool for most hero images and blog photos.
- Compressing once and forgetting responsive sizes. A single compressed image served at the same size to both mobile and desktop wastes bandwidth on smaller screens.
- Over-compressing text-heavy images. Screenshots and infographics with text need a higher quality floor than photos, or the text becomes blurry and unreadable.
- Ignoring above-the-fold images specifically. Not every image on a page affects LCP equally. The first visible image usually matters more than ones further down the page.
When Compression Alone Isn’t Enough
Compression solves file weight, but it doesn’t fix everything about image-related slowness. If your site loads dozens of images on a single page regardless of whether the visitor scrolls that far, lazy loading matters as much as compression. If your images are served from a single server location and your visitors are spread across regions, a CDN closes that gap too. For a broader look at everything that affects image-driven page speed beyond compression settings, the website image preparation guide covers the full picture, including lazy loading, responsive images, and CDN delivery.
Compression is usually the highest-impact, lowest-effort fix though. Most sites see meaningful speed improvement from compression alone, before touching anything else.
Quick Reference: Target File Sizes by Image Role
| Image Role | Target File Size |
|---|---|
| Hero/banner image (above the fold) | Under 150KB |
| Blog featured image | Under 100KB |
| Product thumbnail | Under 50KB |
| Inline content image | Under 80KB |
| Background/decorative image | Under 60KB |
These aren’t hard rules, but they’re realistic targets that most compression tools can hit without visible quality loss. If you need to hit an exact size limit for a specific upload requirement, an image size in KB tool can adjust dimensions and quality together to land on a target number.
For the broader mechanics of compression, including how JPG, PNG, and WebP algorithms actually work under the hood, the complete image compression guide goes deeper into the format-level detail.
FAQs
What is the best image compression level for website speed?
Between 65% and 80% quality works well for most photographic images. Screenshots and text-heavy graphics need higher quality, closer to 85-95%, to avoid blurry edges.
Does compressing images actually improve Google rankings?
Indirectly, yes. Google uses Core Web Vitals like Largest Contentful Paint as a ranking factor, and heavy images are one of the most common causes of poor LCP scores.
Should I use WebP or JPG for my website?
WebP generally produces 25-35% smaller files than JPG at similar visual quality and is supported by all modern browsers, making it the better default for most sites today.
Is PNG bad for website speed?
PNG isn’t bad, but it’s the wrong format for photographs. It’s built for flat colors and transparency, and using it for photos results in file sizes several times larger than JPG or WebP.
How small should my hero image file size be?
Aim for under 150KB for a hero or banner image. Since it’s usually the largest element on the page, its size has an outsized effect on load time.
Can I compress images without losing visible quality?
Yes, in most cases. Quality settings between 65% and 85% remove data that’s imperceptible to the human eye at normal viewing size, while still cutting file size significantly.
Do I need to resize images before compressing them?
Yes, if the image is much larger than its display size. Compression reduces file weight, but it won’t fix an image that’s simply too large in dimensions for where it’s placed.
What’s the difference between lossy and lossless compression for web images?
Lossy compression removes some data permanently to shrink file size and works well for photos. Lossless compression keeps every pixel intact, which is better suited to logos, icons, and screenshots with text.
How many images on a page is too many for speed?
There’s no fixed number, but each additional image adds to total page weight. Using lazy loading for images below the fold reduces the initial load burden regardless of total count.
Will compression make my screenshots look blurry?
Only if compressed too aggressively. Keep screenshots and text-heavy images at 85% quality or higher, or save them as PNG, to avoid distorting text edges.
Summary
Website speed problems tied to images almost always come down to two things: wrong format and too little compression. Matching JPG or WebP to photographic content, keeping quality settings in the 65-80% range, and resizing images to their actual display dimensions before compressing covers most of the improvement available. It’s a small amount of upfront work that pays off in load time, bounce rate, and search visibility every time the page loads afterward.